A Beginner's Guide to Stencil Art
7 minute readWhat is a stencil? Is it easy to use? Where can I find stencil art templates and designs? If you have been wondering about how this crafty tool works, keep reading!
In this beginner’s guide on how to use stencils, we will discuss the following:
- Brief History of Stencils
- What Is a Stencil?
- Different Types of Stencils
- The Evolution of Altenew Stencils
- What Is the Best Stencil Technique?
- Where to Buy Stencils?

A Brief History of Stencils
The origin of stencil art can be traced back to as early as 30,000 BC to 9,000 BC. Back then, stenciling examples were found in Paleolithic cave paintings. Shapes and holes were cut out of bamboo and banana leaves and used as decoration for Egyptian tombs. The word “stencil” means “outline of an image,” which accurately describes what it is mainly used for. For years, it was used as an efficient way to print onto cloth, woodcuts and even used to mass-produce prints. It is a time-saver since the images would be the same without having to hand paint or write by hand.
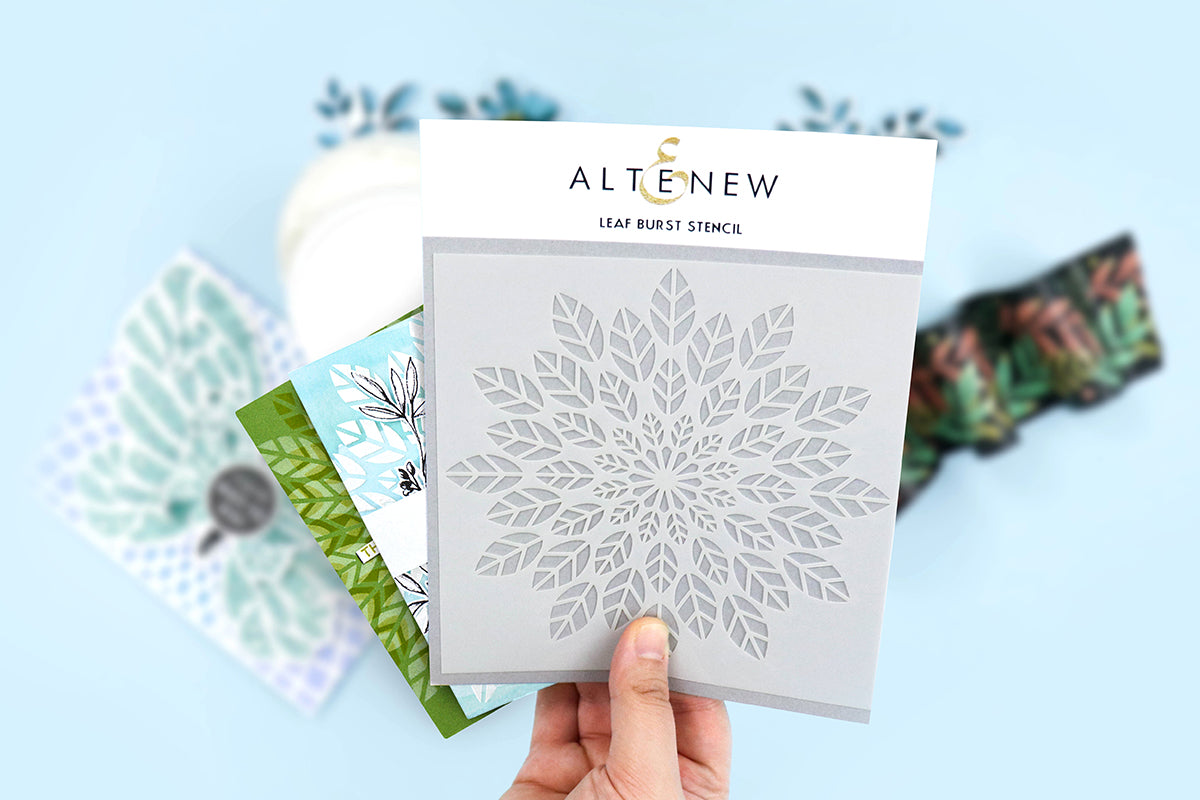
What is a stencil?
At its core, a stencil is a tool that helps you apply a particular design onto a surface. The basic stencil designs can range from letters and words to florals and geometric patterns. Patterns proved to be the most popular design. The method of repeating a design through a cut-out shape is called stenciling. In the visual arts, this technique involves the use of ink or paint over cut-outs or holes in cardboard or metal onto a surface, therefore reproducing or transferring the design on it. This crafty tool tends to work best on a flat surface and, depending on the ink or paint you use, can be used on metal, cardboard, or any other material.
The two parts of a stencil are called “islands” and “bridges.” Islands are the spaces that allow the color to seep through to the material below, and the areas that connect the stencil together are called bridges.
The uses of this tool range from DIY home decor and children’s crafts to wall stencil painting and paper crafting. With these handy tools, you can either create a piece of fabulous artwork right on your living room wall or impress family and friends with a personalized handmade card. The possibilities are truly endless when it comes to stencil art ideas.
Different Types of Stencils in Paper Crafting
So many cool stencil designs, so little time! If you’re itching to get your hands on the trendiest ones out there, your might want to learn a bit more about them first. Not all stencils are created equal! Like every other crafty tool out there, you need to figure out the various types, sizes, and designs. In general, though, these are categorized based on their design, purpose, and surface. Learn more about these crafty must-haves by checking our quick guide on using stencils.
The following are different types of basic stencil designs.

1. Background stencils could be a full 6” x 6” pattern that you can use as a background or a single design. The most popular designs are flowers and leaves. These are a staple in any paper crafter, and cardmaker’s crafting stash since it allows them to easily and instantly create a background on their DIY projects.

2. Layering stencils might appear intimidating for beginners but are actually fun and easy to use once you get the hang of them. As the name implies, two stencils with two different designs can be used together to create a beautiful and unique design. The beauty of layered stencils is that you can choose to use just one layer or use both layers. The designs you create will definitely be unique.
For some crafters, these might take some additional practice and finesse. Here are a few tips on how to use these cool stencil designs.
- Make sure to properly adhere it onto the surface using a painter’s tape, washi tape, or any repositionable adhesive.
- Using the right color combinations is also vital.
- Before adding another color, let the first color dry completely. This way, the two colors won’t mix, and the design will pop off the page.
- Use a light hand, especially when ink blending. You want the color blending to be seamless and smooth; if you are too heavy-handed when ink blending, you might see some rough edges here and there.
- Always clean them after use. Baby wipes, clean wet cloth, or stamp shammy will do. It’s essential to clean these afterward to avoid smudging or color.
3. Builder stencils might not look much at first, but once you start using them on your handmade cards, you will see the incredible 3D result and will surely love it. These often create geometric patterns and shapes that will look good on neutral or masculine handmade cards. If you need cool stencil designs that will be perfect for every and any occasion, then this is for you.

4. Scene building stencils are pretty similar to builder ones since you can build a design, a pattern, or (in this case) a ‘scene’ on any surface. If you’re looking for something that will help you add stunning scenery to your paper crafting project, this is the best design for you. Scenes could range from mountains to city scenes.
5. Mask stencils are relatively new to the paper crafting world. Altenew introduced these back in 2018, which were created with matching stamps and die sets. These handy crafty tools were total game-changers in the paper crafting world. They can be used to mask their corresponding stamp image and stamp another image behind it, therefore creating the super trendy “masking effect.” If you haven’t tried using these nifty tools yet, you might want to check them out!

6. Simple coloring stencils were another trendy game-changers introduced in 2020. These also coordinate with a stamp set and are used to add color to the stamped image easily. You can also use them on their own to create amazing one-layered or 3D images.
Altenew Stencils Evolution
Now that you’ve learned a bit more about the basic stencil designs in paper crafting and how to use stencils, it’s time to take a walk down memory lane! The video below will walk you through the evolution of Altenew stencils - from the most basic to the coolest and trendiest.
If you want to see more inspiration for your stencil artwork, feel free to explore Altenew's diverse collection of stencils.

What Is the Best Stencil Technique?
Depending on the type of art or craft that you are creating, there’s a wide variety of stencil techniques that you can try. If you are a beginner who’s simply testing the waters, dipping your toes into it, and still unsure about whether or not stenciling is for you, it’s better to start with a few basic techniques first.
Here are seven of the best stenciling techniques that you can quickly try on your next DIY paper craft!

Ink blending
This is probably the easiest and quickest way of using stencils on your paper crafting project. As the name suggests, this technique involves using ink and a blending brush to transfer the design onto a surface. Dye inks, pigment inks, and mixed media or hybrid inks are the most preferred inks for this stenciling technique.

Embossing
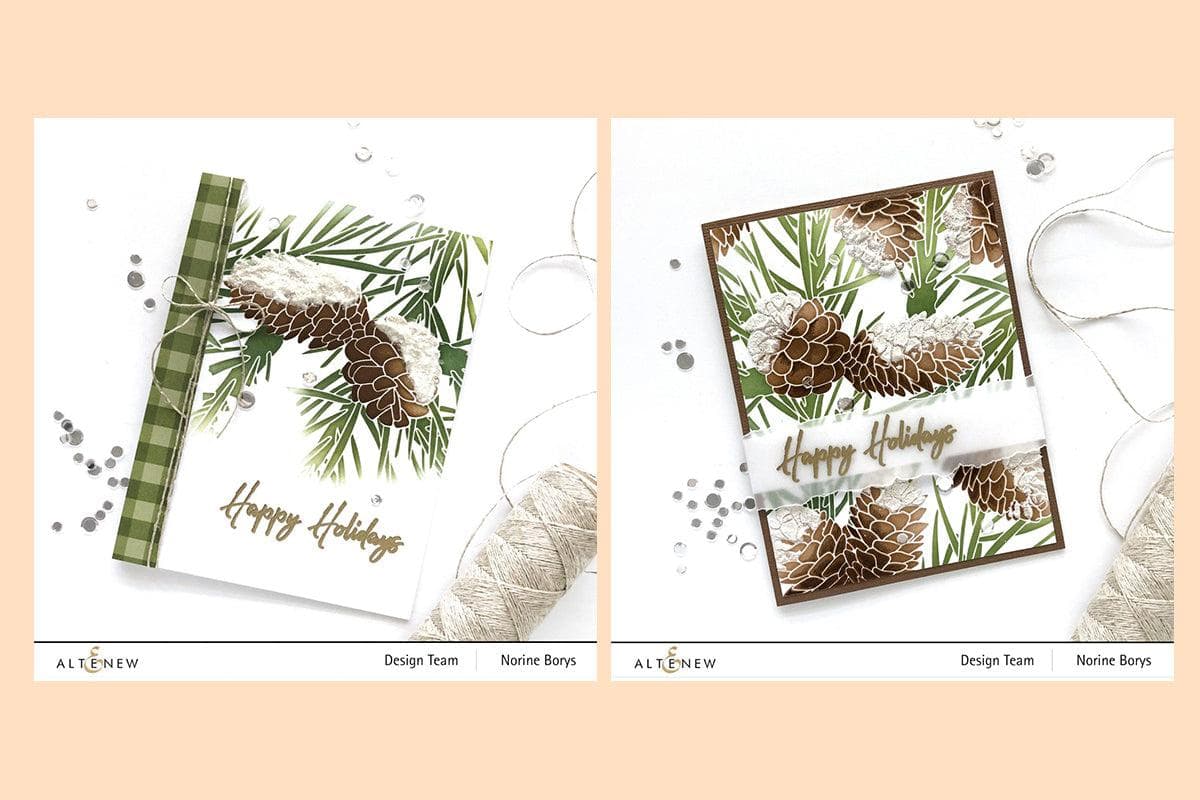
Whether it’s dry embossing or wet embossing, this is a perfect way to add texture and shine to your stencil artwork. Use embossing paste to add a little texture and interest to your design. You can even mix some colors onto your embossing paste for some fun and flair. If you are not a fan of the mess of using embossing paste, try dry embossing! All you’ll need are an embossing pad and an embossing machine. That subtle but beautiful textured look that it will give your handmade card will surely amaze you!

Watercoloring
When you think about using stencils, you don’t think about watercolors right away. You can achieve a no-line watercoloring effect on your stencil painting by using watercolors. It’s super fun, quick, and incredibly easy!

Ink sprays
Ink sprays and stencils are like peanut butter and jelly! They go well together! It’s the perfect tool to add color to your stencil art. Simply spritz your desired ink spray color onto your chosen design or over an area of it, remove it, and you’re good to go! Easy as pie!
Stamping
Don’t have a stamp set? No problem! Simply place these on an acrylic stamping block, ink blend with your chosen dye ink color, and stamp it onto your cardstock. It’s one of the most creative techniques that you can try.

Emboss resist
This is another must-try stenciling technique. All you need to do is add some embossing ink and embossing powder onto your design, set it with a heating tool, and you’re done. You can either do some ink blending or watercoloring for added interest.
Pens or markers
Yes, pens! If you’re looking to create a quick stencil art, here’s a must-try. Simply use alcohol markers, gel pens, or fine liner pens to trace the design of your stencils. You may also use these to fill in the cut-outs with color or shade.

Where to Buy Stencils?
Whether you’re doing simple stencil art on a handmade card or a stencil painting on a wall, it’s essential to learn more about this must-have crafting tool. The most important question now is where to buy stencils? The good news is, you can easily find a plethora of designs and patterns in most arts and crafts stores. These are also not as pricey as clear stamps and die sets, and they usually come bundled with ink sprays, embossing powders, or embossing paste. This is why it’s a pretty good investment, especially for beginners in crafting.
Find the most unique and creative stencil art templates and get the best deals on stencils here!
Your Ultimate Guide to Paper Crafting
Click on each topic and subtopic to read more!
- What is Card Making? Everything You Need to Know About This Popular Paper Crafting Hobby
- 10 Best Stamping Ideas for Card Making (With Video Tutorials!)
- 15 Card Making Supplies You Need In Your Stash
- Card Making Tips and Tricks That Every Card Maker Should Know
- Advanced Card Techniques to Elevate Your Cardmaking Skills
- How to Make a Card: Step by Step Guide
- Paper Crafting Tools: Essential Craft Items and Tools
- Basic Paper Crafting Tools Every Crafter Should Have
- Organize Craft Supplies and Tools Easily With These Hacks!
- Different Types of Paper Crafting Tools and Their Purpose
- How to Organize Markers, Pens, and Pencils: A Comprehensive Guide
- The Ultimate Guide on How to Clean and Store Craft Supplies
- A Comprehensive Guide to Greeting Card Envelopes
- What Is the Stampwheel and How to Use it?
- Types of Embellishment in Paper Crafting - A Complete Guide
- A Guide to Hot Foil Plates and Press Plates