Easy Die-Cutting Techniques for Paper Crafting!
7 minute read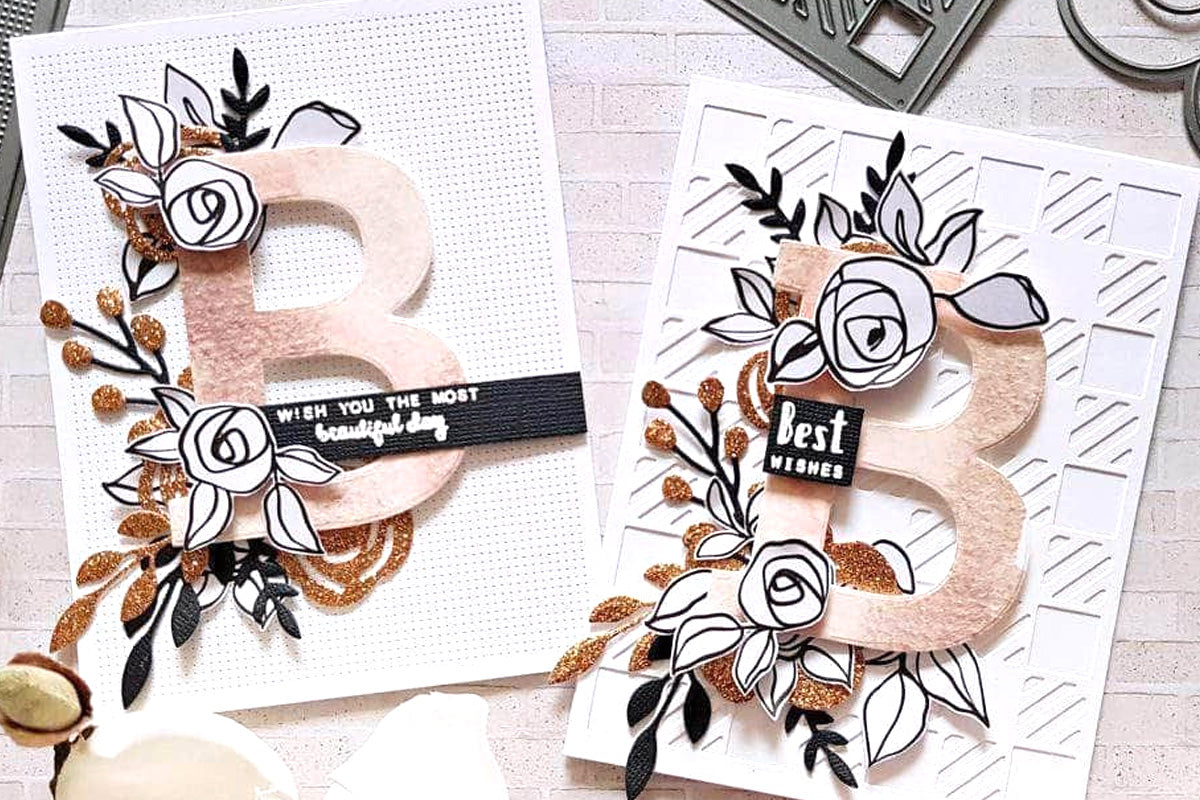
Are you new to die cutting? Looking for interesting die cutting techniques to experiment with? You've come to the right corner of the internet!
Die cutting has advanced from basic shapes and designs into an essential crafting technique, resulting in stunning and impressive crafts. Whether you're an experienced crafter or a beginner, trying out different die cutting techniques can enhance the depth and texture of your projects.
Today, let’s dive into the seven of the best die cutting techniques that you, or any crafting enthusiast, should give a try!
7 Best Die Cutting Techniques for Beginners
1. Faux Letterpress
Letter-pressed designs are simply delightful. For years, people have used many letterpress methods to create invitations and greeting cards for special occasions like birthdays, weddings, and parties. The elegant and professional appearance of a letterpressed card adds a lot of dimension, texture, and a sense of refinement to your invite or greetings.
With the faux letterpress technique, you can copy these elegant debossed effects with your existing die-cutting tools. All you need are your preferred sentiment dies, a die cutting machine, cutting plates, some cardstock, and a little adhesive, and you're ready to get started! To do this:
- Place your sentiment die on the cardstock using low-tack tape, then pass it through the die cutting machine to make your first copy.
- Cut at least four more copies of the die to achieve the desired depth for the letterpress effect.
- Once you have enough copies, stack and adhere them together to create a layered die-cut.
- Use the layered die-cut to create a faux letterpress effect on your card panel by running it through the die cutting machine as you would with a regular cutting die.
- The paper die-cut will not cut through the cardstock, but instead, it will leave a debossed effect due to the pressure from the machine.
- To make a deeper, more pronounced deboss, you can run it through the machine again or add more layers to the die-cut.
- Now you have a beautiful letterpressed design that can be left as is or enhanced with coloring and embellishments!
PRO TIP! Another way to achieve this technique is to add an embossing mat to your die cutting sandwich and then pass it through your embossing machine. This will create a stunning debossed design using any of your craft dies!
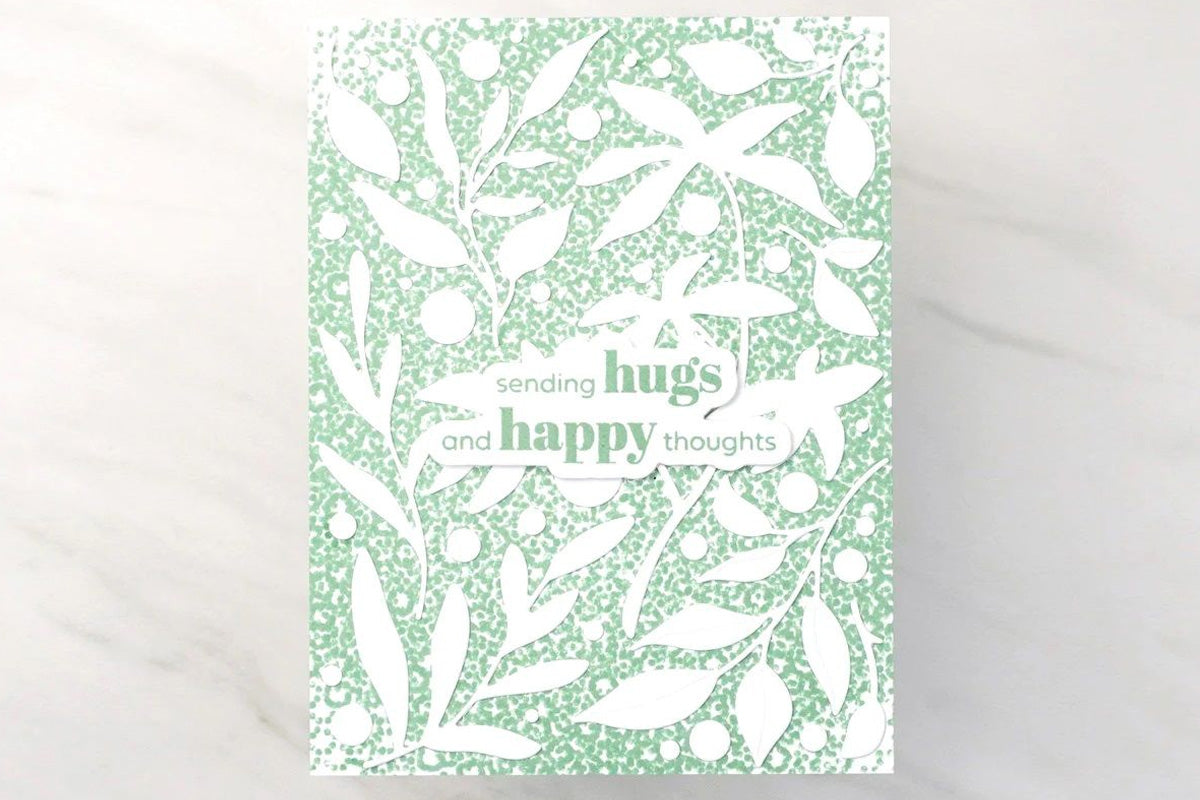
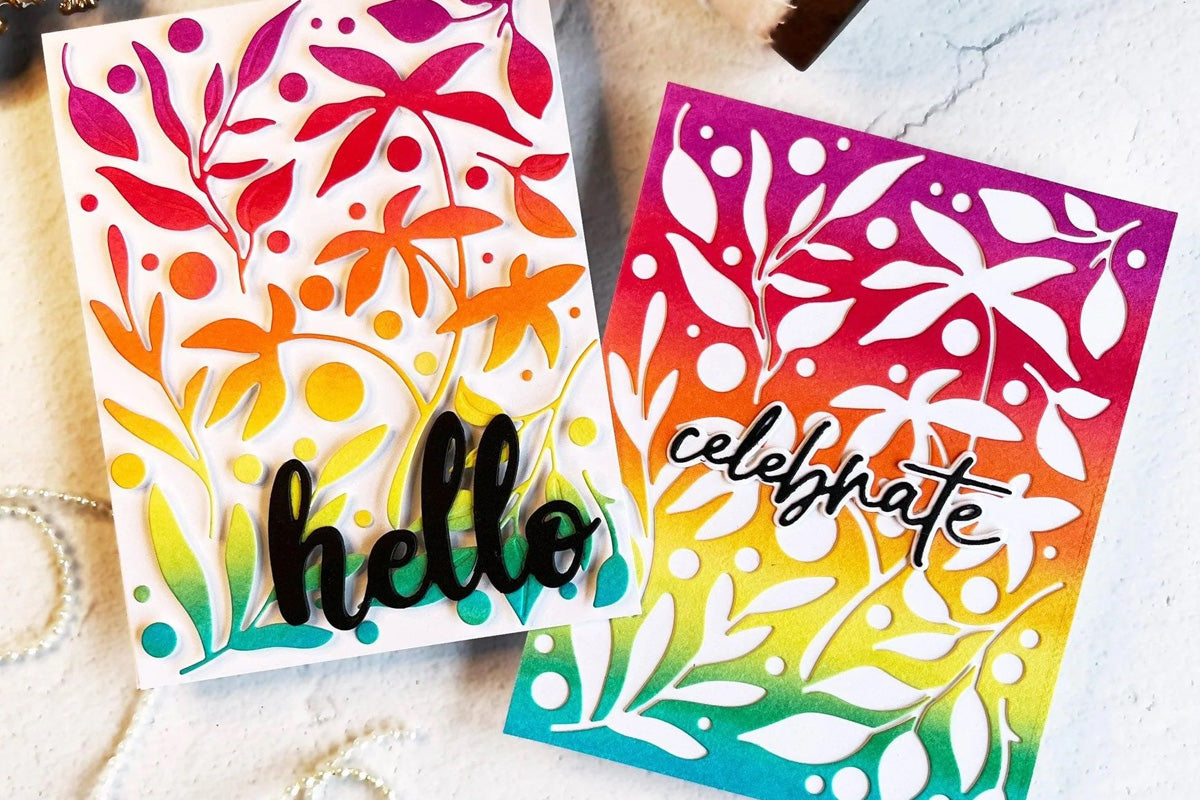
2. InLay Technique
The inlay die cutting technique is a pretty famous one that most experienced crafters have done one way or another.
It involves cutting out images and shapes, and then reattaching those pieces into the "negative space" (the remaining panel where the cuts were made) to achieve a smooth and seamless look.
It's similar to solving a jigsaw puzzle, only this one enhances handmade cards and other paper crafts! There are different methods to apply this technique, resulting in unique and creative outcomes. Here, check out one such way in this tutorial video below:
Have you noticed how the shadow die adds an extra dimension to the appearance? You can experiment and be creative with your dies that way!
Here's another technique you can experiment with using Altenew’s Fresh Dye Ink families:
- Apply one color family to one panel by smearing or swiping, and then apply another color family to another panel (for example, Red Cosmos Fresh Dye Inks and Cool Summer Night Fresh Dye Inks).
- Once the inks are dry, carefully stamp and die cut your desired images on both panels, making sure not to damage or discard the negatives.
- Then, interchange the die cuts and insert them into each other's negatives, and see the magic happen!
What Is Die Cutting? Discover It Here!
3. Hidden Die-Cuts
Enhance your projects with an unexpected twist through the hidden die-cut technique!
Here’s how to do it:
- Stamp or color a matching pattern on two panels. You can use a Stampwheel or any stamping platform to make sure that both panels have exactly the same design or pattern.
- Then, use your preferred dies to cut out images or designs from one of the panels.
- Next, arrange the die-cuts on the untouched panel in the same placement as they were on their original panel. This should camouflage the dies and create the illusion that they are "disappearing" from certain angles.
Watch the video tutorial below and discover a creative twist on this technique that, instead, uses the “negative” die-cut:
Hidden die-cuts are ideal for interactive cards, scrapbook designs, or any project to surprise your recipient. This method not only enhances the visual appeal of the card but also captivates the viewer by prompting them to explore it!
4. Faux Masking
Faux masking is another method of die cutting that adopts a different art technique called masking.

Essentially, for faux masking, you’re using the edges of the die-cut shapes to create a "mask" for the next image you want to stamp. After, you can arrange the die cuts into an appealing design on a separate panel, or you can combine it with the in-lay technique by reusing the negative. Here, check out the video to see this fun little technique in action:
Faux masking is an excellent technique to add dimension to your paper crafts.
5. DIY Stencils
Speaking of faux masking, did you know that you can also use your dies to make DIY stencils? That's right - you shouldn’t discard your leftover die-cuts just yet!
Some die sets come with coordinating stencils to help you color in your die-cuts, but in certain cases when they’re not available, it's time to get creative and make your own! Here’s a handy tutorial about creating your very own set of stencils using dies:
Simply follow the same process above and voila, you get your very own set of craft stencils from your dies!
And, while a five-layered die-cut on cardstock may not be necessary, we advise you to use a durable material such as acetate or masking paper so that the DIY stencils can be reused a bunch of times and last longer.
- Fasten your die onto a piece of thick acetate or masking paper using low-tack tape.
- Next, proceed with your usual die cutting steps by passing it through your machine.
- Save the cut-outs from the paper to use as masking stencils, and utilize the outlined cut as your stencil.
- Secure the homemade stencil onto a piece of cardstock, and have fun with ink-blending using your personalized stencil!
Here’s a tip for adding more details: try sketching and tracing the ink-blended patterns created by your homemade stencils!
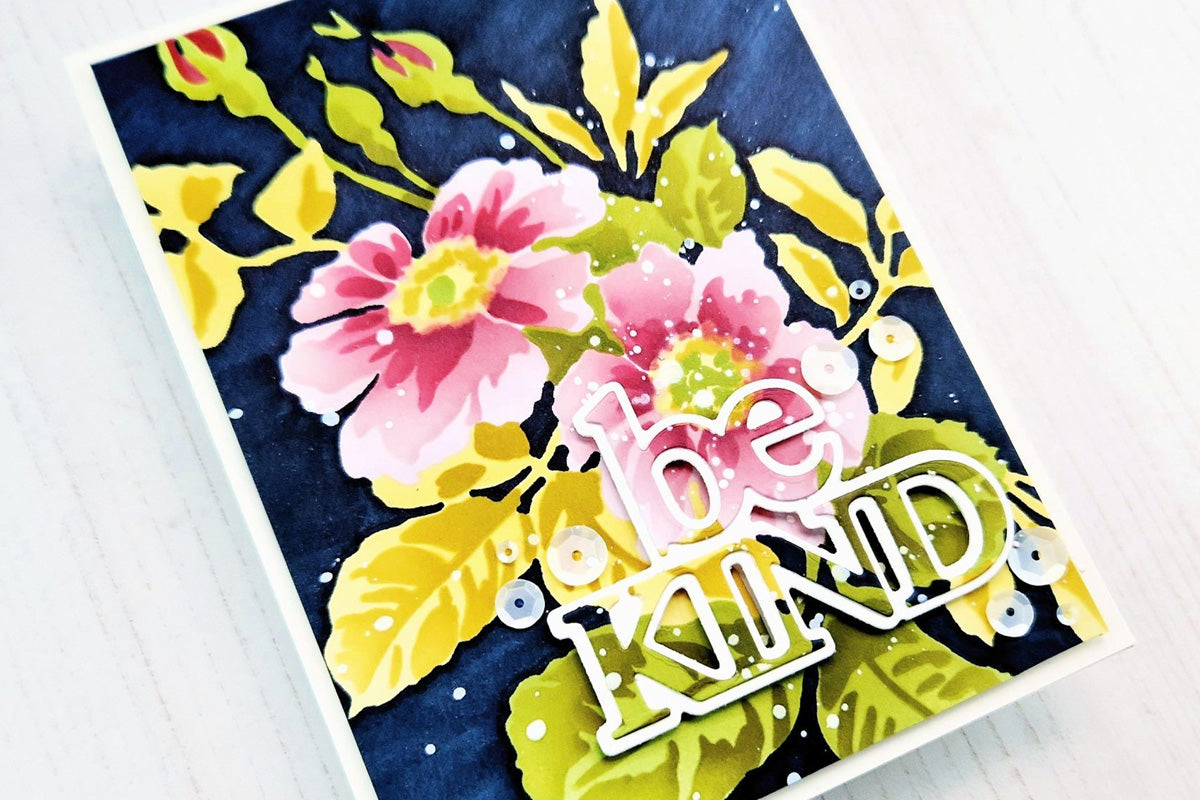
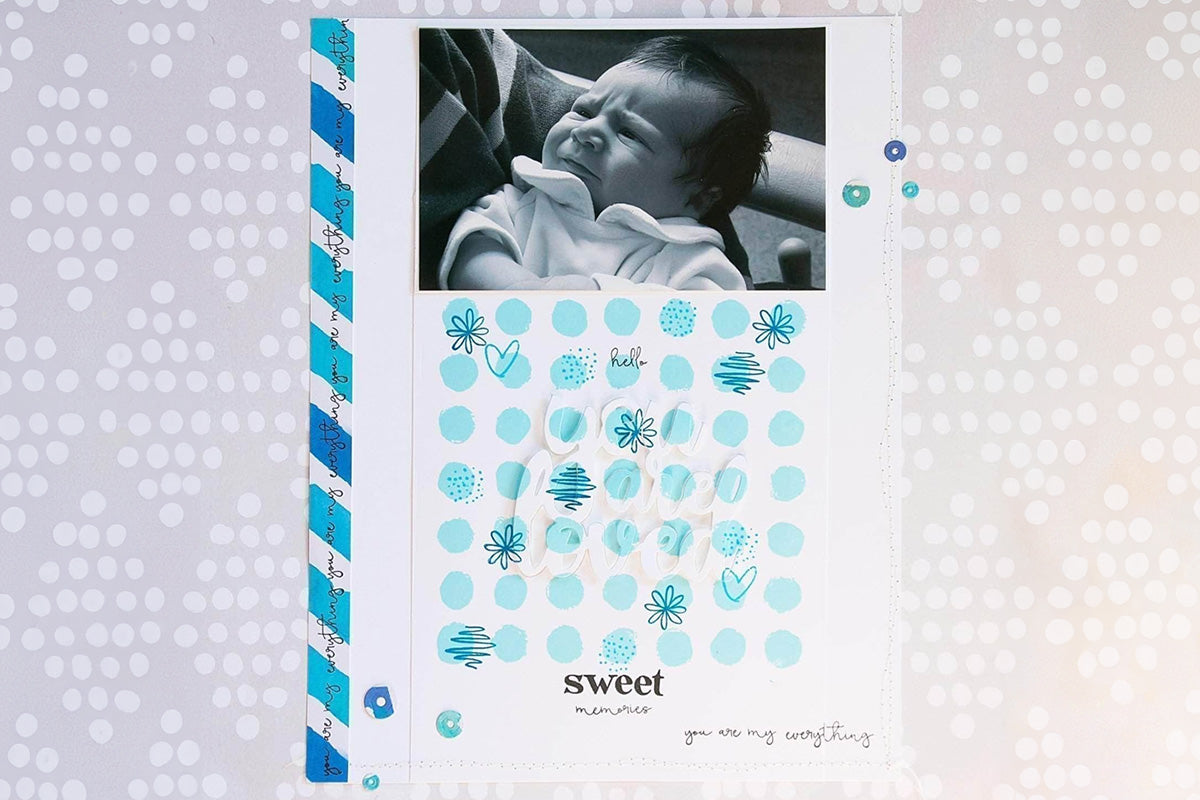
6. Shaker Die-Cuts
Who can resist a delightful shaker card?
Shaker cards have always been beloved by crafters, and when you combine this technique with die cutting, it brings the excitement of your recipient to a whole new level!
Use a geometric shape die (circles, squares, rectangles, etc.) to die cut cardstock and acetate. Then, you create a clear window and fill it with tiny embellishments like sequins or beads to create an enchanting shaker!
And it's not limited to just cards! Take a look at this video tutorial for creating a shaker tag:
Shaker cards are playful and dynamic crafts that are perfect for birthdays or festive holiday celebrations. Guaranteed, they’ll make a lasting impression.
Learn About the Best Die Cutting Machine for Beginners!
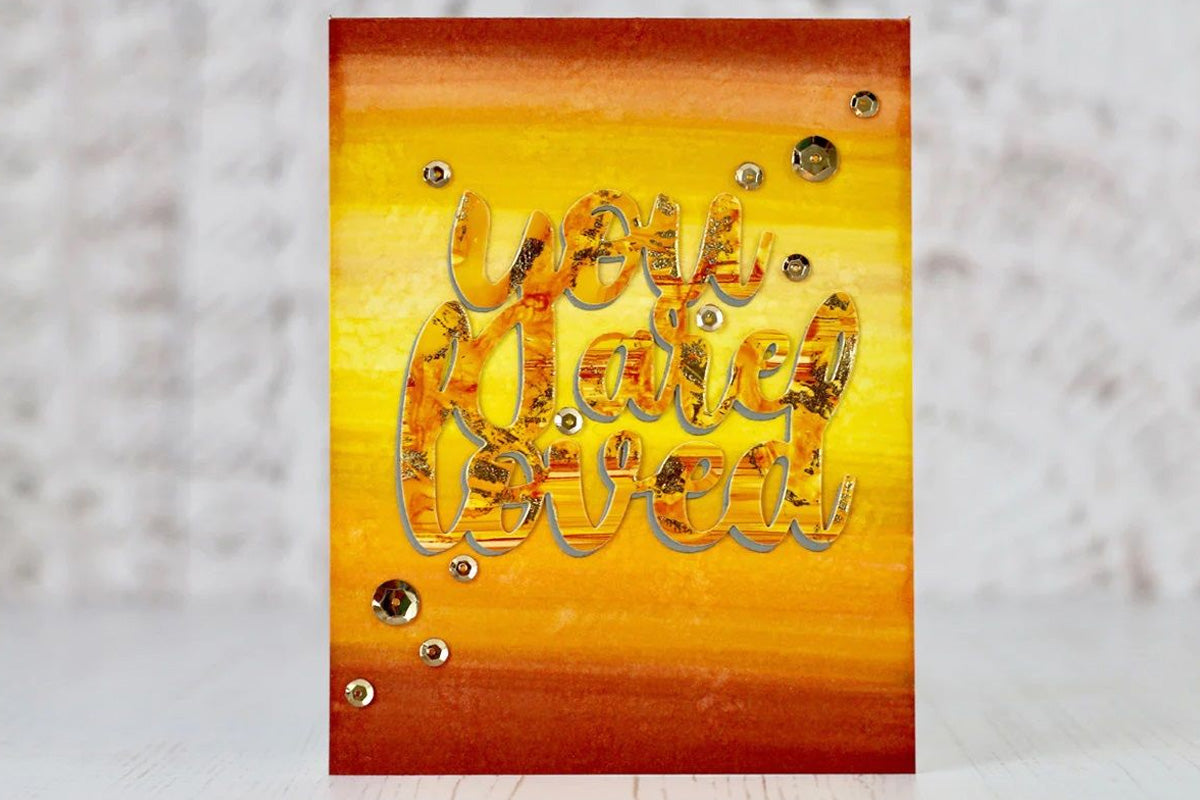
7. Partial Die Cutting
Last but not least is partial die cutting. This crafting method involves cutting only a section of your panel or die-cut while leaving the rest untouched or partially cut. Unlike standard die cutting, which fully cuts through your paper or cardstock, partial die cutting enables more innovative and distinct effects.
- Position the cutting edge of the die partially onto the paper or cardstock. You can do this with the help of a removable tape to secure the die in place or by adjusting the placement within a die-cutting machine.
- Next, assemble a sandwich in which the top cutting plate only covers the area where you want it to be cut. This ensures that a section remains uncut because there will be no pressure on the parts not covered by your cutting plate.
- Run it through your machine as usual, and voila! The resulting design should appear partially cut or "partially popped out" from your cardstock or paper.
There are countless exciting possibilities with this method! Picture adding peek-a-boo windows to cards to unveil a hidden message or adorable image. Or highlighting an image or message while cutting away the surrounding area!
No matter what design you go for, partial die cutting will help make your creations stand out. Watch the video below to learn more:
Bonus: 5 Crafting Supplies and Tools to Enhance Your Die Cutting Techniques
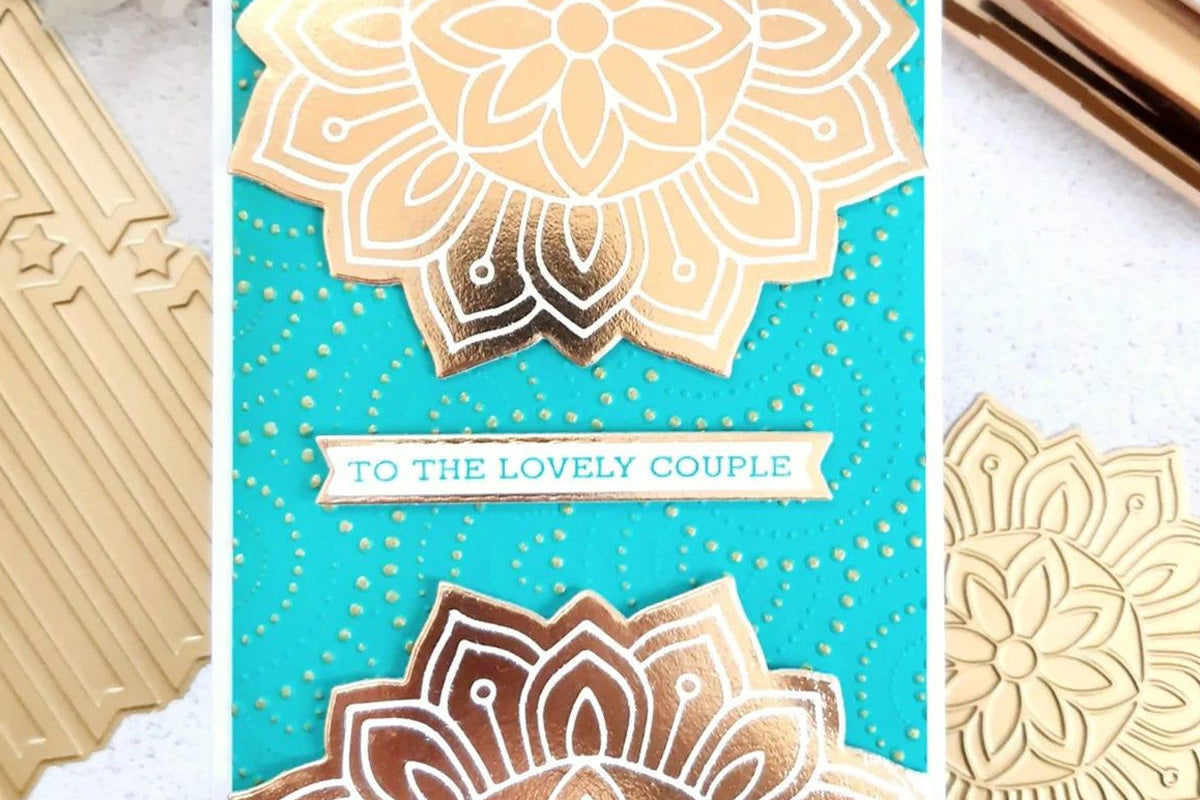
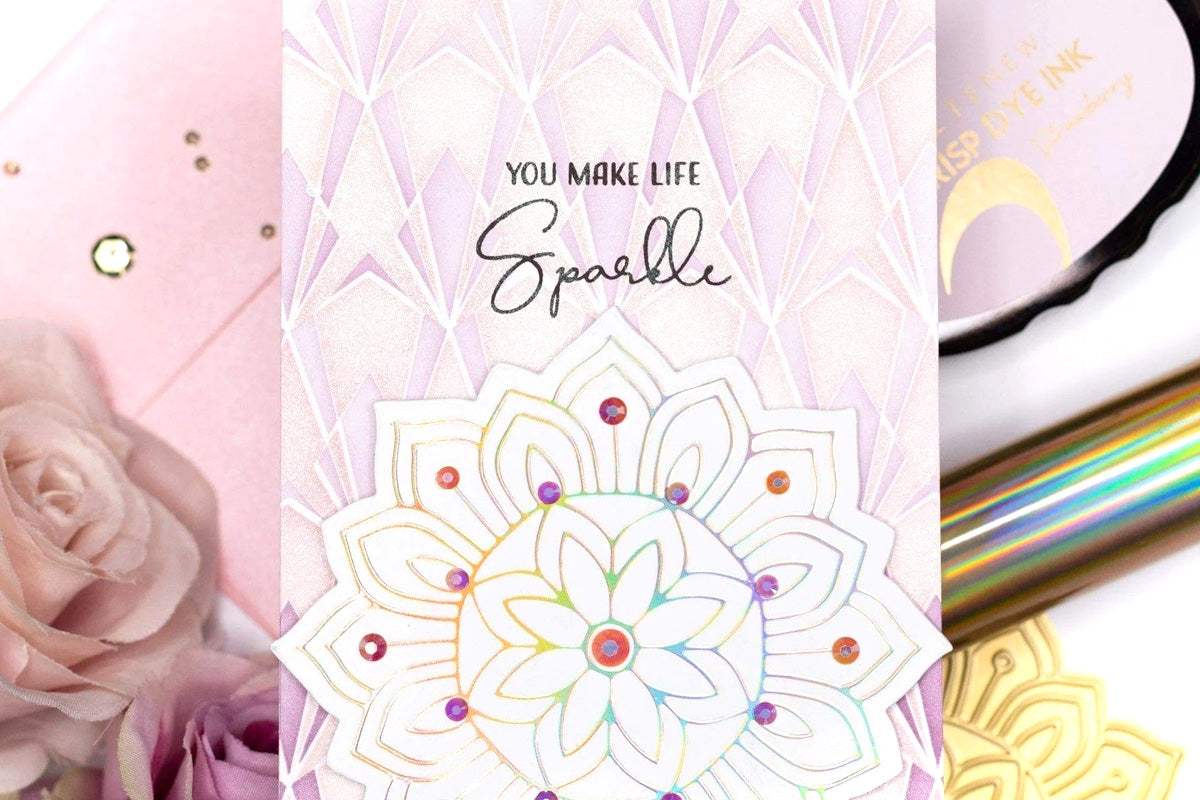
1. Hot Foiling
If you're looking to enhance your die cuts, try using hot foil plates to add some glimmer and shine. The reflective quality of the foil, combined with your stamps and inks, will truly elevate your crafting projects!
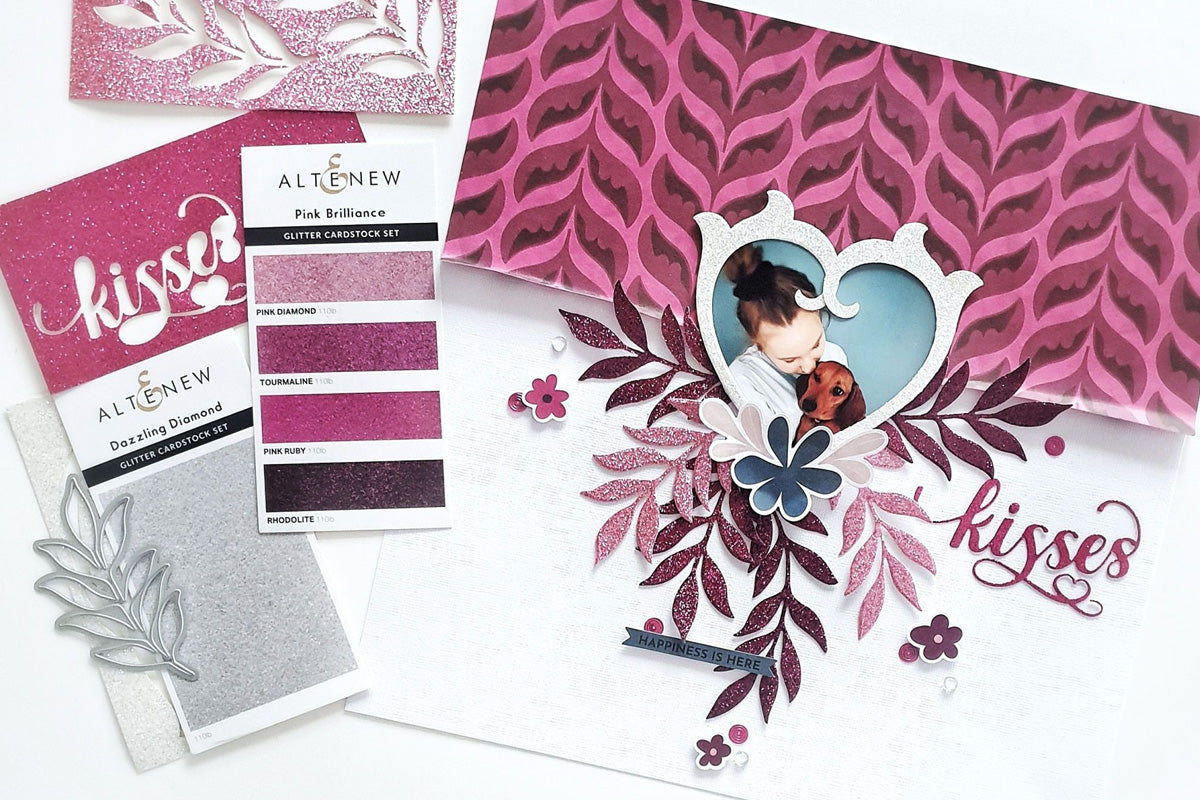
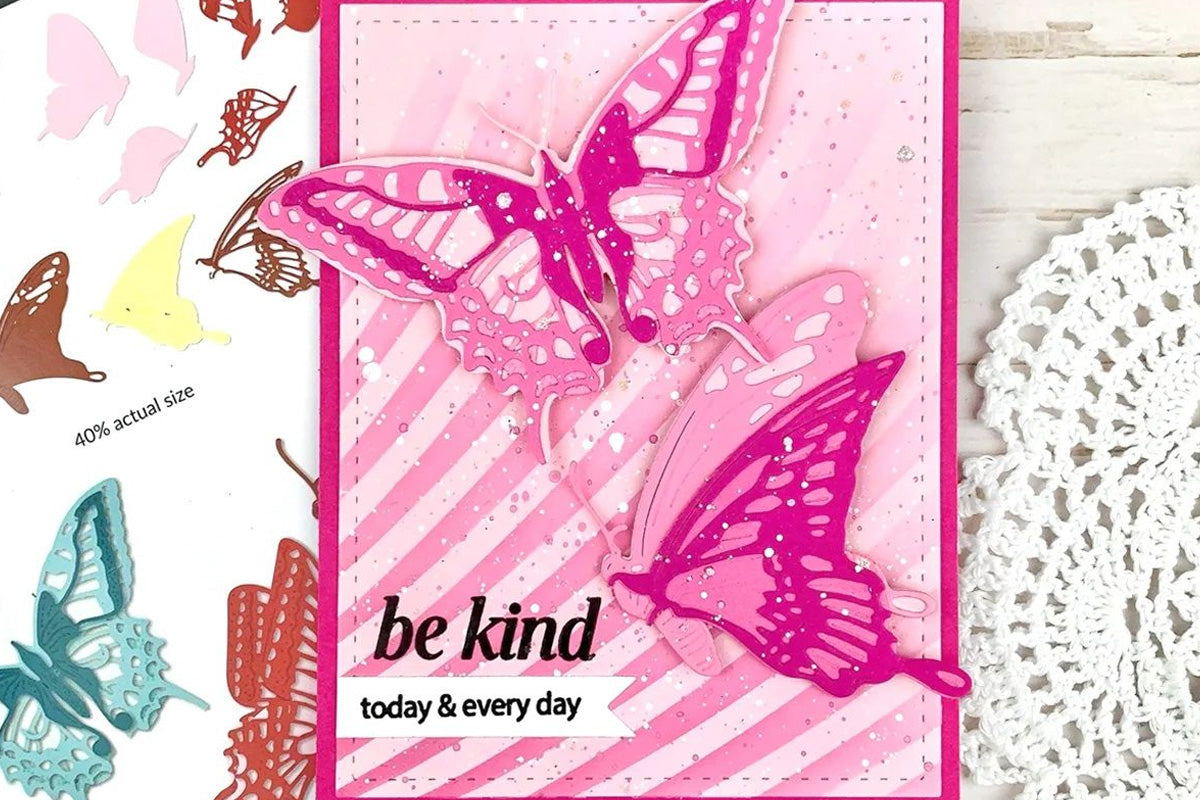
2. Glitter Cardstock
Don’t have a hot foil plate, but still want some glimmer and shine to your die-cuts? Use glitter cardstock! These handy paper products bring you the sparkle of glitter, without the mess!
3. Scrapbook and Patterned Paper
Sometimes, just a little color can work wonders. Use scrapbook and patterned paper to quickly make beautiful, colorful die cuts!
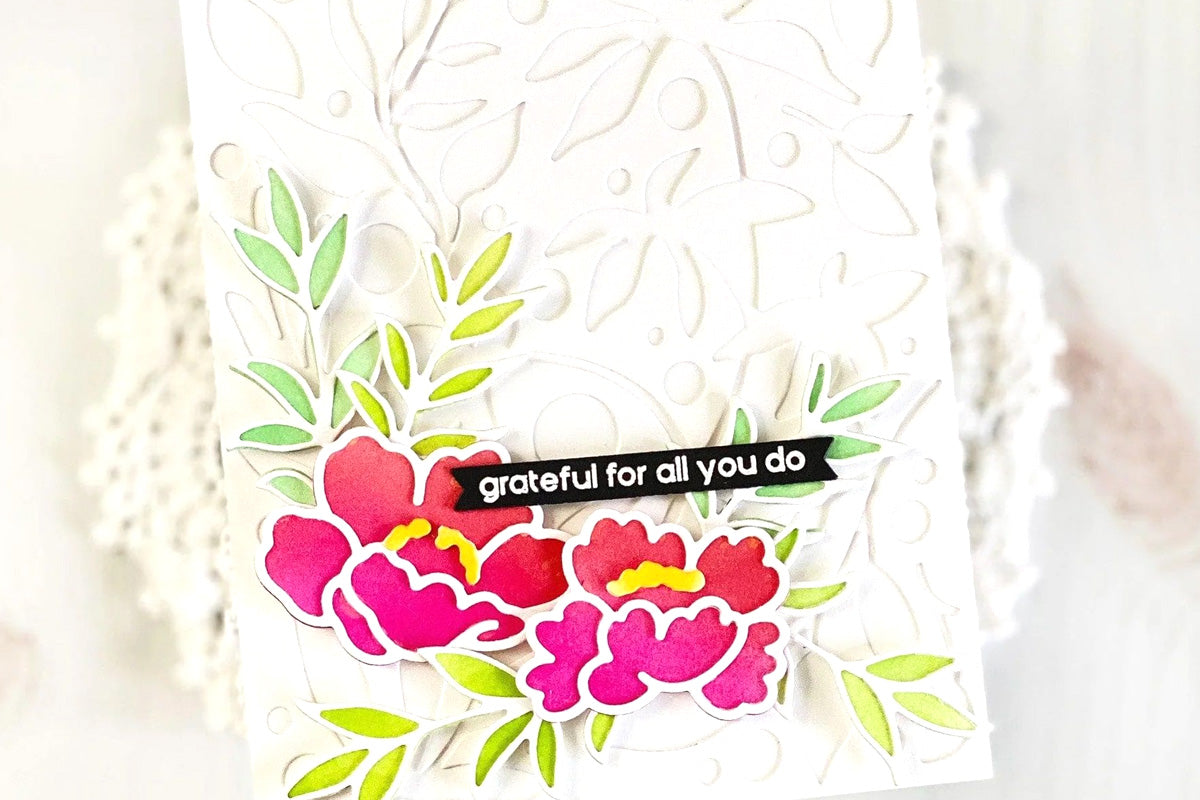
4. Cover Dies
Other times, you only need a beautiful focal point and a captivating background texture to create stunning cards. Create impressive cards with the help of cover dies!
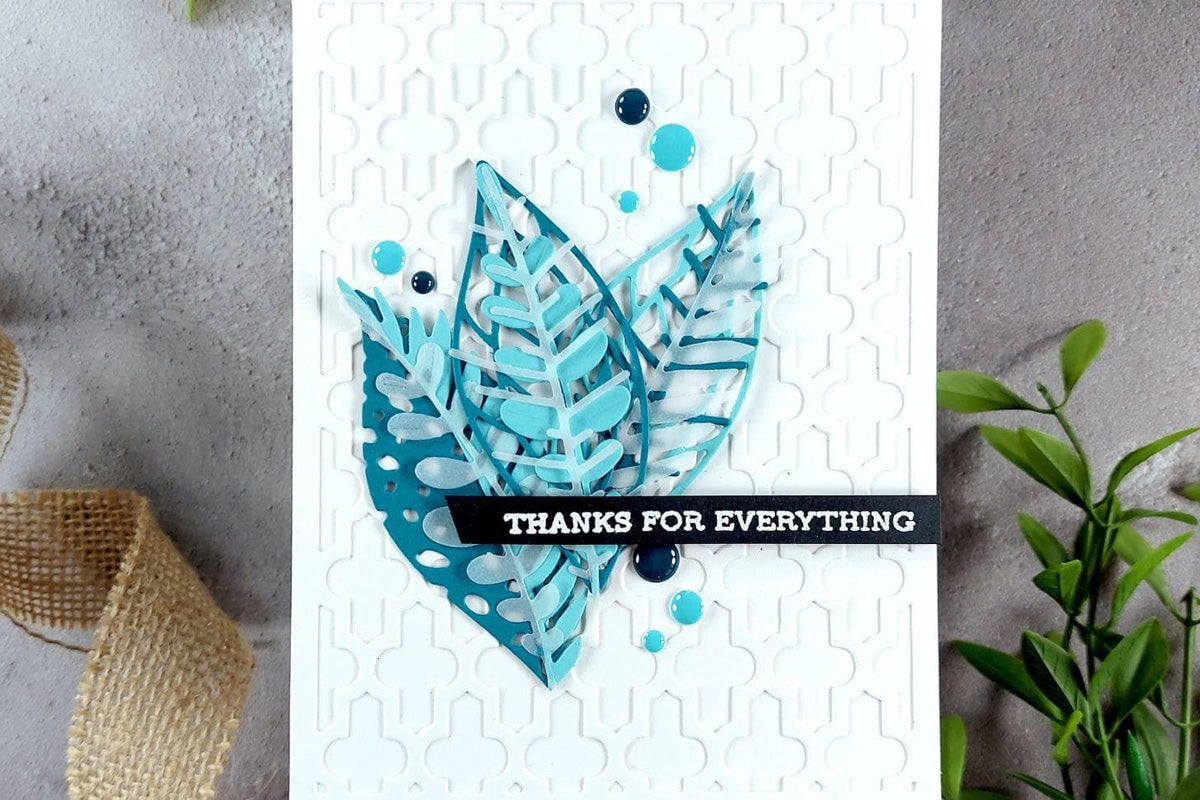
5. Alphabet Dies
Alphabet craft die sets let you personalize your projects with bold sentiments. You can even use both the positive and negative die-cuts on different projects, reducing waste and maximizing the use of all elements!
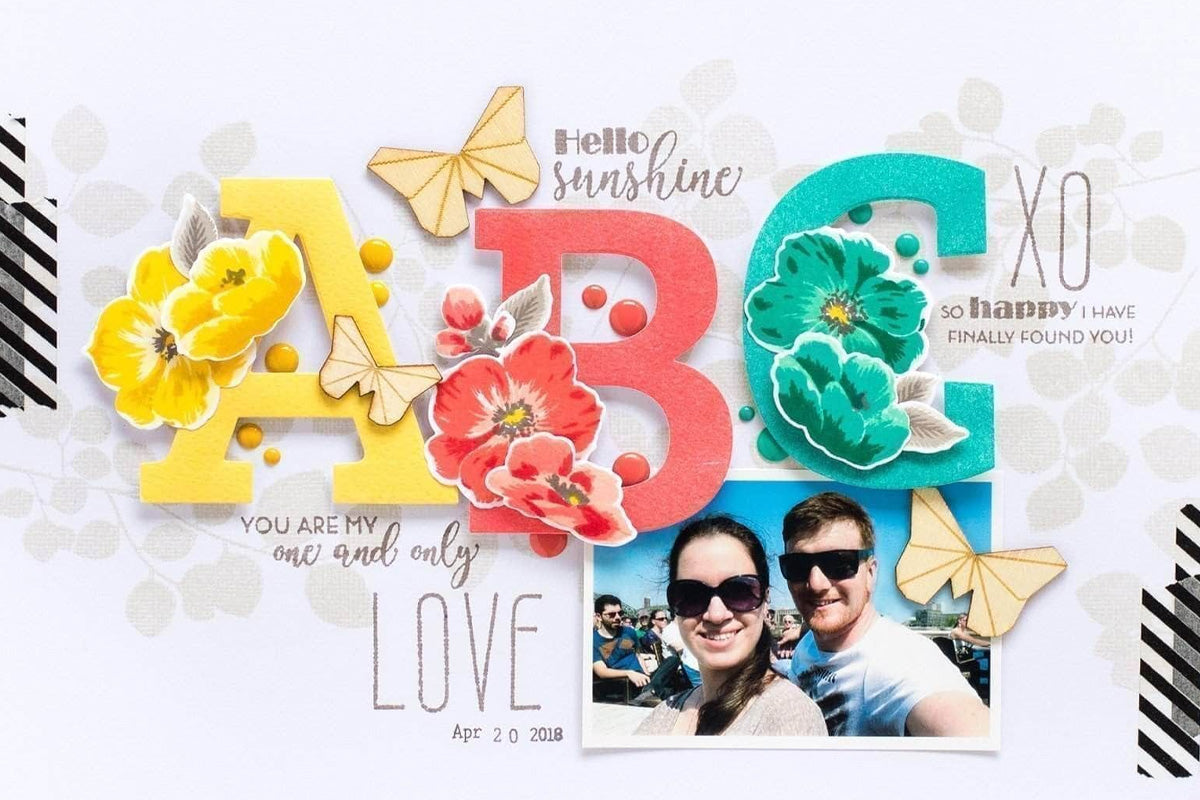
PRO TIP! Carefully plan the arrangement of your alphabet dies. Take your time arranging them and carefully measuring spaces in between before cutting and affixing them to make sure you get perfect placement every time.
Check Out the Best Dies for Your Die Cutting Needs!
So, there you have it! With these beginner-friendly die cutting techniques and these amazing supplies in your crafting arsenal, you're ready to dive into the wonderful world of die cutting with confidence!

Whether you're making personalized cards, scrapbook layouts, or unique decorations, mastering these techniques will open up a whole new realm of creative possibilities. So grab your favorite dies, fire up your die-cutting machine, and let your imagination run wild! Happy crafting, and may your projects be beautifully cut and wonderfully crafted!
Your Ultimate Guide to Paper Crafting
Click on each topic and subtopic to read more!
- What is Card Making? Everything You Need to Know About This Popular Paper Crafting Hobby
- 10 Best Stamping Ideas for Card Making (With Video Tutorials!)
- 15 Card Making Supplies You Need In Your Stash
- Card Making Tips and Tricks That Every Card Maker Should Know
- Advanced Card Techniques to Elevate Your Cardmaking Skills
- How to Make a Card: Step by Step Guide
- Paper Crafting Tools: Essential Craft Items and Tools
- Basic Paper Crafting Tools Every Crafter Should Have
- Organize Craft Supplies and Tools Easily With These Hacks!
- Different Types of Paper Crafting Tools and Their Purpose
- How to Organize Markers, Pens, and Pencils: A Comprehensive Guide
- The Ultimate Guide on How to Clean and Store Craft Supplies
- A Comprehensive Guide to Greeting Card Envelopes
- What Is the Stampwheel and How to Use it?
- Types of Embellishment in Paper Crafting - A Complete Guide
- A Guide to Hot Foil Plates and Press Plates