Hello Bearded Iris! New Favorite Craft-a-Flower Unlocked with One Die-Cut, Three Cards!
OHMYGOSH, I am so excited about this latest addition to the Craft -A-Flower family, the Bearded Iris Layering Dies!! Hi, by the way, it's Erica the crazy flower loving lady back on the Altenew blog and YouTube channel with no less than three different iris cards. I might have gone completely crazy but it is truly such a gorgeous flower, both in real life and these paper versions.

For these purple ones the die cut pieces have been ink blended, but you can add color to them in many ways, or even use colored cardstock. There are so many possibilities and color combinations you can try. You can really have some fun with these Craft-A-Flower die cuts and this CAF Bearded Iris is no exception.
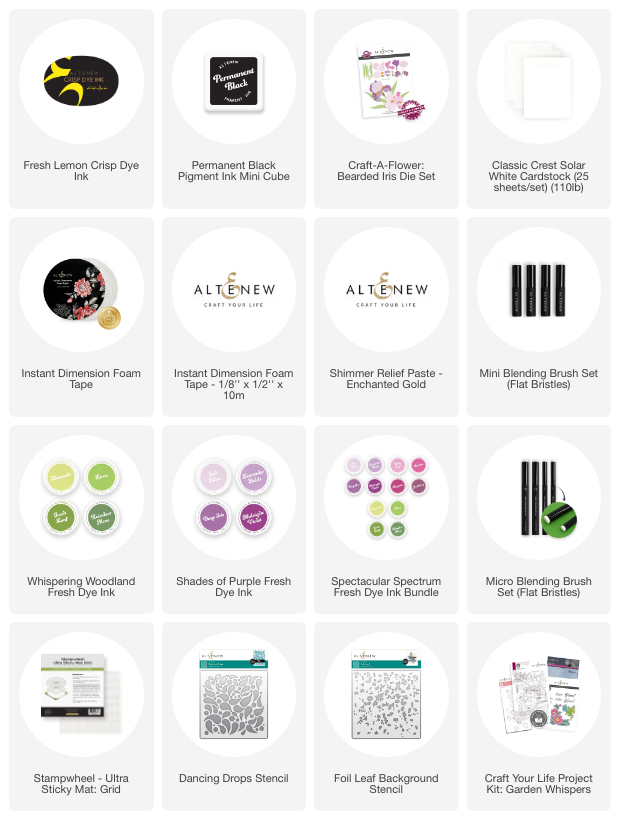
I have used inks from the Shades Of Purple Fresh Dye Ink Bundle to bring these petals to life, and a bunch of Mini Blending Tools and the Grippy Mat from the Stampwheel 2.0.

On these pieces I have gone straight in with Deep Iris Fresh Dye Ink, from the Shades Of Purple Fresh Dye Ink Bundle, a light hand and lots of patience. You start by adding color in one spot, and then slowly go out towards the opposite end of the die cut. You want to leave a little bit of white for a highlight, or at least leave it much lighter than the rest.

If you want a more dramatic look (and who doesn't?) go in with some Midnight Violet Fresh Dye Ink. Not all the way over the die cuts though, only a little bit over the Deep Iris parts. It really makes such a difference and adds so much contrast and interest.

The other little pieces, like the stamens and the stems have had colors added to them too, to look relatively natural. Natural irises are blue-purple with little bits of white and yellow, so I have tried to keep these as close to that as possible.
Fresh Lemon Fresh Dye Ink for the stamens, and the stem parts were a mix of Fresh Leaf and Reindeer Moss Fresh Dye Ink, from the Whispering Woodland Fresh Dye Ink Bundle.

When the ink has dried on the leaf die cuts, you can go in with more Reindeer Moss on the edges to create a deeper 3D look. The Micro Blending Brushes make this super easy, as you have so much control over where the ink goes, as opposed to when you use the bigger tools.
Once all the pieces have color on them it's time to start puzzling them together. With the Key Hole System it is absolutely fool proof. You will have gorgeous iris flowers in just a few minutes.
When you have enough pieces, both complete flowers and leaves, it's time to start thinking of backgrounds, sentiments and embellishments. You can ink blend over a stencil, or add shimmer with Shimmer Relief Paste. The Dancing Drop Stencil makes for beautiful results with both.

For this card, which you might recognize from the February Release YouTube hop, I made an ombré background using the Dancing Drops Stencil and the Whispering Woodland Fresh Dye Ink Bundle. It helps add to the foliage look, I think, and the ombré gives the background even more interest.

If you watch the YouTube video you will see the card down below coming to life. The shimmer on the background, with the Shimmer Relief Paste in Enchanted Gold, over that Dancing Drops Stencil, is so much better in real life.

On this one I used two iris flowers as I had a fair few of them, and I layered these two up in a strategic way so they are not hiding the other one too much. To give the flowers even more depth and dimension, I adhered some Instant Dimension Foam Tape 1″ width on the back of them, as well as some of the leaves.

Sentiment wise I kept it quite simple, but with height thanks to stacking a few die cuts. The ‘Thank you for being you' is from the Craft Your Life Project Kit Garden Whisper and it's stamped up with Permanent Black Ink. This card has so much texture and dimension, and I am here for it!

The final iris flower I had with the purple coloring I used on a similar background as the first card shown, but this time I used the Foil Leaf Background Stencil with the Whispering Woodlands Fresh Dye Ink Bundle. Again in an ombré fashion, leaving the top lighter.

This Bearded Iris is also adhered with Instant Dimension Foam Tape, I used the Instant Dimension Foam Tape 1″ width, but this time all the leaves are adhered as flat as possible. While I really love dimension and layers, sometimes it really helps an element stand out if only ONE piece is propped up with foam tape.

I did a similar thing with the sentiment here, and this one is also from the Craft Your Life Project Kit Garden Whispers Stamp Set. This one is also layered up with a couple of die cuts before I adhered it on top of the iris flower.

The reason I put it on top of the flower and not in the bottom right corner is because I managed to drop a die cut piece, that of course had glue on it, right on top of this one… the glue made the ink react so there is a little bit of a boo-boo on it. I didn't want to throw it away, so the easiest solution was to cover it up with a sentiment.

If you get a chance to watch THE YOUTUBE VIDEO, make sure to leave me a comment and let me know which background you like the most! If you are a fan of the Craft-A-Flower range you simply must check out the Bearded Iris, it pretty much INSTANTLY jumped to the top spot of my favorites and I really love this range of products, so that says a lot!

That's it from me for today, but thank you so much for hanging out with me for a little bit. I hope you found this post inspiring and fun. Until next time, lots of love and creativity from Erica