Try Effortless Watercolor Pencil Coloring on Die-Cuts for Gorgeous Cards!
Hello, friends!
Svitlana here today, sharing a simple technique of watercolor pencil coloring on die-cuts that doesn’t require special watercolor paper! This is perfect for all of you who enjoy playing with color!

Die-Cutting the Floral Elements
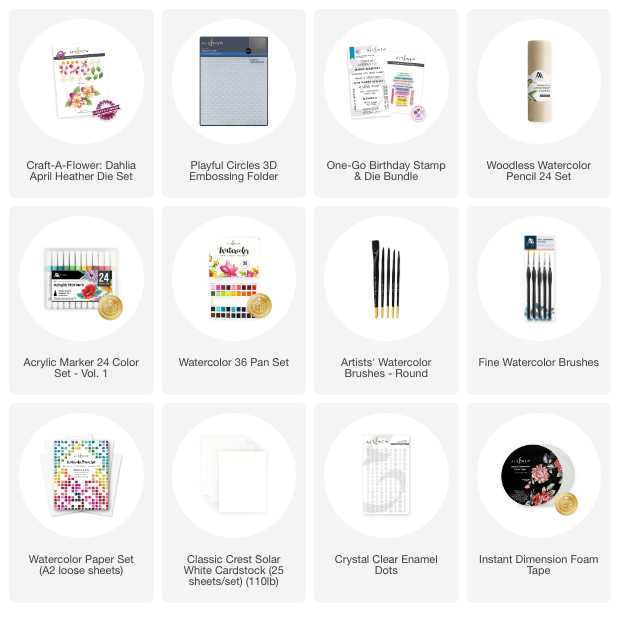
To start, I die-cut two flowers and several leaves from Solar White Cardstock using the Dahlia April Heather Die Set.
While this cardstock isn’t specifically designed for watercoloring, it can still handle a bit of moisture with the right approach.
You might be wondering why I didn’t just use watercolor paper, especially a smooth hot-pressed one. The truth is, I tend to save my watercolor paper for more intricate painting techniques (in other words I treasure and hoard it haha). Plus, this method allows me to achieve beautiful watercolor effects on non-white cardstock, something I do quite often!
Easy Watercolor Pencil Coloring on Die-Cuts
Once I had all my die-cut pieces ready, I moved on to coloring using the Woodless Watercolor Pencils. I say “coloring,” but really, the process was incredibly simple— I just scribbled lightly onto the die-cut pieces and then blended the color using a slightly damp brush.
- For the flower petals, I used Crimson and Ruby Red Woodless Watercolor Pencils.
- For the flower centers, I used a mix of Fresh Lemon and Jet Black.
- For the leaves, I chose the Shadow Creek Woodless Watercolor Pencil.

The key to keeping the die-cut details crisp is not to oversaturate the paper with water. Since Solar White Cardstock isn’t designed for heavy water use, I used just enough water to blend the pencil pigment while maintaining the subtle debossed details from the die-cutting process. The Woodless Watercolor Pencils pigment moves very easily, I didn't need lots of water to wash it out.
To add even more dimension, I used a White Acrylic Marker to highlight certain areas and splattered some matching watercolor shades onto the elements. This helped enhance the depth and added an organic feel to the florals.
Creating the Background with Watercolor Wash & Texture
For the background, I created a simple watercolor wash on a Watercolor Paper panel using Dusk paint from the Watercolor 36 Pan Set. Using a wide brush, I brushed the color onto the panel, allowing it to dry before adding splatters of the same shade. This extra step helps create visual interest without overwhelming the focal point.

To add texture, I embossed the background panel using the Playful Circles 3D Embossing Folder. I love how this subtle detail enhances the watercolor wash while keeping the background from looking too flat.
I trimmed the panel so it was 1 inch smaller than an A2 card base and foam-mounted it onto a white card base using Instant Dimension Foam Tape for extra depth.
Assembling the Card
With all my elements ready, it was time to assemble the card.
I arranged the die-cut flowers and leaves onto the background, adhering them with liquid glue. The keyhole alignment system in the die set made layering incredibly easy!

The sentiment was stamped using the One-Go Birthday Stamp & Die Bundle, then popped up onto the card.
To finish everything off, I added Crystal Clear Enamel Dots, which mimic water droplets and complement the watercolor look beautifully.
I love how this card turned out! Watercolor pencil coloring on die-cuts is such a fun and easy way to add color and depth without needing watercolor paper. Whether you're working on a white or colored background, this technique lets you achieve soft, blended results with minimal effort.
Have you tried coloring die-cuts with watercolor pencils? Let me know in the comments! Happy crafting!
~SUPPLY LIST~