Layered Rainbow Ink Blending with Stencils Made Easy
by Michelle Short October 18, 2026

Key Takeaways
Fewer Inks Needed: Blending primary ink colors naturally creates missing secondary shades (e.g., Pink + Yellow = Orange; Yellow + Blue = Green; Blue + Purple = Indigo).
Layering Adds Depth: A second layer of deeper dye or pigment inks adds visual richness, dimensions, and pop to flat cardstock cutouts.
Versatile Technique: Works with layering stencils, single-layer stencils, or direct-to-paper blending over stamped images.
Sturdy Tag Construction: Stacking and gluing duplicate tag die-cuts ensures structural stability and a clean background for personal handwriting.
Hello there, Michelle here with another edition of Terrific Tags with Michelle. Today, I have an exciting paper crafting technique to share: layered rainbow ink blending with stencils. This simple crafting method instantly brightens up any handmade project, card design, or gift tag. Using stencils makes achieving smooth, vibrant rainbow gradients quick and accessible for crafters of all skill levels!
While I am showcasing specialized layering stencils today, this technique works with almost any image or stencil setup you have in your craft room. Even a single-layer background stencil will yield stunning results!

1. Creating and Preparing the Base Layer
To launch this project, start by focalizing your main stamped artwork:
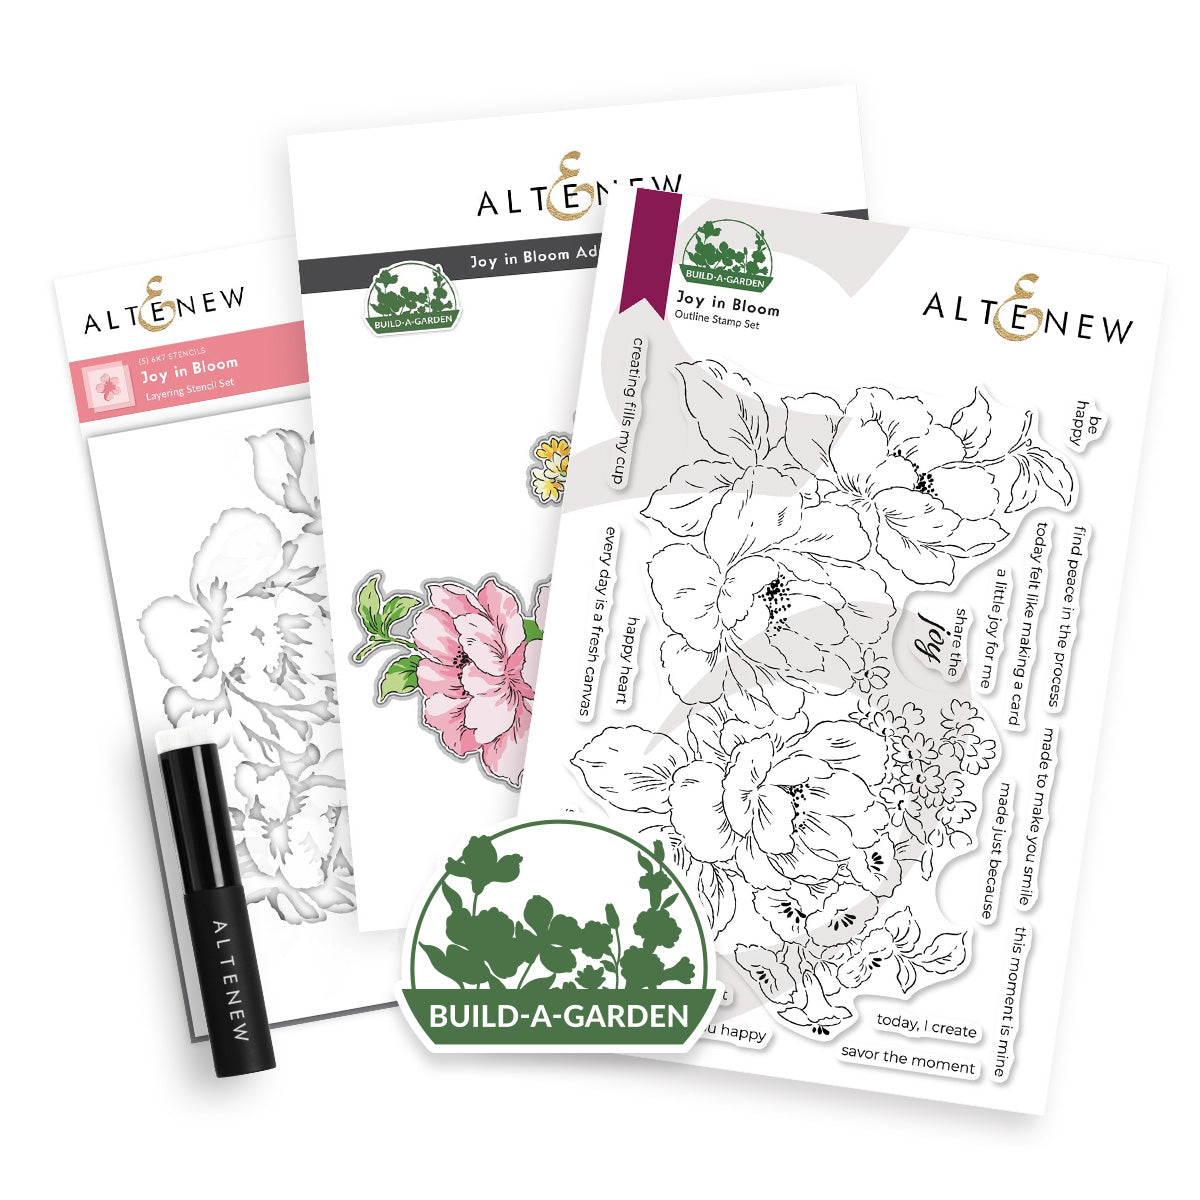
Take the large botanical floral image from the Build-A-Garden: Joy in Bloom & Add-on Die Bundle.
Stamp the design onto a panel of crisp Classic Crest 110lb Solar White Cardstock using rich Obsidian Pigment Ink. For crisp impression precision, use a stamping tool like the Stampwheel 2.0.
Die cut the stamped outline using its coordinating die set.
Since this design will be displayed on a tag, shaping the paper early streamlines your layout work. Place the largest fishtail banner tag die from the Terrific Tags Die Set over the stamped cut-out, aligning it carefully, and run it through your die-cutting machine. Pre-cutting the tag allows you to visually plan where each color transition should land across the focal area.

2. Layering Rainbow Ink Blending with Stencils
To ensure seamless alignment during ink blending:
Position the die-cut tag onto a Sticky Mat to keep the cardstock secure.
Place the first overlay from the Build-A-Garden: Joy in Bloom Stencil Set directly over top. The Sticky Mat will hold both paper and stencil firmly in place without requiring extra low-tack tape.
Did You Know?
Color Theory Hack: You don't need a massive collection of ink pads to create a seamless 7-color rainbow blend! By using basic primary tones—like pink, yellow, blue, and purple—and allowing their edges to overlap while ink blending with stencils, you naturally create smooth secondary transitions for orange, green, and indigo.

Blending Layer 1: Soft Rainbow Base
While you can start ink blending anywhere on the layout, starting at one extreme end of the color spectrum prevents unwanted muddy color mixes. Start in the bottom right-hand corner with soft purple and work diagonally upward toward pink at the top.
Because small die-cut images have limited surface area, using individual ink pads for every single rainbow shade can be tight. Instead, blend key primary and pastel shades together to create smooth secondary colors on the cardstock:
Baby Pink (Top Left)
Buttercream (Middle Left)
Turquoise (Middle Right)
Hydrangea (Bottom Right)
How the Overlap Works:
Pink + Yellow transitions into soft Orange
Yellow + Blue seamlessly yields crisp Green
Blue + Purple blends smoothly into deep Indigo
Continue across each portion of the first stencil layer until the entire image carries a soft, bright color wash.

3. Adding Depth with a Second Stencil Layer
To take your layered rainbow ink blending with stencils from simple to extraordinary, add a second layer of deeper ink tones.
For the second stencil pass, apply richer tones directly over the base blending:
Fuchsia (Top Left)
Warm Sunshine (Middle Left)
Tide Blue (Middle Right)
Ultraviolet (Bottom Right)
Note: While some stencil sets feature third-tier detailing layers, stopping at two layers maintains a clean finish. Adding that second layer of ink blending provides rich contrast, bringing the artwork to life with bold saturation.
Crafter's Tip: You can also apply this technique without stencils entirely! Simply apply smooth rainbow ink blending directly across a white cardstock panel and stamp your outline image on top.

4. Tag Assembly and Custom Sentiment
Once your ink blending is dry, construct a heavy-duty, professional tag base:
Build a Sturdy Tag: Die cut the tag outline twice from Classic Crest 100lb Solar White Cardstock. Adhere these layers together using Glue Tape. This double-thick base creates structural integrity and ensures the back of the tag remains clean for handwritten personal messages.
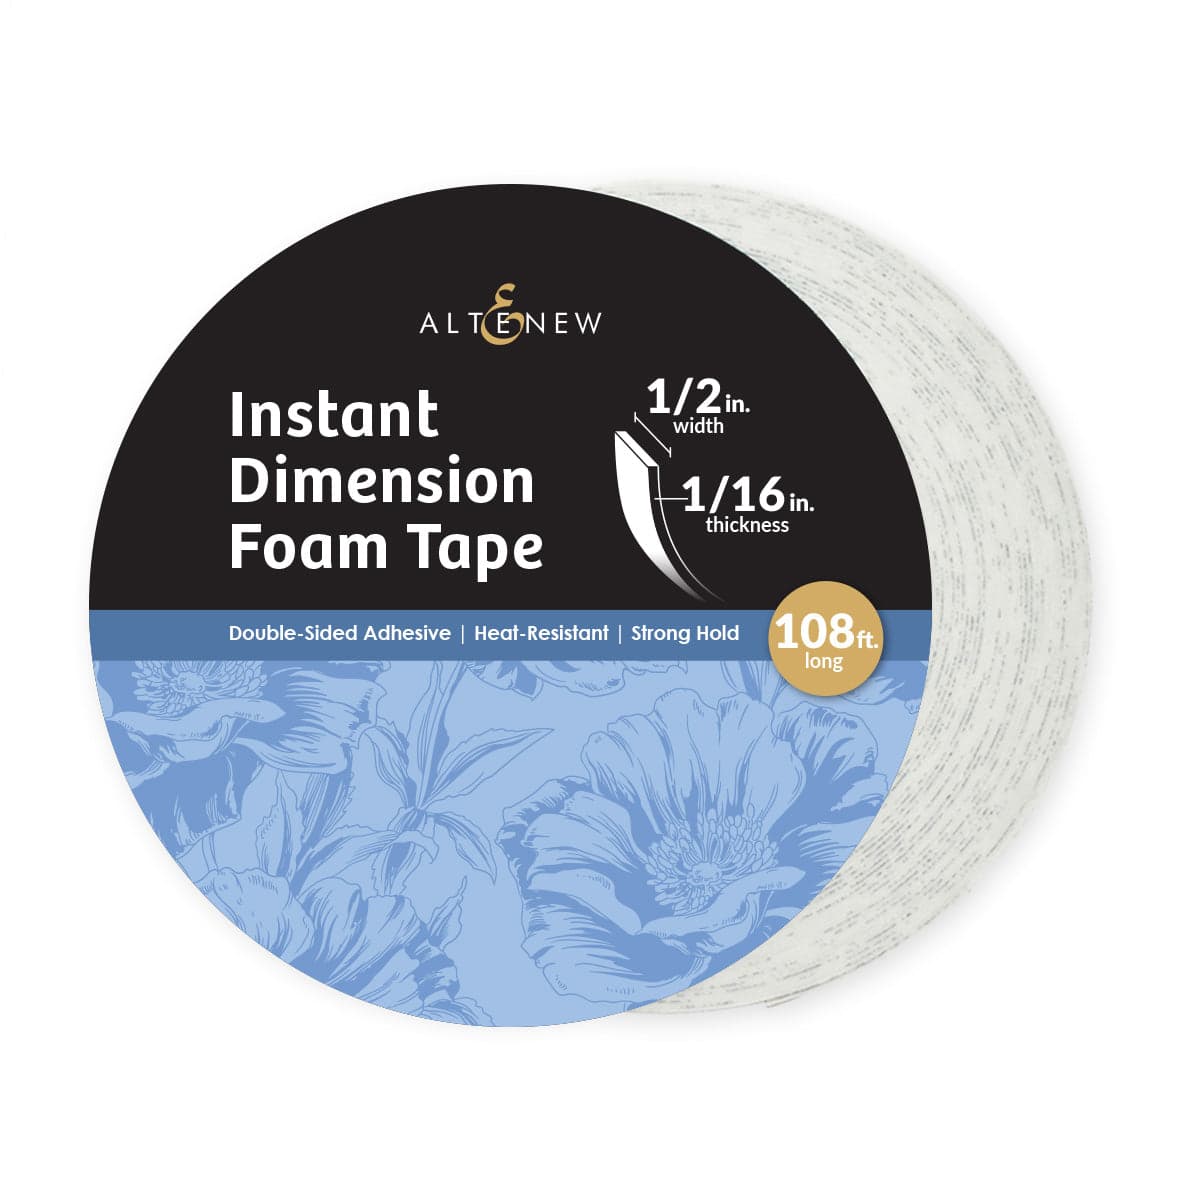
Mount the Focal Image: Adhere your rainbow-blended die-cut onto the reinforced tag base using Instant Dimension Foam Tape for pop-up depth.
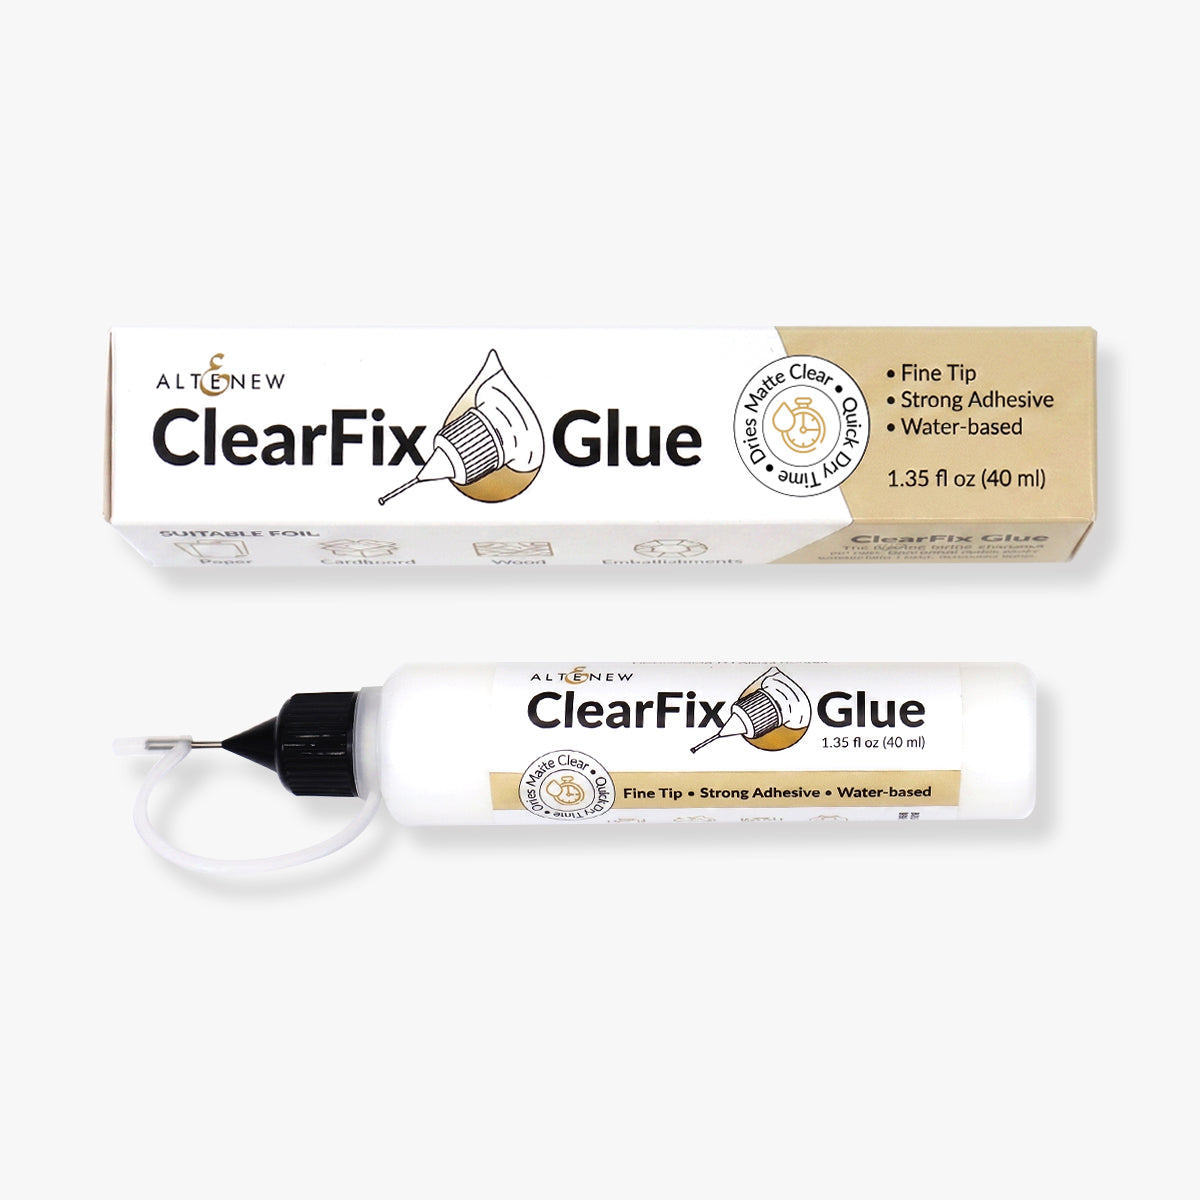
Add Sentiment & Dimension: Stamp the "share the joy" sentiment from the Build-A-Garden: Joy in Bloom Stamp Set in Obsidian Pigment Ink. Die cut the sentiment once, then cut two additional blank sentiment shapes from scrap cardstock. Stack and adhere all three layers together using ClearFix Glue before securing the dimensional sentiment onto your tag.
Final Embellishments: Thread natural baker's twine or ribbon through the top hole and tie a neat bow. For subtle sparkle, finish the tag by scattering a few Clear Iridescent Stellar Sequins across the design.
Watch the Step-by-Step Video Tutorial
Ready to see layered rainbow ink blending with stencils in motion? Watch the full step-by-step video tutorial below or head over to YouTube to follow along!
Thank you so much for stopping by today, I hope you have a wonderful day!

Enjoy FREE U.S. Shipping on orders over $49 (no code needed) from October 17, 2026 at 12:01 AM EDT until October 19, 2026 at 11:59 PM EDT. Shop here: https://altenew.com/collections/all-the-paper-crafting-supplies-you-need Disclaimer: Free shipping valid on qualifying orders of $49+ after discounts, promotions, and reward point redemptions are applied.
SUPPLY LIST
|