How To Shape Stenciling Using Masks (With Video Tutorial) | Terrific Tags with Michelle
Hello there, Michelle here with another edition of Terrific Tags with Michelle. Today I am sharing how to do shape stenciling using a mask. This is really easy to do and if you like the clean and simple look, it is a perfect way to add stenciling to a project!

How To Mask a Stencil
I wanted to have the stenciling on my card be in one place and in a circle shape. The easiest way to do this is by using a mask. You can create your own mask, or you can get a mask stencil, which is what I am using today.
I took a 4.25″ x 5.5″ panel of Classic Crest 110lb Solar White Cardstock and secured it to my craft mat. I then placed the Squiggly Lines Background Stencil on top, holding down with Satin Masking Tape.
I took the Circle Mask Stencil, and using the negative piece, placed it over the panel so that the circle opening was to the right-hand side. It was then secured in place with more Satin Masking Tape.
I took Pearl Shimmer Relief Paste and using a Palette Knife, spread it over the circle opening created with the mask (with the stencil below). I carefully removed the mask and stencil and set the panel aside to dry.
I absolutely love this shimmer paste as it gives the perfect amount of shimmer to a clean and simple card!

The Focal Point
The reason I wanted the stenciling to be in a circle shape was to peek out from behind my focal point – the iris.
I die cut the layers for one of the irises from Craft-A-Flower: Bearded Iris Layering Die Set from Classic Crest 110lb Solar White Cardstock. I placed them on my Sticky Mat to add color using ink blending.
I used Shades of Purple Fresh Dye Inks (all four shades) for the petals, I used Golden Sunset Fresh Dye Inks (the three lightest) for the stamen, and for the leaf and stem, I used Whispering Woodland Fresh Dye Inks (all four shades).
The pieces were set aside to dry for a little while and then assembled using liquid glue.

I adhered the background panel to an A2 sized white card base using Glue Tape. I then adhered the leaf using liquid glue, followed by the iris with Instant Dimension Foam Tape.
Whilst the iris does cover up a lot of the stenciling, I love that you can see peeks of it from around the edges. Using the mask to make it into a circle shape helps to ground the image on top.

Sentiment Tag
I stamped the ‘thanks' sentiment from Mini Delight: Plants & Vases onto Crafty Necessities: Jet Black Cardstock using Embossing Ink. I applied Pure White Crisp Embossing Powder and heat set.
I placed the One Go: Words & Banners Die on top and and ran it through my die cutting machine to cut the sentiment into a tag. The other end of the tag was cut down to fit the size of the sentiment before adhering to the card with Instant Dimension Foam Tape.
To finish the card, I added a little bow made from pearl thread to the top of the tag, and then embellished with Ivory Pearl Dots.
Video Tutorial: Shape Stenciling Using Masks
I hope I have inspired you to try shaping stenciling using a mask. Watch the full process video below to see how you can create your own mask with masking paper and dies! Or you can watch the video on YouTube as well.

Thank you so much for stopping by today, I hope you have a wonderful day!
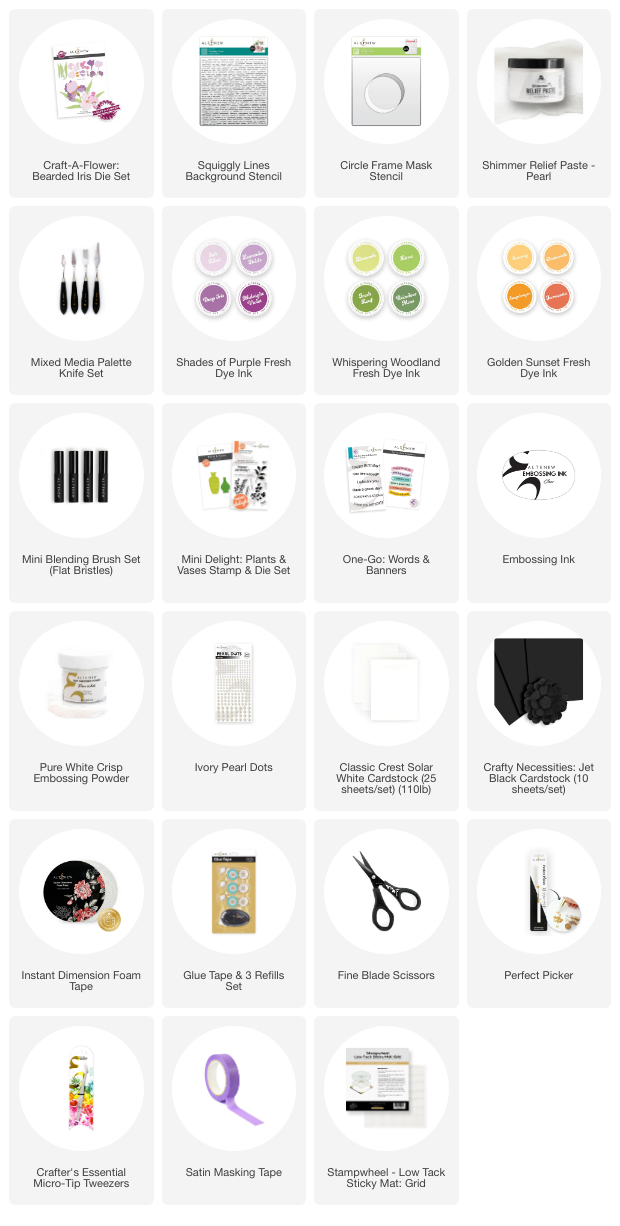
Supplies