2 Gorgeous Bearded Iris Cards for Any Occasion!
Hello Crafty Friends! Bibi here, and I’m so excited to share a project I’ve been working on using the new Bearded Iris Layering Die Set by Altenew.

This flower is truly one of a kind, with its distinctive shape, large ruffled petals, and delicate frilled edges that create a striking, dynamic look. I’ll admit, recreating its beauty on paper is no easy task!
For this project, the color application is key! I tried 4 different coloring options before getting there and in this post, I'll share my findings with you.
To do this flower justice, I decided to use Altenew Fresh Dye Inks—perfect for creating smooth blends and subtle gradients on each petal.

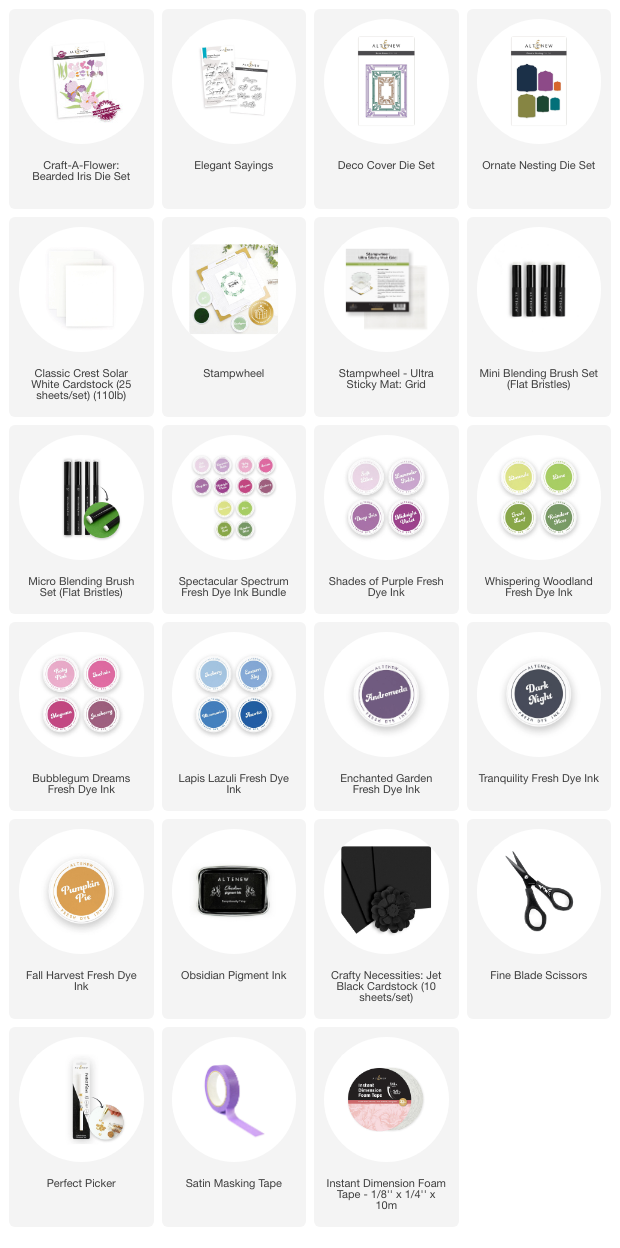
Card Recipe for the Bearded Iris Project
- Craft-A-Flower: Bearded Iris Layering Die Set
- Elegant Sayings
- Deco Cover Die Set
- Ornate Nesting Die Set
How to Create the Bearded Layered Flower
Cutting the Pieces:
I started by cutting out all the pieces of the Bearded Layered flower from white cardstock. The die set has several layers, but the keyhole system allows you to identify them with ease.
Applying Ink with Mini Blending Brushes:
Next, I used Altenew’s mini blending brushes to apply ink to each piece. Starting from the keyhole area, I worked my way towards the other end of each piece. Make sure to create strokes of color . This technique helps to build that soft gradient effect that’s essential for the flower’s look.
Achieving Color Degradation:
For a beautiful color degradation effect, I mixed different ink colors for each petal : light, medium, and dark and applied them to the petals in that order. It’s important to leave some blank spaces while blending the ink. This allows the color to transition more naturally from light to dark. The blank spaces also give the flower more depth and dimension.
Shaping the Petals:
A little bit of curve and curl goes a long way in making the flower look more realistic. So I used a ball stylus to shape the petals and the Altenew’s tweezers to gently curl the edges of some petals. This little touch helped bring the flower to life.
Adding a Simple Splattered Background:
I didn’t want the background to overpower the flower, so I kept it simple. A subtle splattered background adds texture and interest without drawing attention away from the beautiful bloom itself.
Finishing Touches:
Finally, I added a decorative frame and a backing piece on which I could stamp a sentiment. This frame really helped to highlight the beauty of the Bearded Layered flower, giving it a clean, finished look.
Never Lose Faith – Purple Flower

This is an A2 Top fold card, It measures 5-1/2″x 4- 1/4″.
Altenew is releasing new ink colors and this card features the following new tones from the Bubblegum Dreams and Shades of Purple Set:
- Soft Lilac
- Deep Iris
- Midnight Violet
- Jazzberry
For this, I also filled the blank spaces with a bit of Pumpkin Pie Ink. The yellow complements the purple, creating a gorgeous contrast and balancing out the flower’s colors.

The bearded iris symbolizes faith, hope, wisdom, and positive change, making it perfect for encouragement, get well, or sympathy cards. Of course, it can be used for any occasion. For this card, I included a sentiment from the Elegant Sayings Stamp Set.
How to Make the ‘Hello’ Blue Flower Card

This is an A2 side fold card, It measures 5-1/2″x 4- 1/4″.
I also wanted to make a blue version of the flower and for this I used the following ink colors from the Lapis Lazuli, Enchanted Garden, Tranquility, and Shades of Purple Sets.
- Soft Lilac
- Iceberg
- Ultramarine
- Andromeda
- Dark Night
The sentiments are also from the sentiment from the Elegant Sayings stamp set.

I hope you enjoyed these ideas and that they inspired you to keep your creative juices flowing.
Happy Crafting!
Bibi Cameron
Supplies