Revamping My First Cardmaking Project with New Techniques | Craft to the Future!
by Erum Tasneem April 15, 2024

Welcome to Craft to the Future! In this new blog series, we bridge the past with the future, igniting creativity and innovation along the way! As we celebrate Altenew's remarkable 10th anniversary, we are thrilled to introduce this series of blog posts that promise to breathe new life into your beloved crafting supplies and share cardmaking project inspiration with our newer products!

Hello, everyone! It's Erum here, back with another exciting project and a VIDEO for the Creative Coloring with Erum video series. Today, I'm taking a trip down memory lane by revisiting the very first cardmaking project I ever created a video for. These cards hold a special place in my heart and continue to be among my favorites to this day.
My Old and New Journey
As I delved back into the inspiration behind the original project, I couldn't help but notice how my artistic style has evolved over time. With a renewed perspective, I found myself drawn to incorporating fresh design elements that have emerged in the world of cardmaking since my initial creation. This journey of rediscovery has been both nostalgic and invigorating, sparking a newfound creativity within me. Moreover, integrating geometrical elements into the cardmaking project provided an exciting opportunity to blend traditional layout with contemporary elements, resulting in a harmonious fusion of classic and modern aesthetics.
Old and New Cardmaking Project Inspiration
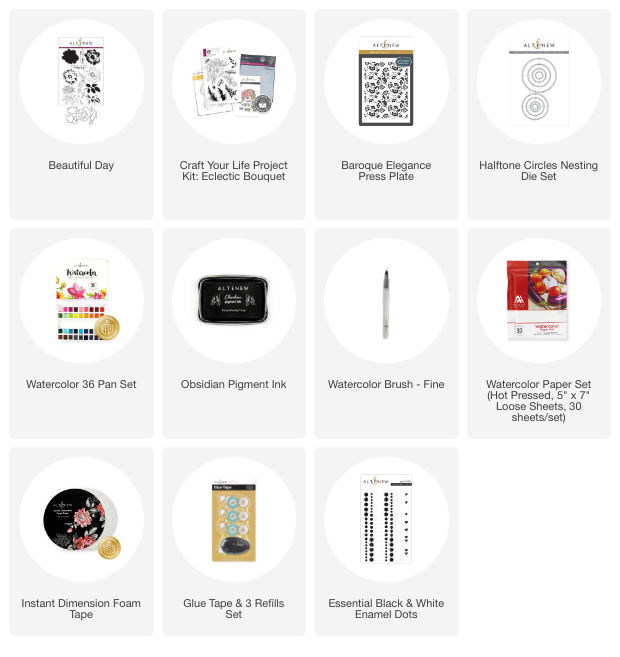
Combining the old with the new, I used the Beautiful Day Stamp paired with Craft Your Life Project Kit: Eclectic Bouquet and Baroque Elegance Press Plate. In the original cardmaking project, I used the Just Because Stamp instead of the Eclectic Bouquet. However, as the former is now retired, I've opted to replace it in this recreation.
How to:
- Stamp the flower image from the Beautiful Day Stamp Set two (2) times on 5″ x 7″ Hot Pressed Watercolor Cardstock in Obsidian Pigment Ink.
- Also, stamp the large image from the Craft Your Life Project Kit: Eclectic Bouquet.
- Use the Watercolor 36 Pan Set to color the images.
- Use Cosmic Berry watercolor for the flower, and for the leaves, use Lava Rock watercolor.
Watercoloring tips:
Color by applying water to the area and then add pigment to the base, whether it is the base of the petal or the leaf. Pull it outwards towards the tip, ensuring the concentration is less as you move to the tip, creating a soft gradient effect that adds depth and dimension to the image. Go back and add more pigment to the base, and repeat till midway. Color all petals and leaves in a similar manner. You can return if you want to add more pigment. I colored one flower darker, I will adhere this one behind the lighter flower.
- Once you're done, you can use coordinating dies to cut the images.
- I fussy-cut the flowers because I didn't have the dies, leaving a thin outline along the image.
- Once done, set these aside.

- Place the Baroque Elegance Press Plate on the BetterPress system.
- Apply Obsidian Pigment Ink on the plate, place a 100% cotton card panel, and then run the system through the machine.
- Next, cut out three circles from the panel using the Halftone Circles Nesting Die Set. I left the smallest die and then used the next three sizes for the circles.
- Add a few black splatters from the Jet Black Ink Spray to an A2 card panel.
- Once dry, snip off the Eclectic Bouquet image in half and arrange it accordingly before permanently adhering it to the card front with Instant Dimension Foam Tape.
- Then, adhere the two large flowers with foam tape.
- Use Glue Tape to adhere the circle die-cuts.
- Then embellish with black enamel dots from the Essential Black & White Enamel Dots set.

You can watch the process video for this cardmaking project below or on YouTube.
Video: Revamping My First Cardmaking Project with New Techniques
Need more cardmaking project ideas with video tutorials? Check out my Creative Coloring series here.
It's been such a fun ride, revisiting where it all began and giving it a fresh spin. I hope this post has sparked some creative vibes in you, too! Whether you're a seasoned pro or just starting out, remember that cardmaking is all about expression and exploration.
Thanks a bunch for joining me on this artsy adventure! Until next time, keep on creating and let your imagination run wild!
~SUPPLIES~