Craft Your Life Project Kit: Wildflower Tufts Inspiration
by Erica Andersson November 12, 2026

Key Takeaways
One-Go Efficiency: The One-Go stamp and die system lets you stamp and die-cut an entire floral arrangement in a single pass, drastically cutting down assembly time.
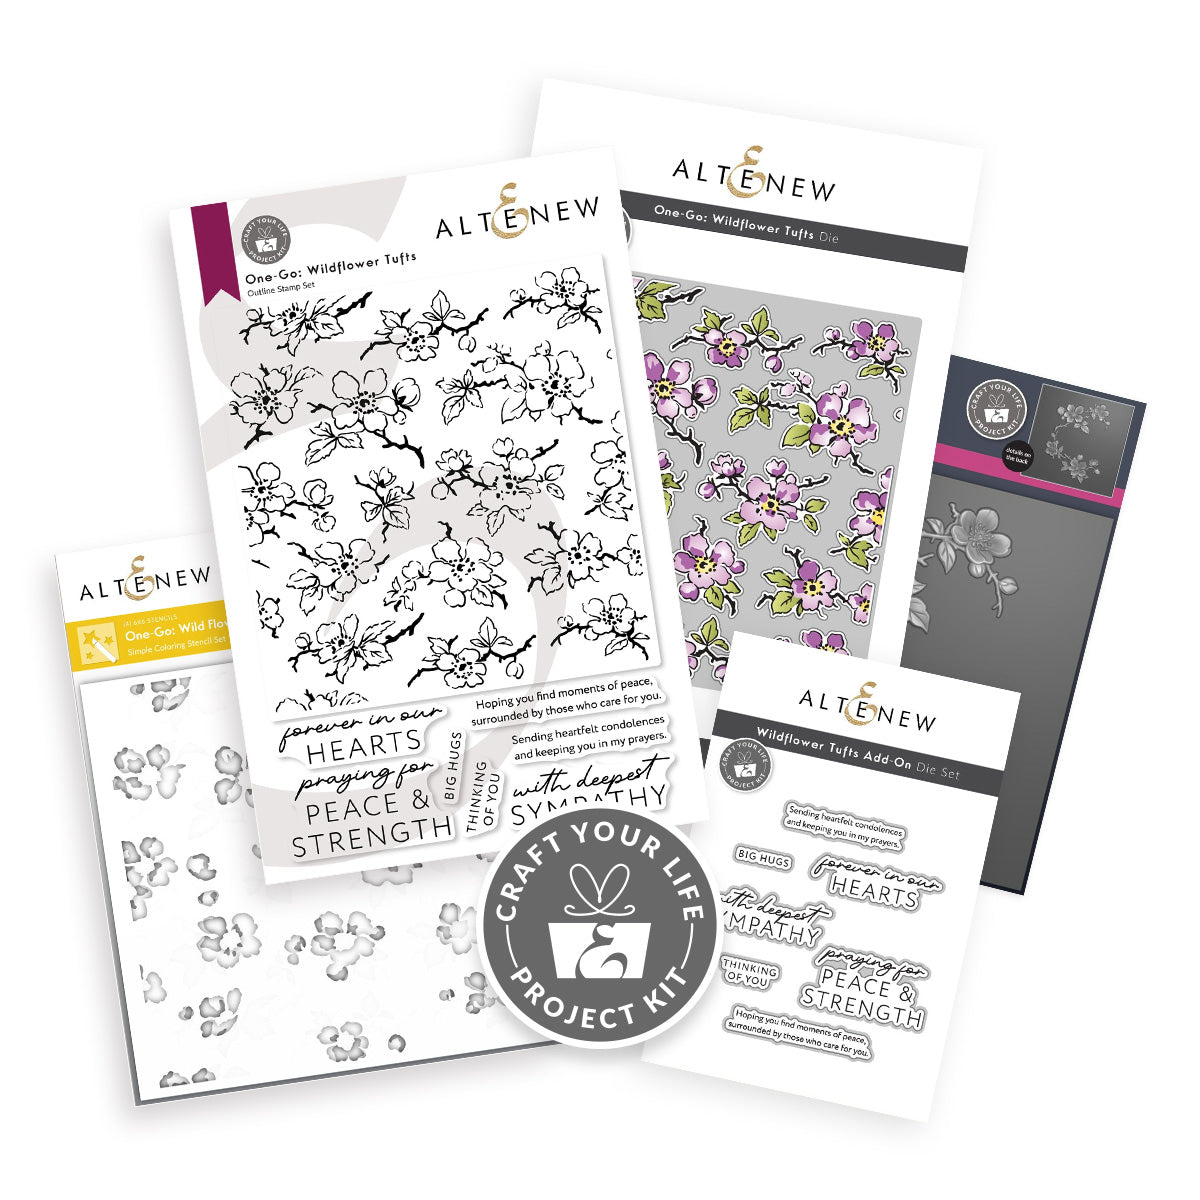
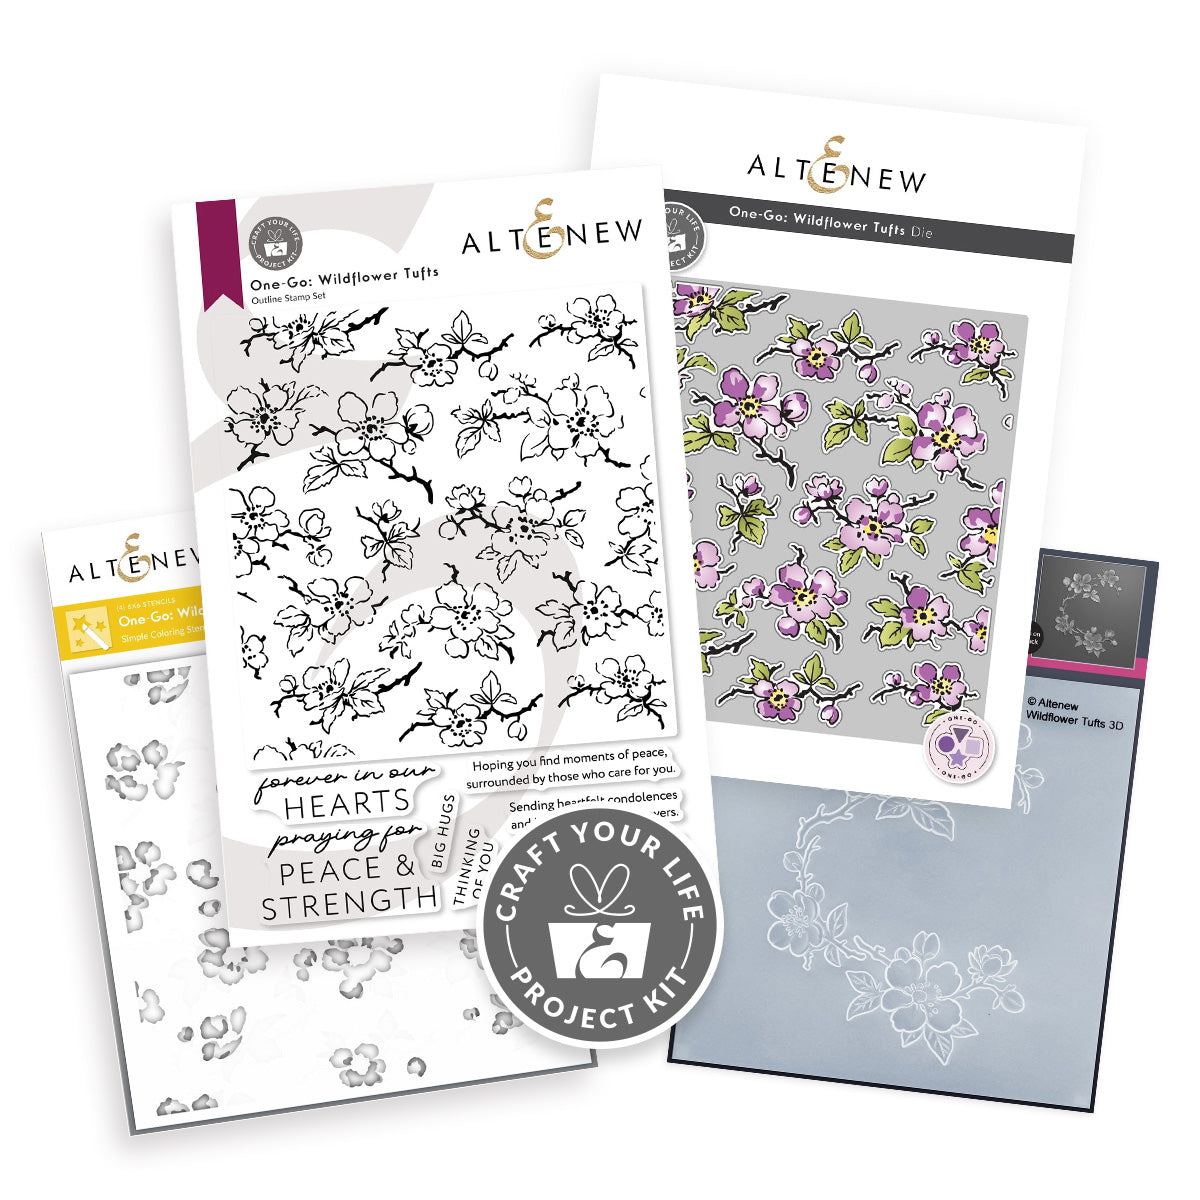
All-in-One Kit Coordination: Each standard kit includes a central stamp set, coordinating layering stencils, a 3D embossing folder, matching dies, and a durable storage pocket.
Precision Alignment: Using an alignment tool like the Altenew Stampwheel ensures crisp, repeatable impressions without alignment guesswork.
Versatile Design Freedom: You don't have to follow a single formula—try high-contrast black-and-white florals against vibrant ink-blended backgrounds for an unexpected aesthetic.
Negative Space Placement Hack: Use the negative die-cut cardstock sheet as a ready-made template to position multi-piece floral clusters effortlessly.
Hello Altenew friends and crafters! It’s your girl Erica back on the blog and YouTube channel today, sharing some fresh floral inspiration featuring the Craft Your Life Project Kit: One-Go Wildflower Tufts.
As the name reveals, the centerpiece of this kit is a "one-go" stamp design. Crafters sometimes worry that grouped one-go stamps limit layout options on handmade cards, but I’m here to reassure you: they offer incredible creative versatility. The delicate blooms immediately evoke cherry blossoms (sakura) or soft almond petals. It was love at first sight for me, and the more I experimented with this set, the more design possibilities opened up.

Mastering Stamping with the One-Go Wildflower Tufts Stamp
Because the stamp covers a generous surface area, having the right setup makes all the difference:
Stamp Positioner Compatibility: The stamp is large, but it fits comfortably in the original Altenew Stampwheel—there is no need to upgrade to a Stampwheel 2.0 just to use this kit.
Cardstock Sizing: Cut your cardstock panel slightly larger than an A2 card front to ensure the perimeter blossoms stamp cleanly without running off the edges.
Ink Saturation: Use a fresh, juicy pigment or dye ink pad. When stamping large-format designs, dry spots can lead to uneven coverage.
Honest craft-room moment: My first two test impressions weren’t completely solid—mostly because my ink pad needed re-inking, and I was having an off-day! But thanks to the Stampwheel holding everything firmly in register, re-inking and re-stamping the exact same spot was seamless. Every impression since has been crisp, sharp, and flawless.

Stepping Outside the Box: Vibrant Rainbows & Monochrome Florals
While the kit includes custom layering stencils engineered for quick ink-blending over each petal, you can also pivot in an unexpected direction: monochromatic contrast.
Instead of coloring the flowers directly, leave the stamped wildflower clusters in stark black and white. Then, create high energy behind them by ink-blending a vivid rainbow wash directly onto your card front. This turns your background into a bright, colorful stage that lets the delicate black-and-white line art truly pop.
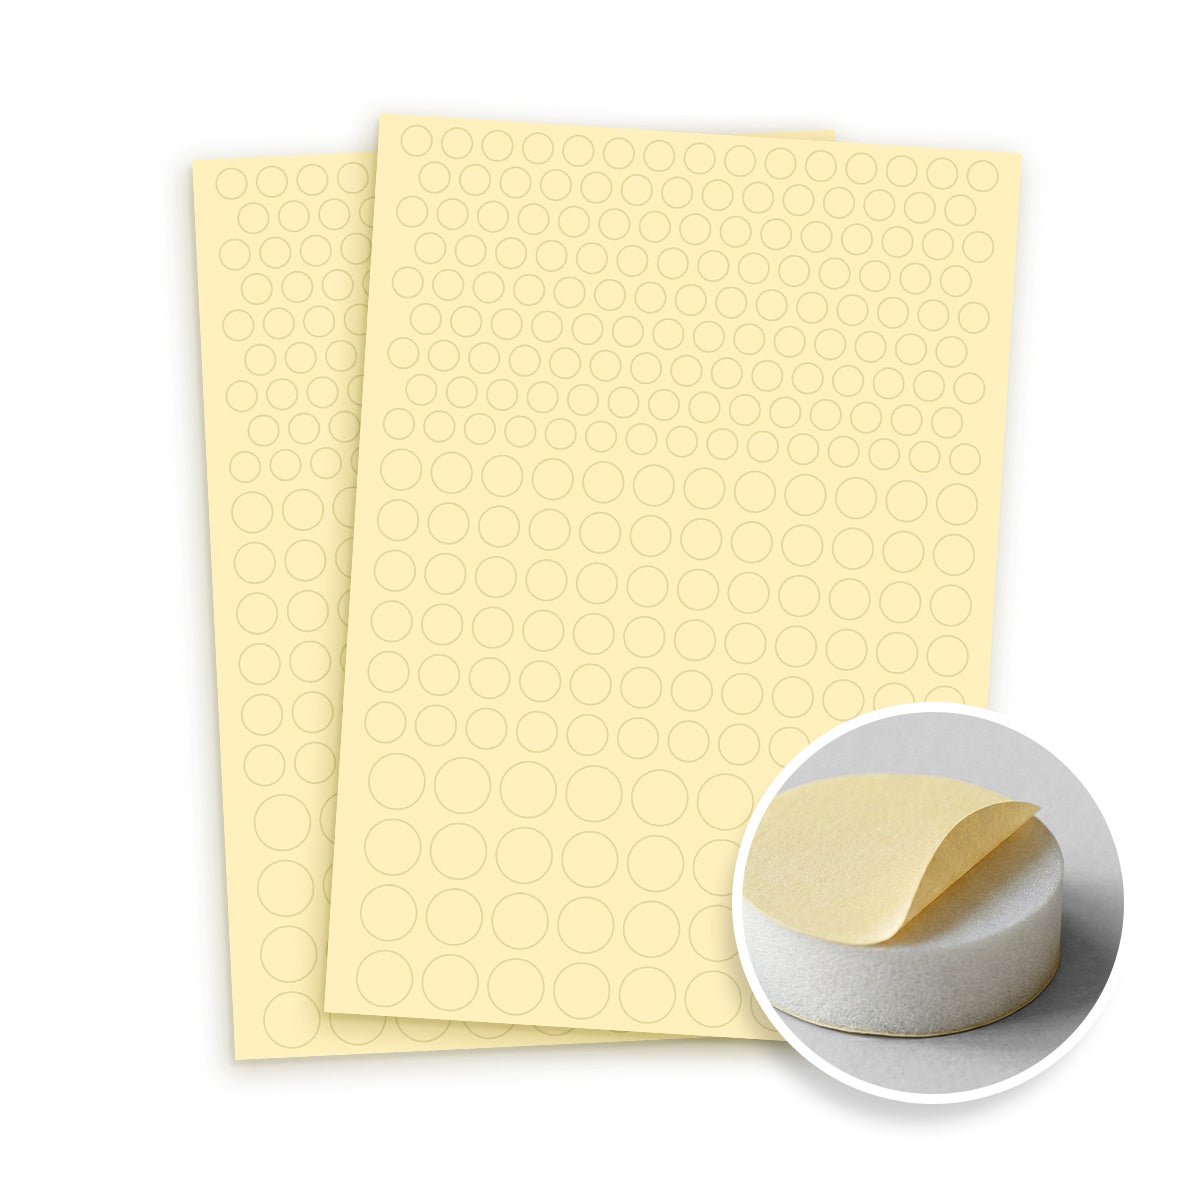
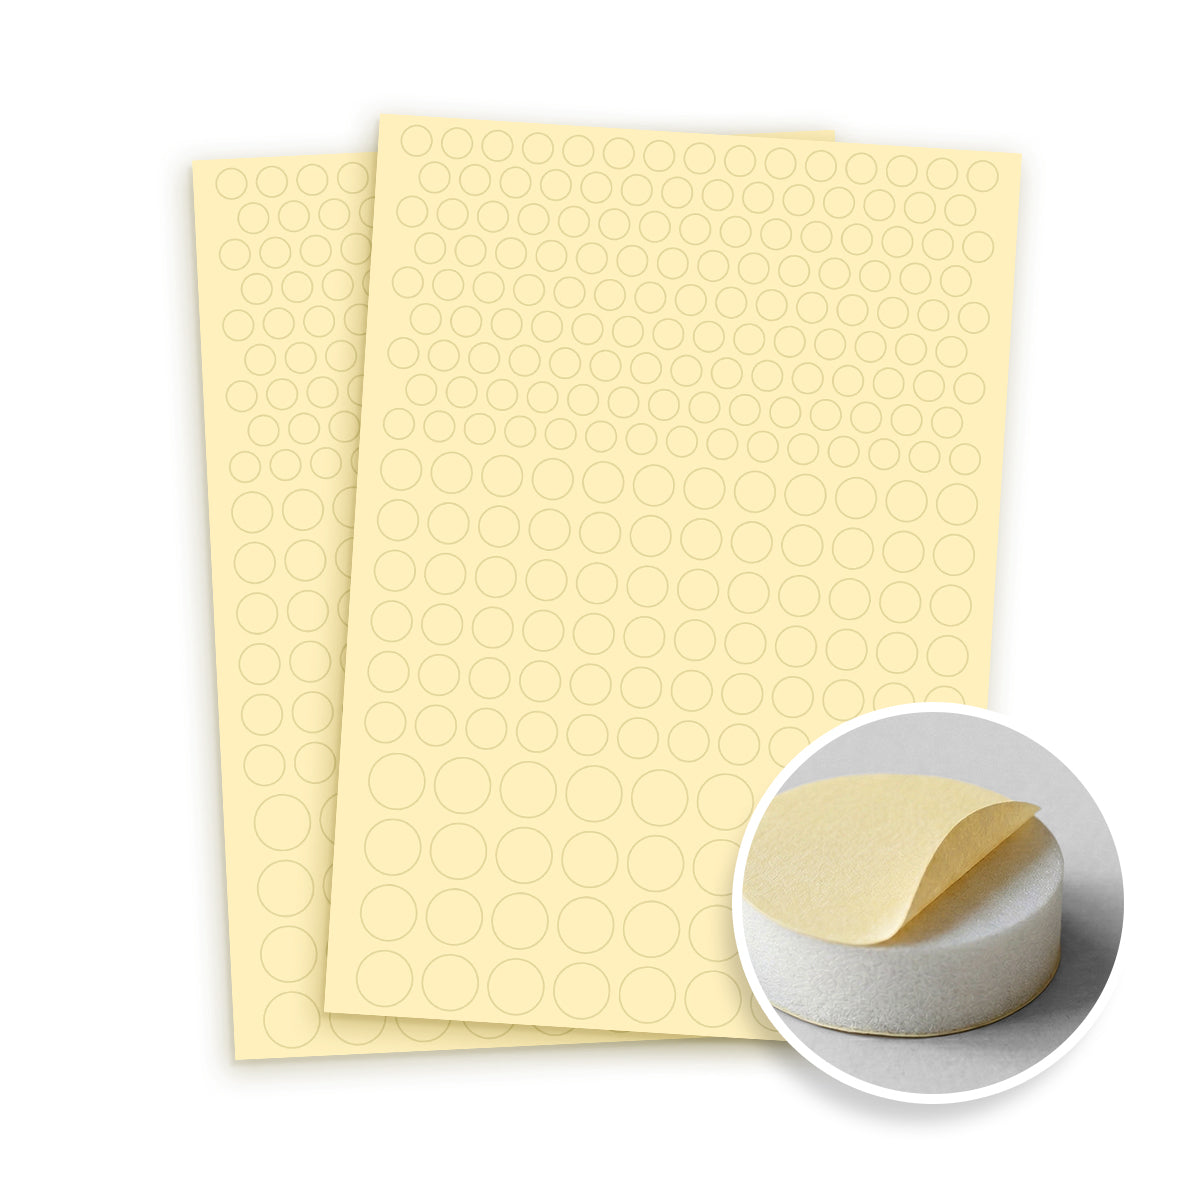
This approach was sparked by my friend Mariska during a marathon weekend crafting session at my house. Mariska made a stunning card using the kit’s layering stencils on a subtle background of Crafty Necessities Colored Cardstock in Pink Sand. She mounted every single flower cluster with Instant Dimension Foam Tape—peeling dozens of release papers along the way—and the final dimensional card was breathtaking! That inspired me to see how the same floral clusters would look when stripped down to high-contrast lines.

Pro Tip: The Negative Die-Cut Placement Trick
Whether you blend color through the layering stencils or keep your botanical images minimalist and monochrome, positioning a dozen individual die-cut pieces onto a card background can lead to layout paralysis. Here is a stress-free trick using your leftover waste paper:
Keep the Negative Die-Cut Sheet: After running the stamped panel through your die-cutting machine, leave all the cut floral pieces sitting right inside the negative cardstock frame. This negative frame acts as your master layout template.
Trace Your Card Dimensions: Lightly pencil an A2-sized (4.25" x 5.5") border directly onto the back of the negative template to establish your working boundaries.
Apply Foam Adhesive: Inside your traced boundary, place foam dots, foam strips, or custom-cut Instant Dimension Foam Tape onto the backs of the flowers only.
Transfer in One Move: Peel off all the adhesive backing papers at once. Align your prepared rainbow background panel face-down over the traced template, press down firmly across all floral pieces, and lift.
Clean the Edges: Gently pull away the negative cardstock frame. If any delicate interior cutouts stick, poke them clear with a pair of fine-tip craft tweezers.
Your entire bouquet transfers directly onto your project with balanced, factory-perfect spacing—no measuring required!

Finishing Touches: Adding Texture, Splatter, and Shimmer
No mixed-media card is complete without tactile accents and light-catching details:
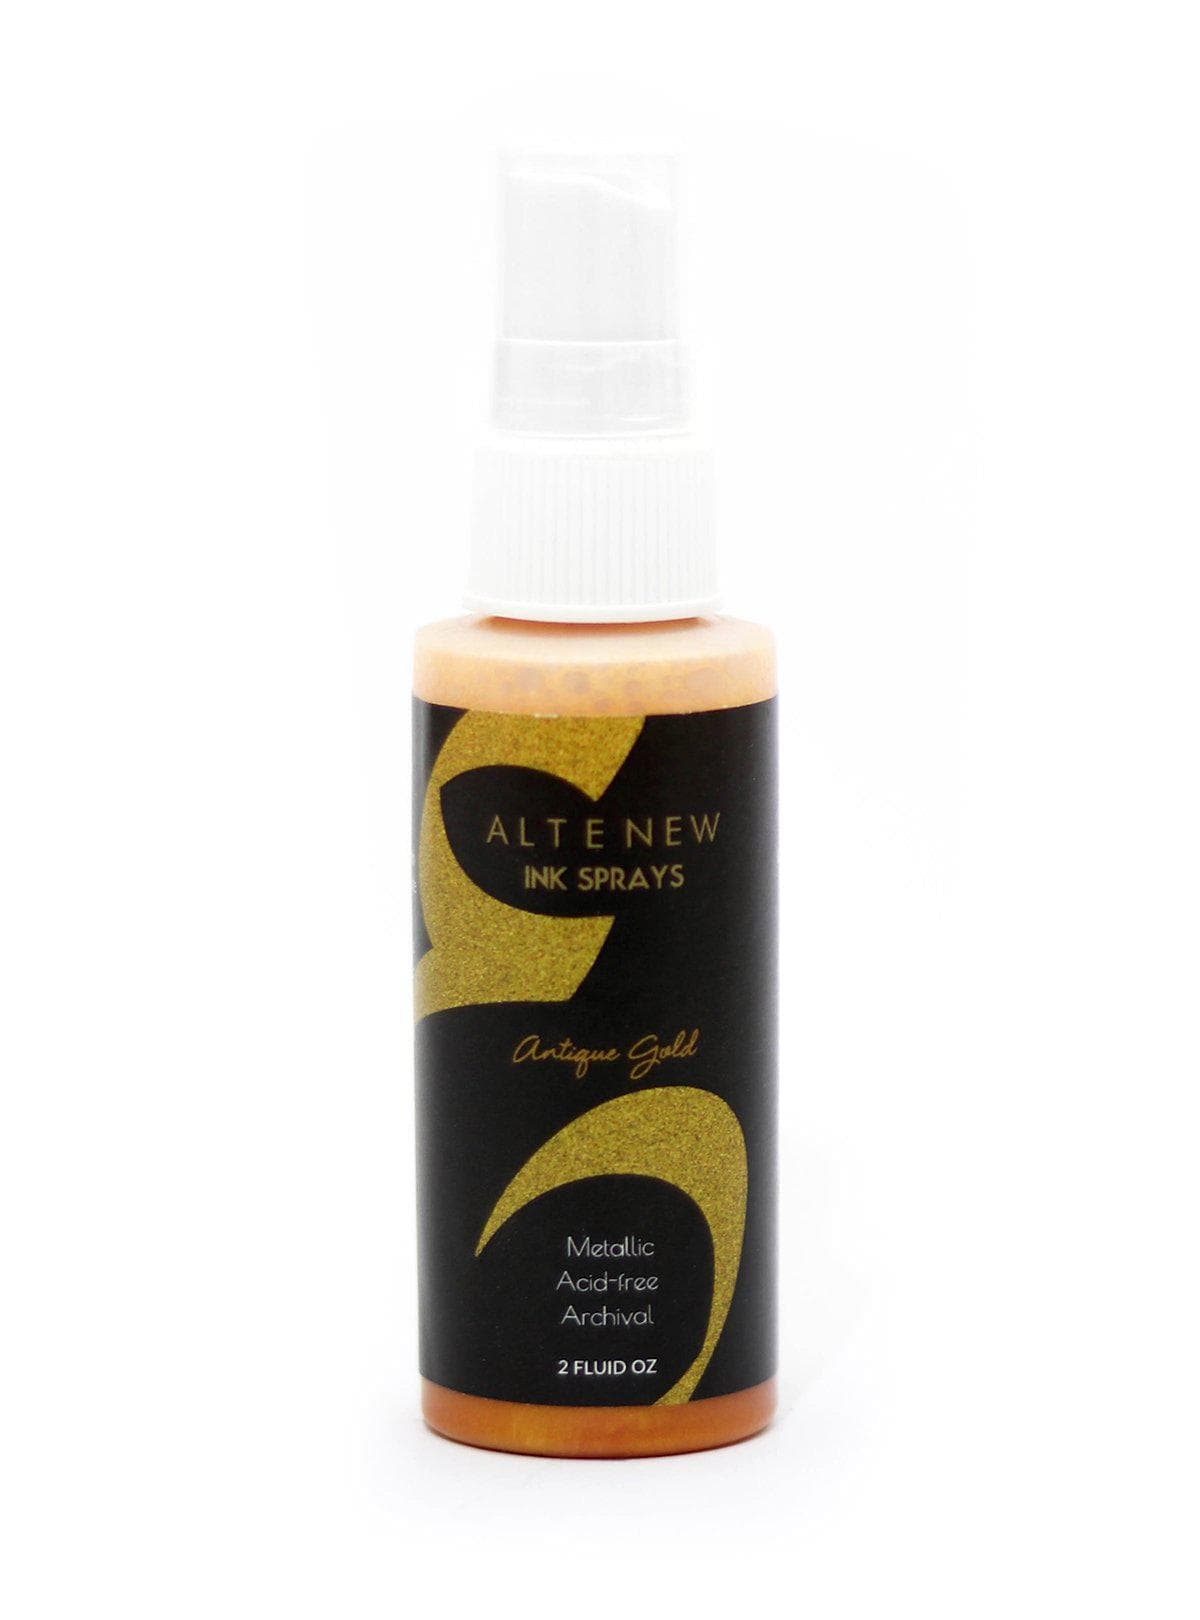
Metallic Gold Accents: A light misting of Antique Gold Metallic Ink Spray adds an organic, fine-art feel. While splatter is usually applied to the background before adhering focal elements, misting after mounting the flowers unites the black-and-white foreground and rainbow background under a cohesive golden sheen.
Dimensional Embellishments: To elevate the composition further without competing with the floral line art, adhere Iridescent Crystal Gem Sparkles exclusively to the blended background. Placing jewels in the negative space frames the flowers and directs the viewer's eye across the card.
Check Out The Full Video Tutorial Here
Why the Craft Your Life Project Kit Belongs in Your Stash
Complete Standalone Kits: Each release delivers everything needed to build coordinated cards with diverse styles right out of the box.
Curated Monthly Releases: Subscribing to the Craft Your Life Project Kit guarantees access to new themes, florals, and textures each month without missing out on sold-out designs.
Organized Storage Built In: Each kit ships inside a durable, clear storage envelope sized to keep stamps, dies, stencils, and embossing folders together in your craft room.
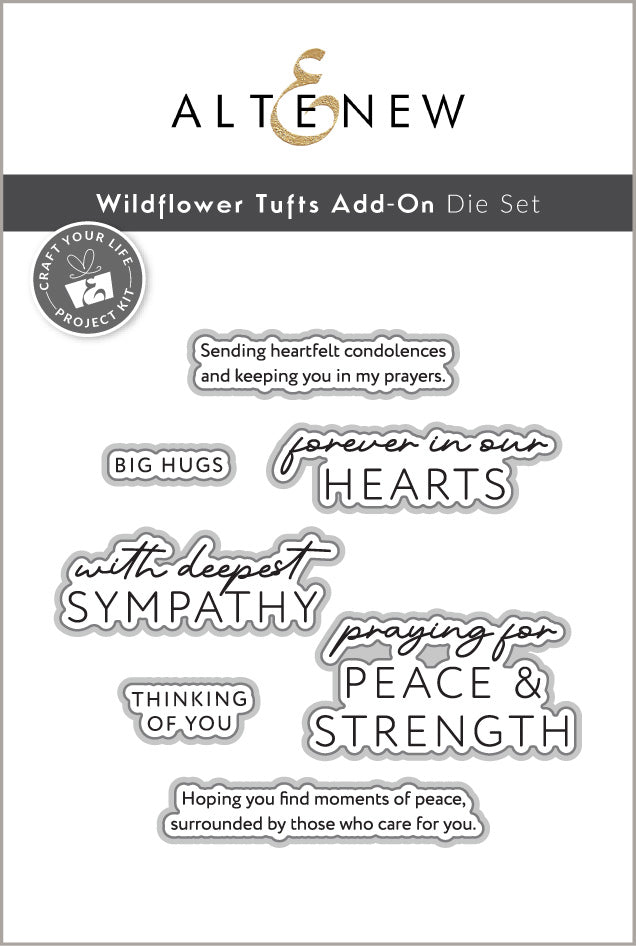
Optional Add-On Dies: kits frequently offer optional add-on dies specifically designed to cut out the accompanying sentiments with clean, narrow borders.
Multi-Medium Layering: Pair 3D embossing folders, multi-step stencils, and matching dies to combine deep embossed texture and crisp ink blending in minutes.
Supplies
|