How to Make 4 Fall Cards with 1 Color Palette & 2 Die Sets
by Erica Andersson September 10, 2026

Key Takeaways
Maximize Supplies: Learn how to create four distinct seasonal handmade cards using just one cohesive cardstock color palette and two die sets.
Add Depth with Ink Blending: Elevate die-cut leaves and 3D embossed backgrounds by blending ink and adding gold metallic splatters for natural dimension.
Versatile Sentiment Layering: Discover how layering word dies and shadow die-cuts creates customizable, high-impact card sentiments.
One Color Palette, Two Die Cut Sets, FOUR Cards!
Hello September and the cozy season! Unless you live in the south of Spain like I am, where we are having another heat wave. I am dreaming of cooler temperatures, a crackling fire, a mug of hot cinnamon chai, and a good book. Until then, I will dream up cozy handmade fall cards instead.
Die cutting might be my true crafting love! The star of today’s cardmaking project is the lovely, but perhaps slightly underrated, Creative Cuts: Fall Pickings Layering Die Set.
I think the colors on the front of the packaging are stunning, and I immediately thought of the Tranquility Fresh Dye Ink Bundle and the Delectable Delights Fresh Dye Ink Bundle. I really adore how those ink shades blend together!

How to Choose Cardstock Color Palettes for Cardmaking
A question I often see in the crafting community is: How do you choose cardstock colors and know they will look good together?
The answer is that sometimes you do not know until you try! It is super fun to pick different color combinations, especially when using layering die-cut sets. There are so many options, and making just one small color adjustment can completely transform your final handmade card.
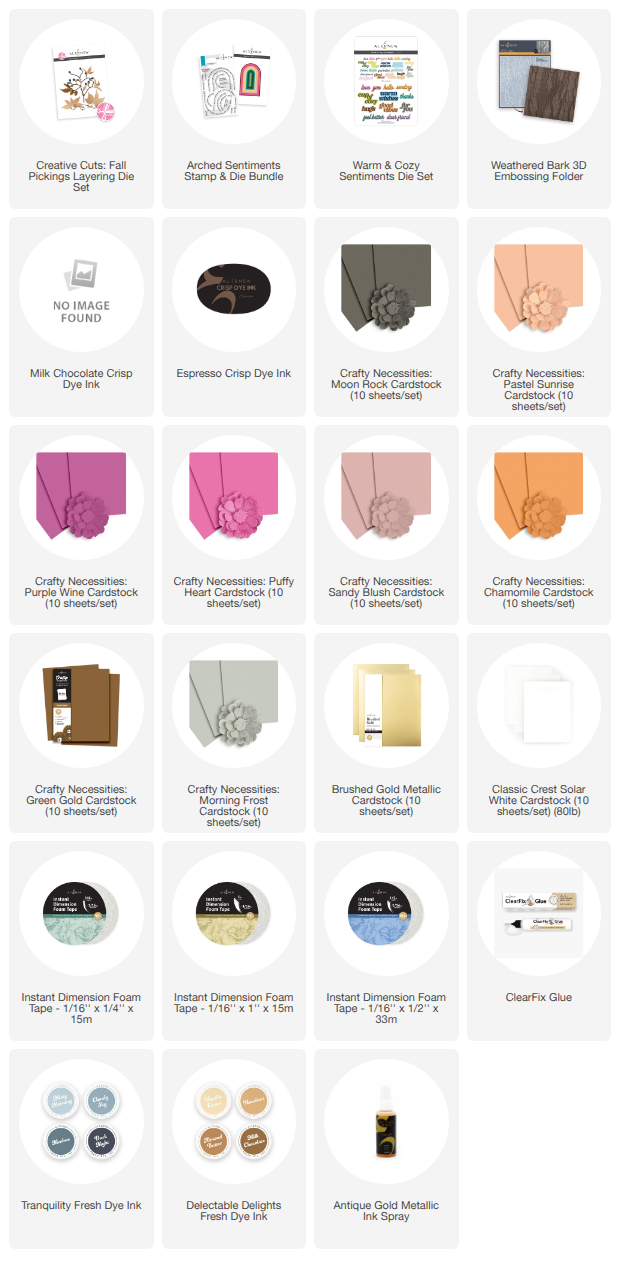
For today's die-cutting session, I selected seven cardstock shades from the Crafty Necessities line to build a warm, autumn-inspired color palette:
I might have gone a smidge crazy pulling so many options, but having variety on your crafting table makes assembling handmade cards much easier!
Adding Texture with 3D Embossing Folders and Ink Blending
To give these cards tactile depth, I brought in the Weathered Bark 3D Embossing Folder. I ran two cardstock panels through my die-cutting machine—one in Green Gold and one in Moon Rock.
To really highlight the woodgrain pattern and embossed texture, I blended ink over the raised edges. Make sure to watch the step-by-step video tutorial to see this easy background ink-blending technique in action!
For the leaf die cuts, I applied a light ink blending technique around the edges. Adding dark ink around the die-cut edges gives each leaf depth and a realistic, dimensional look. Finally, I spritzed a few die cuts with Antique Gold Metallic Ink Spray to add extra shine and personality.
Designing Sentiments with the Warm & Cozy Sentiment Die Set
I absolutely love sentiment die cuts! The Warm & Cozy Sentiment Die Set is a versatile addition to the Altenew collection. It features two stylish fonts and includes both word die cuts and matching shadow die cuts.
This versatility gives you several design choices:
Layer the word die cuts over the shadow dies for high contrast.
Use the word dies individually for a clean, minimalist look.
Mix and match words from different sentiment sets to construct custom card greetings.
Once I started die cutting, I could not stop! Having extra die-cut sentiments ready on your desk makes assembling multiple cards seamless.
Step-by-Step DIY Fall Card Inspiration
My initial plan was to make just two cards today, but my creativity took over once the die cutting started! Here is how four distinct fall cards came together from one palette.
Card 1: Cozy Autumn Leaf Arrangement
This was the first card I created, and it made me work the hardest. Even though I had a full selection of layered die cuts and sentiment choices available, puzzling the elements together into a cohesive layout took time. While it was a design challenge, the subtle textures of the embossed background and leaf layers make it a sweet autumn greeting.

Card 2: Metallic Splattered Leaves on Morning Frost
This design was by far the most fun to assemble! The subtle ink blending paired with the Antique Gold splatters makes the leaf die cuts pop against the soft Morning Frost Cardstock background panel.

Card 3: Delicate Leaf Wreath Card
For the third design, I arranged the smaller leaves into a delicate wreath format. I applied gold ink splatters directly to the card background rather than the leaves to balance the shimmer. Resist the urge to over-embellish when your central die cuts carry strong detail!

Card 4: Elegant Layered Nesting Arch Card
Card 4 was a bonus creation made with the leftover branches and leaves. I die cut an arch frame using White Cardstock and Brushed Gold Metallic Cardstock, selecting two size intervals from the Nesting Arches Die Set to form a thick gold border. Framing your layered die cuts inside geometric arches creates an elevated focal point.

Start Crafting Your Autumn Card Collection
I hope you enjoyed this die-cutting session and found new inspiration for your fall paper crafting projects! With just a single cardstock color palette, two versatile die sets, and background texture, you can easily create a beautiful set of cards in one sitting.

With love, light, sparkle, and creativity,
Erica

Back to School Deals!
Save up to 45% OFF Crafty Neccessities Cardstocks and Envelopes from September 10, 2026 at 12:01 AM EDT until September 12, 2026 at 11:59 PM EDT. Shop here: https://altenew.com/collections/crafty-necessities-cardstocks-envelopes
Exlcusions Apply
Supply List