How to Create a Fun Fold Gift Card Holder
by Nicki Baxley September 9, 2026

Key Takeaways
No Specialty Dies Required: You can construct a dynamic, interactive fun fold card base using basic nesting shapes like rectangles and arches.
Hidden Pocket Mechanism: Incorporates an inner flap that conceals a secure slot to hold standard gift cards cleanly.
Versatile & Customizable: Adapt this technique for any occasion—birthdays, holidays, teacher gifts, or thank-you cards—by changing stamp sets and colors.
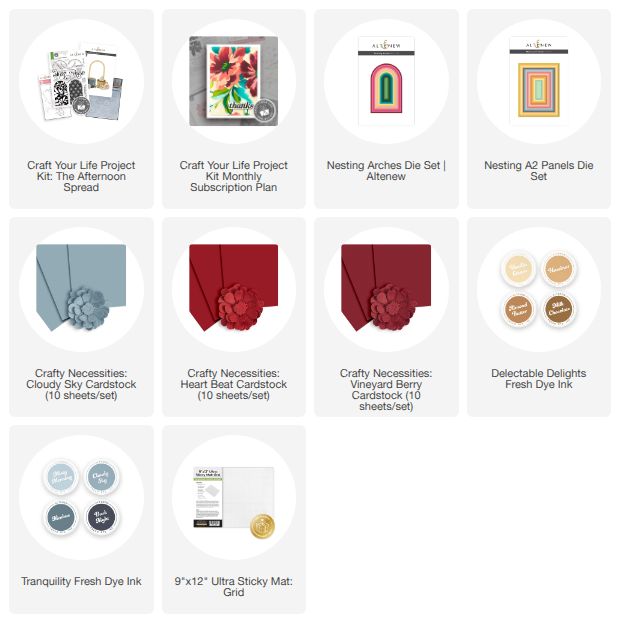
A handmade card becomes even more special when it holds a little surprise inside! Learning how to create a fun fold gift card holder combines an interactive card design with a hidden spot for tucking a gift card. Using the Craft Your Life Project Kit: The Afternoon Spread collection along with basic nesting dies, you can craft a personalized card that feels like part of the gift itself.
One of the best parts about this design is that you don't need expensive specialty fun fold dies. By using simple shapes, stamping, and die-cutting techniques, you can build interactive elements and layered surprises for your recipient to discover.

Step 1: Create the Fun Fold Card Base
To begin building your fun fold gift card holder, assemble the main card base and attach the interactive front flap.
Cut and Fold: Prepare your primary cardstock base and add an extra folding panel.
Layer the Flap: Attach the front flap to serve as your first interactive element.
This extra flap transforms a traditional single-fold card into a multi-layered fun fold, giving you additional surfaces to decorate. A rich blue cardstock provides a beautiful backdrop for warm, coffee-inspired elements from the Craft Your Life Project Kit: The Afternoon Spread set. When the card is closed, the main focal point remains front and center, but lifting the flap reveals the next stage of the design.
Step 2: Stamp and Die Cut Decorative Elements
Next, create your custom focal elements using stamps and coordinating dies.
Choose Your Palette: Stamping and die cutting individual pieces allows you to tailor colors specifically for your recipient.
Define the Theme: For this project, a vibrant red coffee cup acts as a central cozy feature on the card front.
A warm coffee theme is ideal for gift card presentations—imagine tucking a gift card to the recipient's favorite local coffee shop right inside!

Step 3: Add Dimensional Layers With Nesting Dies
Nesting dies aren't limited to making simple mats and frames. In this project, basic geometric shapes form the functional structure of the card:
Arch Dies: An arch shape highlights your focal image on the front panel.
Rectangle Dies: Rectangular nesting dies build internal frames and secure structural layers.
Using standard shapes makes this technique easy to replicate using dies you already have in your craft room.
Step 4: Assemble the Hidden Gift Card Holder Pocket
Now for the main reveal! Opening the primary flap exposes the hidden gift card compartment alongside a secondary sentiment area.
Position a nesting rectangle die cut to construct the inner holding pocket.
Secure the edges, leaving a clean top opening where standard gift cards can smoothly slide in and out.
Add sentiment stamps around the pocket to make the interior look intentional and polished.
This hidden mechanism turns an ordinary greeting into an engaging interactive experience.

Step 5: Finish the Inside Sentiment & Personal Message
Opening the entire card base reveals the traditional interior space. Here, you can stamp a final sentiment phrase and leave plenty of room for writing a warm, handwritten personal note.

Video Tutorial: Making Interactive Gift Card Holders
Watch the complete video tutorial below to see step-by-step how this interactive fun fold base and hidden gift card compartment come together in real time!

I hope this project inspires you to try building an interactive card layout of your own! What stamp set in your collection will you use first for this style?
Happy Crafting! 💖
Nicki

Get 35% OFF Pigment Ink & Reinker Complete Bundle from September 8, 2026 at 12:01 AM EDT until September 9, 2026 at 11:59 PM EDT. Shop here: https://altenew.com/products/pigment-ink-reinker-complete-bundle
Until supplies last
SUPPLY LIST