Elegant Floral Cards Featuring Hot Foil Details and Build-A-Garden: Joy in Bloom
by Lea Lawson October 23, 2026

Key Takeaways
- Learn how to create elegant metallic backgrounds using the Journey Abroad Hot Foil Plate and gold hot foil on Industrial Diamond Cardstock.
- Discover how coordinating hot foil details and Antique Gold heat embossing can create a cohesive, luxury-inspired design.
- Use the Build-A-Garden: Joy in Bloom coordinating stencils to quickly add beautiful color and dimension to oversized floral images.
- Stretch a single stamped floral image into two completed cards by dividing the arrangement into separate focal elements.
- Add professional finishing touches with layered die-cut sentiments, vellum accents, dimensional adhesive, and coordinating metallic embellishments.
Hello, crafty friends! Lea here today with another edition of Light & Airy with Lea. There's something magical about combining delicate florals with metallic accents, and today's project showcases exactly why that combination works so beautifully. For these elegant floral cards, I paired the Journey Abroad Hot Foil Plate with the gorgeous Build-A-Garden: Joy in Bloom stamp, stencil, and die set to create two coordinating designs filled with soft color and luxurious shine.
One of my favorite things about hot foil techniques is their ability to instantly elevate a project. Whether used for sentiments, backgrounds, or accents, hot foil creates a polished look that feels both modern and timeless. For today's cards, the geometric hot foil background serves as the perfect backdrop for the soft floral imagery, creating a beautiful balance between structured patterns and organic elements.

Create a Striking Hot Foil Background
Every card needs a strong foundation, so I began by creating my background panels with the Journey Abroad Hot Foil Plate. I chose to apply gold hot foil to Industrial Diamond Cardstock, creating a stunning geometric pattern with incredible contrast and shine.
The metallic gold hot foil catches the light beautifully against the rich gray cardstock, allowing the intricate design to stand out without overwhelming the rest of the card. One of the reasons I love working with hot foil backgrounds is that they add texture and visual interest while still remaining wonderfully flat for mailing.
The geometric pattern from the Journey Abroad Hot Foil Plate provides a modern feel, while the gold hot foil adds warmth and sophistication. Even though the floral image is the main focal point of the finished cards, the hot foil background plays an important supporting role by adding elegance and helping tie all of the gold accents together.

Stamp and Heat Emboss the Floral Image
With the hot foil background panels complete, it was time to create the floral focal image using the beautiful Build-A-Garden: Joy in Bloom stamp set.
Because this floral image is generously sized, I reached for my Stampwheel 2. The larger platform made it easy to position the stamp and ensure a crisp impression across the entire design. Larger stamps can sometimes feel intimidating, but having plenty of workspace makes the process much more enjoyable.
After stamping the floral image onto white cardstock, I applied Antique Gold Embossing Powder and heat set it until smooth and shiny. The gold embossed lines coordinate perfectly with the gold hot foil details in the background, creating a cohesive look throughout both cards.
I especially love combining hot foil elements with gold heat embossing because the two techniques complement one another beautifully. While the hot foil creates bold metallic shine in the background, the embossed outlines add elegant definition to the floral image without competing for attention.

Add Soft Color with Coordinating Stencils
One of the things that makes the Build-A-Garden series so enjoyable to work with is the collection of coordinating layering stencils. These stencils make it easy to add beautiful color to detailed images while maintaining a polished and professional appearance.
For these cards, I selected a soft palette featuring blush pink florals and delicate blue-green foliage. The gentle colors provide a lovely contrast against the dramatic gray and gold hot foil background.
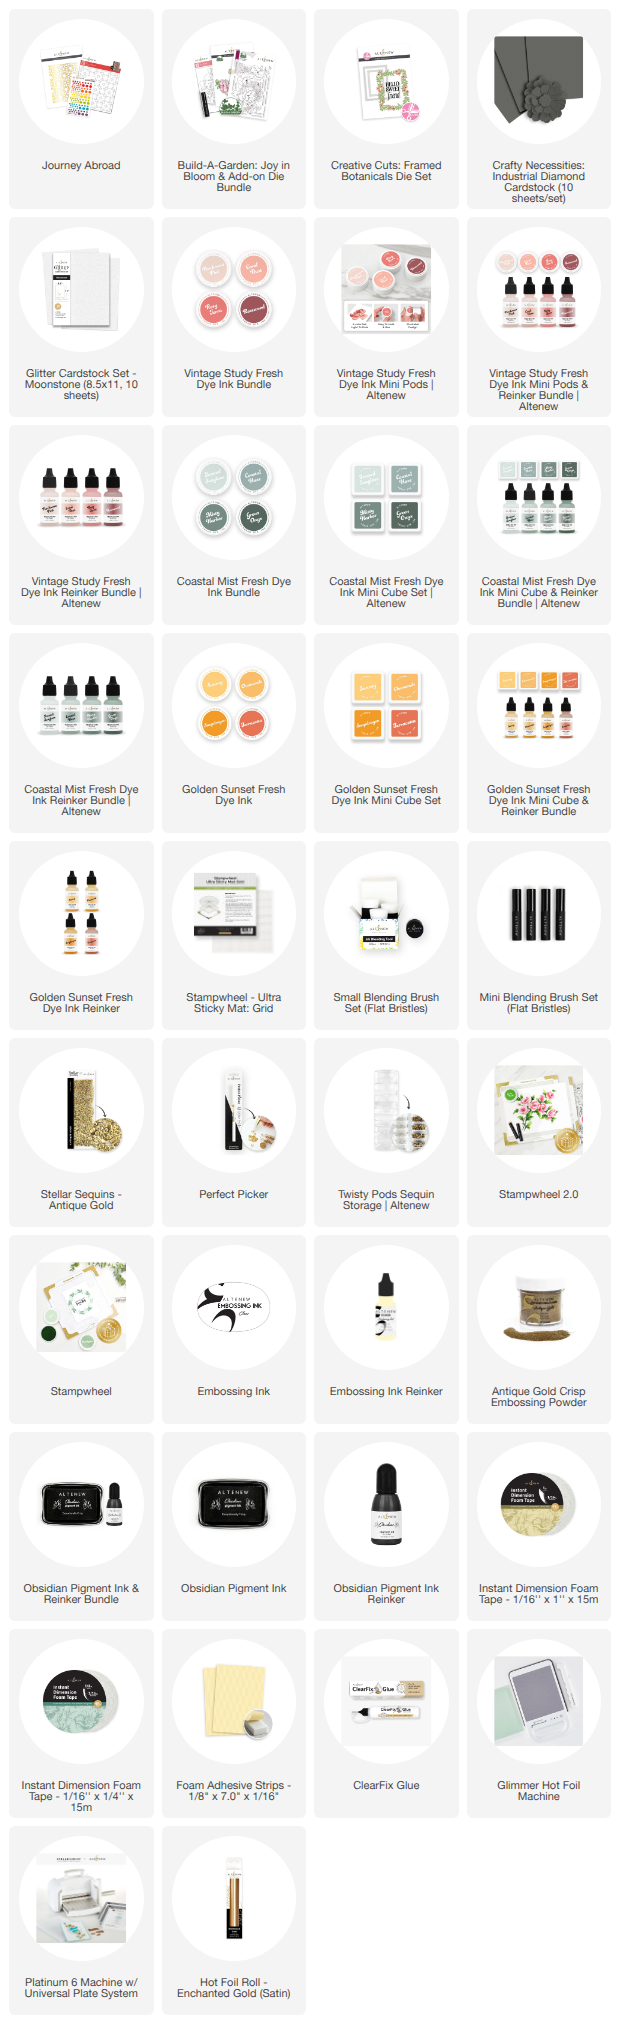
For each stencil layer, I used the following colors:
- Stencil 1: Parchment Pink, Coral Dust
- Stencil 2: Coral Dust, Rosy Terra
- Stencil 3: Rosy Terra, Rosewood
- Stencil 4: Frosted Seaglass, Chamomile
- Stencil 5: Coastal Haze, Snapdragon
As each stencil layer was added, the floral image gradually came to life with depth and dimension. The soft ink blending keeps the design light and airy while allowing the gold embossed outlines to remain visible.
The finished florals pair beautifully with the geometric hot foil design. Sometimes bold hot foil backgrounds can feel overwhelming with highly saturated coloring, but the softer ink-blended palette creates the perfect balance.

Create Coordinating Sentiments
Once the floral image was complete, I moved on to creating the sentiments for the first card.
Since I no longer needed the larger working area of the Stampwheel 2, I switched back to my standard Stampwheel, which is perfect for smaller stamped elements. The compact size made it easy to quickly stamp and align the sentiment pieces.
For the main sentiment, I stamped and heat embossed the image using Antique Gold Embossing Powder. Repeating the same gold finish found in both the embossed floral image and the hot foil background helps create continuity throughout the design.
The secondary sentiment was stamped with Obsidian Pigment Ink for a crisp, clean impression that provides contrast and readability. Layering multiple sentiment styles adds visual interest while maintaining a cohesive look.
One of my favorite cardmaking tips is to repeat metallic elements throughout a design. By combining the gold hot foil background with gold heat embossing on the floral image and sentiment, the cards feel intentional and beautifully coordinated.

Die Cut the Floral and Sentiment Elements
With all of the stamping, coloring, and embossing complete, it was time to bring out the die-cutting machine.
The floral image was die cut using the coordinating die included with the Build-A-Garden: Joy in Bloom set. Having a coordinating die makes it quick and easy to cut around all of the beautiful detail without needing to fussy cut by hand.
The stamped sentiments were also die cut using their matching dies, creating clean edges and professional-looking embellishments.
For the second card, I created the large "Hello Sweet Friend" sentiment using the Framed Botanicals Die Set. I die cut the sentiment from Moonstone Glitter Cardstock, which adds even more sparkle alongside the gold hot foil accents.
To create dimension, I cut two additional layers from white cardstock and one backing layer from vellum. The vellum helps soften the transition between the bright sentiment and the bold hot foil background while still allowing the beautiful geometric pattern to show through.
I stacked and adhered all of the layers together using ClearFix Glue, creating a substantial sentiment that serves as a focal point on the second card.

Assemble Two Cards from One Floral Image
One of the best features of this large floral image is its versatility. Rather than using the entire arrangement on a single card, I decided to stretch my supplies by creating two cards from one stamped image.
After die cutting the floral arrangement, I carefully trimmed it in half to create two separate floral clusters. This simple technique instantly gave me enough focal elements for a coordinating card set.
Each floral cluster was layered over a gold hot foil background panel and adhered with foam adhesive for added dimension. The raised flowers create beautiful shadows and help separate the focal image from the detailed background.
Gold sequins were scattered across both cards to reinforce the metallic accents and complement the gold hot foil detailing. By varying the sentiment treatments and floral placement, each card has its own unique personality while still feeling like part of a coordinated collection.
Check Out The Full Hot Foil Tutorial Here!
These cards are a wonderful example of how a beautiful hot foil background can completely transform a project. The combination of the Journey Abroad Hot Foil Plate, Build-A-Garden: Joy in Bloom, and the Framed Botanicals Die Set creates an elegant pairing of soft florals and modern design.
I love how the gold hot foil details add luxury and sophistication without overwhelming the delicate floral imagery. Whether you're creating backgrounds, sentiments, or decorative accents, hot foil is a fantastic way to add shine and elevate your handmade cards.
Thanks so much for stopping by today! I hope these cards inspire you to pair your favorite florals with a beautiful hot foil background and discover just how versatile hot foil can be in your own cardmaking projects. Happy crafting! ✨🌸
Warmly,
Lea

Inspired to add some shine to your cardmaking projects? Now is the perfect time to stock up!
For two days only—October 23 to October 24—enjoy 20% off all Hot Foil Rolls. Whether you're looking for classic gold, metallic silver, or vibrant specialty colors, treat your stash to fresh shine and create your own elevated handmade cards. Shop here: https://altenew.com/collections/hot-foil-rolls-for-cardmaking-and-crafting
Supply List