One Lily Bouquet, Two Looks - Stencil Blending vs Watercolor
by Therese Calvird October 21, 2026

Key Takeaways
- One Hot Foil Plate, Two Distinct Aesthetics: Transform a single floral hot foil design into either a crisp, modern masterpiece or an artistic, loose watercolor painting using different coloring methods.
Supply Versatility: Maximize your craft room stash by pairing hot foil plates with coordinating stencils, dies, and stamps without needing to buy extra floral designs.
Crafting Precision: Utilize a sticky mat or crafting sticky coaster to keep cardstock, dies, and stencils securely in place while blending ink or layering colors.
Error Correction Made Easy: Don't throw away dynamic ink mistakes—adjust depth and fix color tones simply by adding extra ink layers or controlled splatters.
Want to give the same floral design two completely different looks? Sometimes all you need to do is change your coloring technique!
Today, I’m sharing two creative ways to color the Altenew Spark Joy: Lily Bouquet using crisp stencil blending and loose, messy watercolor. Whether you are using a stamp, detailed dies, or hot foil plates, changing your pigment application dramatically shifts the energy of your handmade cards. And as you'll see, neither card went quite to plan!

Why Try Stencil Blending vs Watercolor Coloring Techniques?
Floral coloring techniques can completely change the vibe of your handmade cards, even when you're working with the exact same base design. By experimenting with different adhesives, cardstock textures, and ink types, you can stretch your craft supplies further while building your cardmaking skills.
For these two cards, I used the Altenew Spark Joy: Lily Bouquet Hot Foil Plate, coordinating stencils, and various scrapbooking techniques to explore two distinct styles:
Elegant Detail: Creating crisp floral outlines with brass hot foiling for an elegant, metallic finish.
Controlled Vibrancy: Using layered stencil ink blending on a crafting sticky mat to add bright, controlled color to petals and leaves.
Color Tuning: Adjusting ink shades with additional blending layers when the original combination feels off.
Fluid Artistry: Adding loose watercolor beyond the floral outlines for a relaxed, artistic effect.
Dimensional Layering: Building texture and dimension with metallic splatters, foam adhesives, and raised cardstock panels.
Display Ready: Creating unique cards suitable for gifting or storing in a card album or display album for handmade cards.
Did You Know?
Stencil blending and watercoloring activate dyes in completely different ways! Dye inks used in stencil blending sit on top of paper fibers for crisp opacity, whereas watercolor pigments soak into the cotton fibers, allowing light to refract through multiple transparent layers. Using a small sticky mat while stenciling prevents micro-shifts, guaranteeing ultra-crisp edges every single time.

Card #1: Crisp Stencil Florals
Supplies Needed for the Floral Stencil Card
Spark Joy: Lily Bouquet Hot Foil Plate & Coordinating Stencils
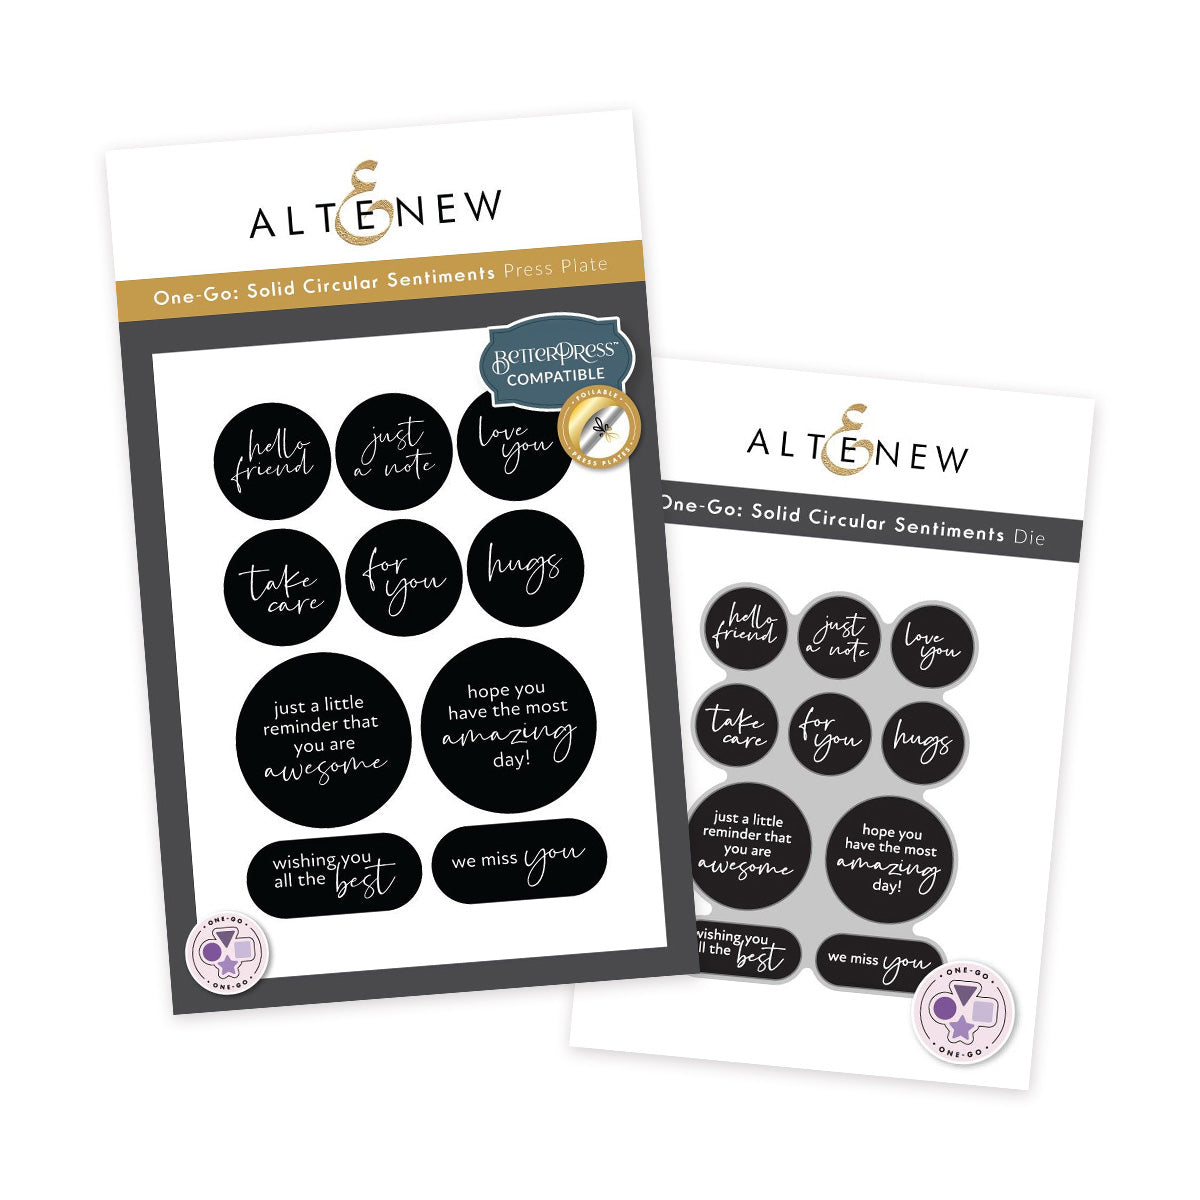
One-Go: Solid Circular Sentiments (Stamp & Dies)
Linear Crossroads Dies
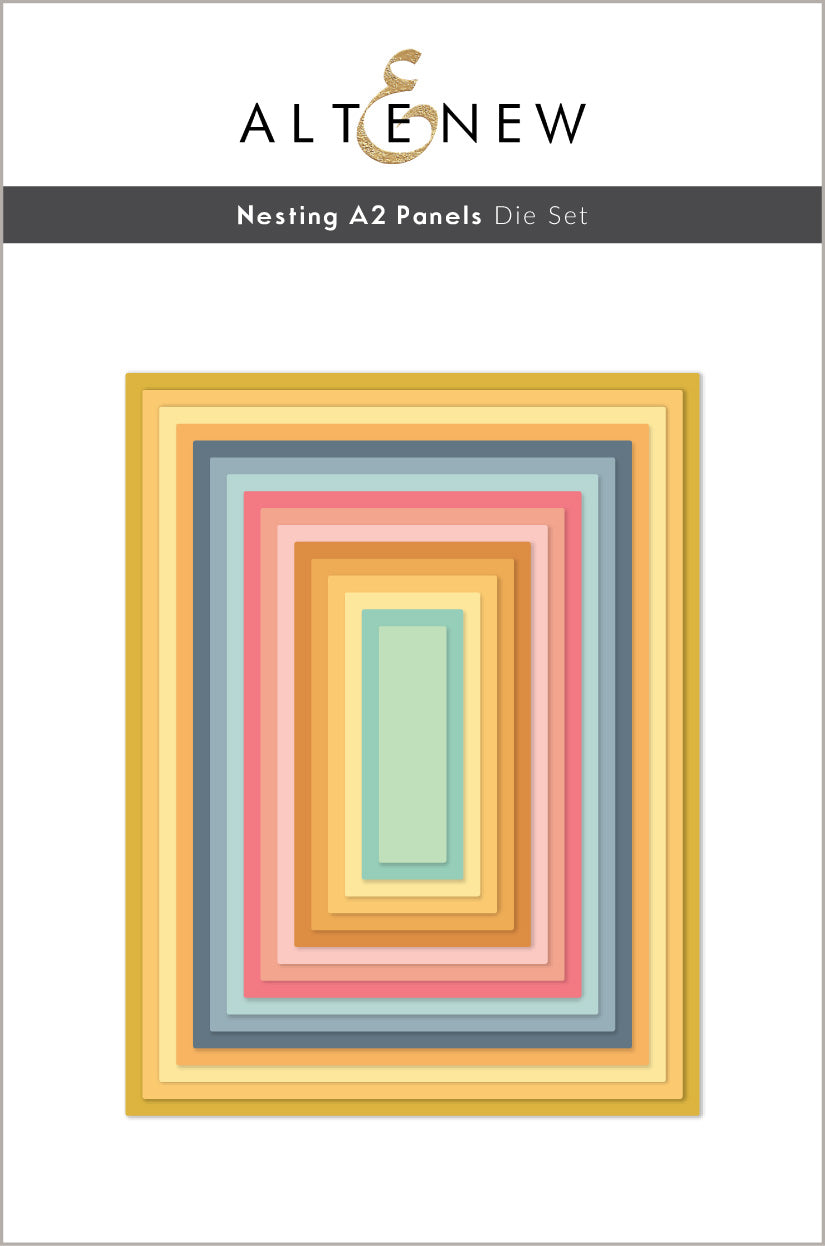
Nesting A2 Panels Dies
Crafty Necessities: Misty Morning Cardstock
Brass Hot Foil Roll
Must-Have Gel Pen Set
Mini Blending Brush Set
Obsidian Pigment Ink
Fresh Dye Inks (Cherry Blossom, Northern Shore, Jade Dreams, Sun-Kissed Delights, Golden Sunset, Red Cosmos, Green Fields)
Small sticky mat or crafting sticky tile (for secure ink blending)
Dimensional foam adhesives

Step-by-Step Card Instructions
For my first card, I combined brass hot foiling and stencil blending to create a crisp, bold floral design.
Hot Foil the Bouquet: Place white cardstock on your heat platform. Use brass foil with the Lily Bouquet Hot Foil Plate to transfer detailed floral outlines.
Secure & Blend: Secure the cardstock onto a sticky mat or crafting sticky tile. Align the coordinating stencils over the foiled outlines and blend bright dye inks onto the flowers and leaves using mini blending brushes. Layer deeper shades near the stem base for added dimension.
Prepare the Background: Die cut a Nesting A2 Panel using Misty Morning cardstock. Adhere it directly to the card base using strong liquid adhesives or double-sided tape.
Add Die-Cut Accents: Die cut two Linear Crossroads elements from white cardstock. Position and arrange these geometric accents beneath your fussy-cut floral bouquet.
Assemble the Card: Mount the bouquet using Instant Dimension Foam Tape. Finish with a bold black-and-white sentiment from the One-Go Solid Circular stamp and die set.

Card #2: Loose Watercolor Florals
Supplies Needed for the Watercolor Card
Brass Hot Foil Roll

Step-by-Step Card Instructions
For my second card, I used the exact same Lily Bouquet design but swapped the crisp stencil blending for a loose, expressive watercolor technique.
Hot Foil on Watercolor Paper: Transfer the Lily Bouquet design onto smooth watercolor paper using brass foil. The foil outline acts as a light barrier for fluid watercolor washes.
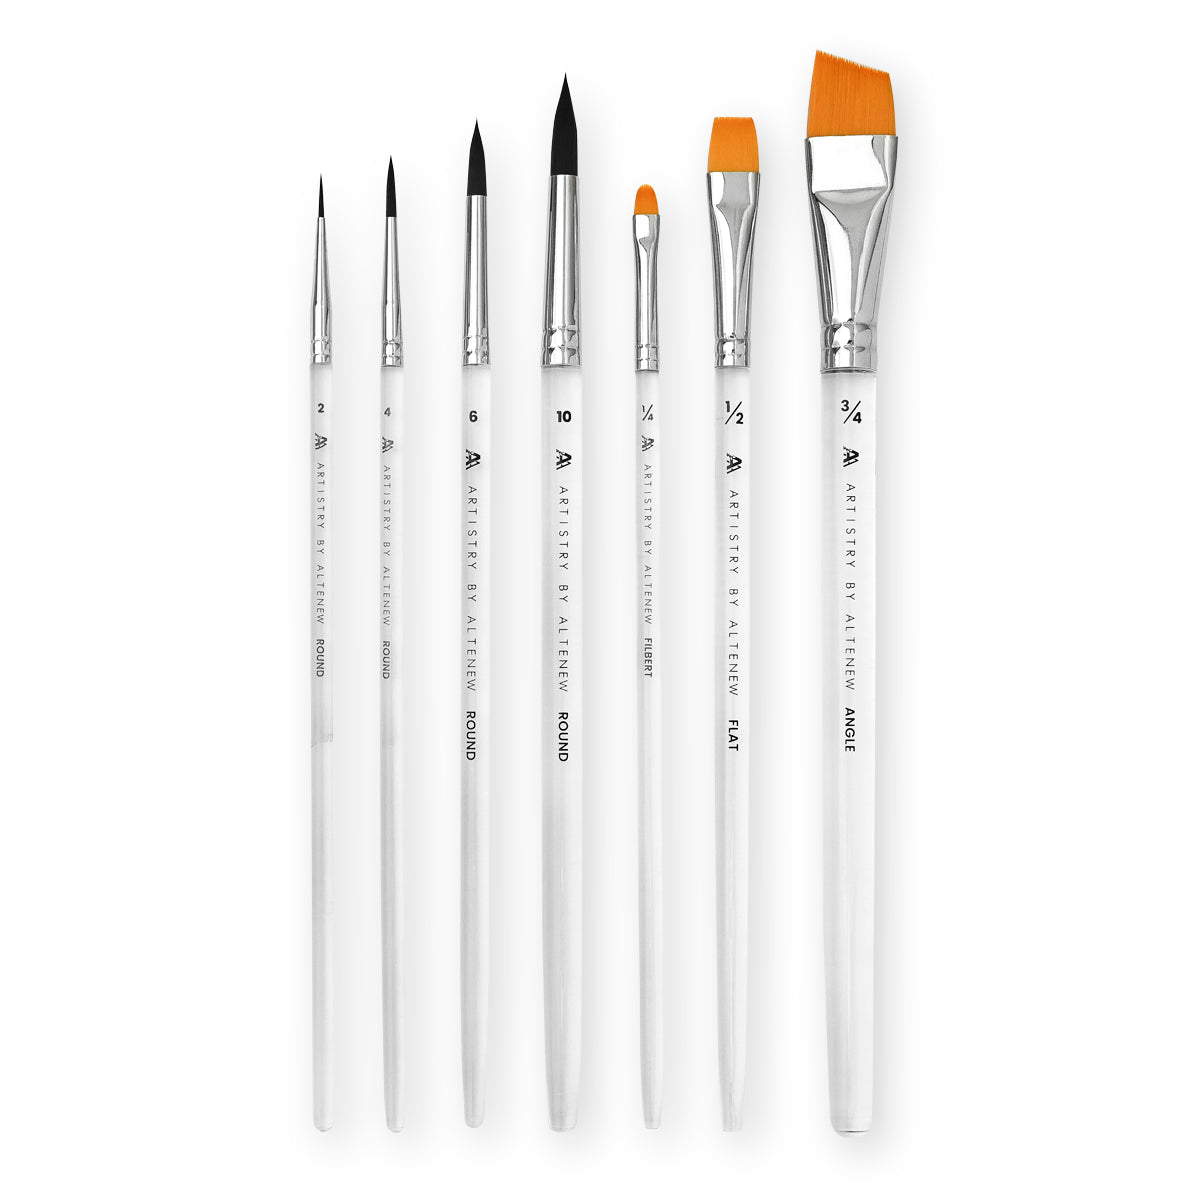
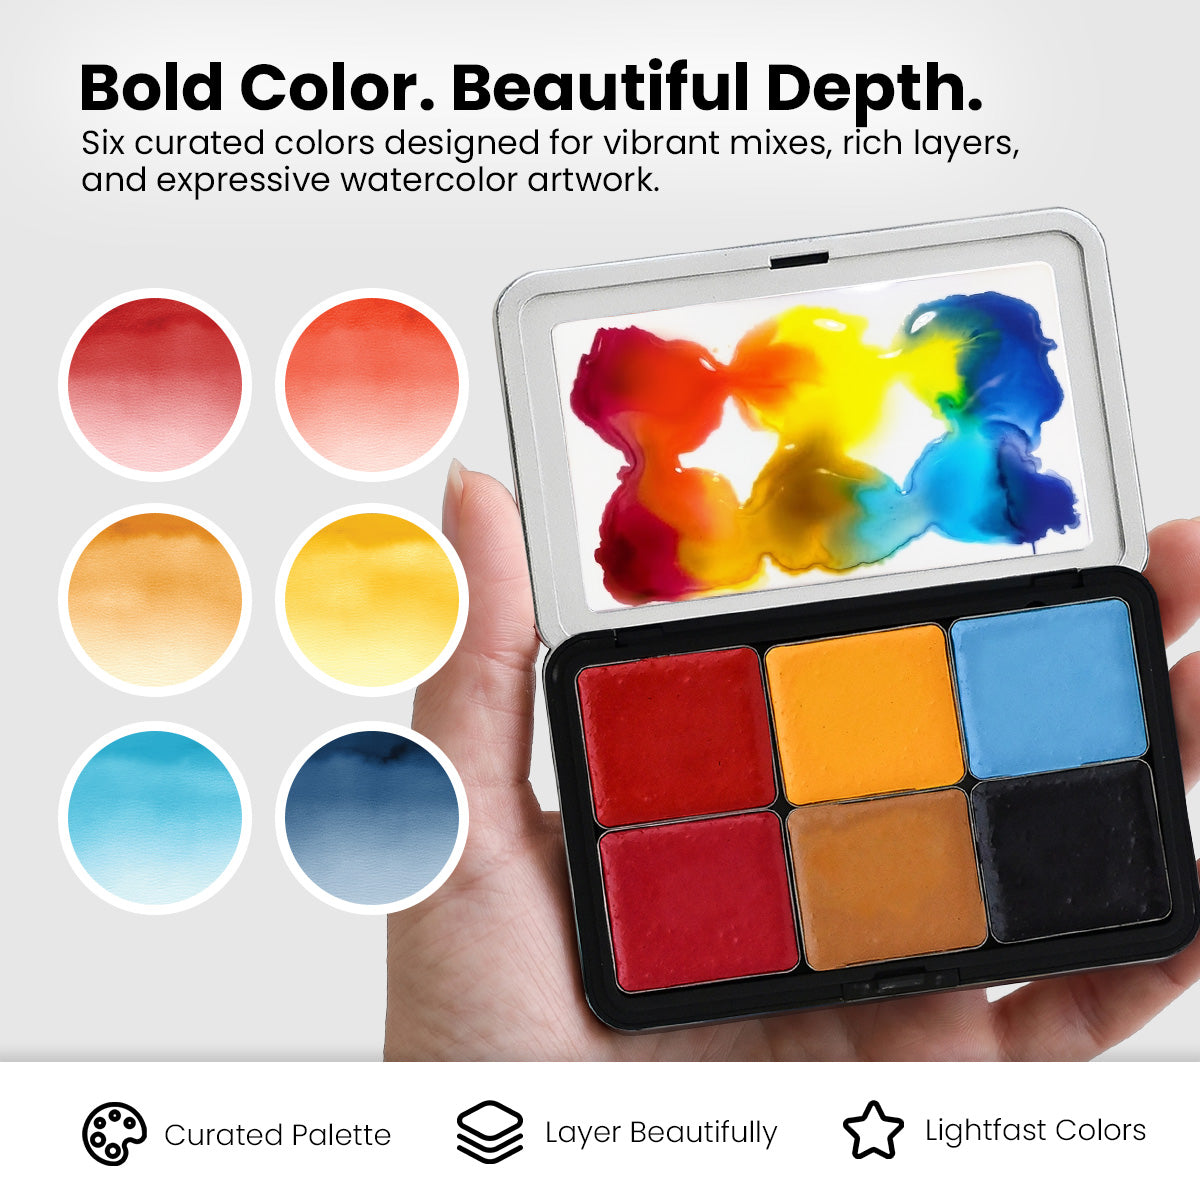
Apply Loose Watercolor: Load a round brush with pigment and wet the cardstock. Roughly paint the flowers and leaves, intentionally letting the color flow beyond the foil outlines for a soft, painterly feel.
Paint a Fluid Background: Wash soft blue watercolor around the outer perimeter of the bouquet, building pigment concentration near the flowers to make them pop.
Add Metallic Splatters: Tap your brush to splatter the panel with metallic brass and dark blue watercolor drops for textured background detail.
Assemble the Card: Trim the watercolored panel using nesting panels die. Double-pop the panel onto a clean white card base using foam adhesives for maximum shadow depth. Add your circular stamped sentiment to complete the layout.

PRO TIP: Trust the process! Loose watercoloring often looks chaotic in the middle stages. Don't throw away your panel—building up layered splatters and soft background washes will pull the entire design together in the end.

Altenew Fresh Dye Inks Used: Frosty Pink | Pinkalicious | Rubellite | Ruby Red | Chamomile | Peachy Glow | Golden Honeycomb | Amber Blaze | Melted Butterscotch | Polar Bear | Icy Water | Misty Sage | Mossy Meadow | Green Opal | Evergreen.
Watch the Floral Card Video Tutorial
Want to see these step-by-step instructions in action? Watch the full video tutorial below to follow along with both coloring methods!
Changing your coloring technique is one of the easiest ways to get double the value from your crafting supplies. Whether you store your completed projects in a display album or send them to loved ones, exploring contrasting styles keeps cardmaking fresh and inspiring.
I hope these two card designs inspire you to pull out your favorite stamps, dies, stencils, and hot foil plates to try a new technique today!
Which style do you prefer: crisp stencil blending or loose watercolor? Let me know in the comments below!

Save up to 55% off Stencils & Embossing Folders from October 20, 2026 at 12:01 AM EDT until October 22, 2026 at 11:59 PM EDT. Shop here: https://altenew.com/collections/craft-room-staples (Exclusions Apply)
SUPPLY LIST
|