Fresh, Colorful Floral Cards for the Win! | Tremendous Texture With Erica + Video
Hi Altenew friends and fans!
It's Erica back on the Altenew blog and YouTube channel and I hope you are in a mood for a big gorgeous bunch of flowers! Because today I'm on a total roll with die cutting the fab Fresh Flowers Die Set, and a very bright color scheme. I picked out a bit of a rainbow of colors and then went ahead and die cut so many of the flower pieces so I would have lots of options.

Let’s Make Vibrant, Colorful Flowers!
The Fresh Flower die cuts is another set that has the brilliant Key Hole system, which makes it so easy to know which piece goes with which flower. All you have to do is match up the symbols on each one of the die cuts and then layer them up. It couldn't be easier! I show you how quick and easy it is in the video too. I have put one of them together in real time, and then the other 83405 flowers I have done in a time-lapse to save us all the time or we would be here for hours and hours.

The colors of cardstock I picked are so joy inducing, and I absolutely love how they look together. It's pop after pop of color and I think they go so well together, don't you agree?

How to Make the Card Background
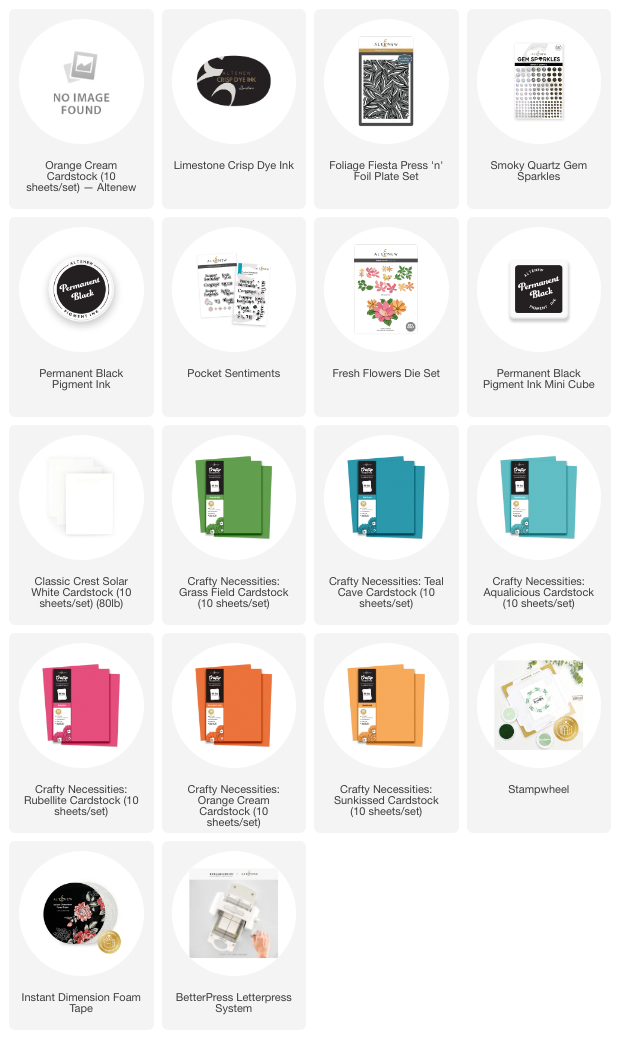
For the background, which ended up being the foreground sort of, I have used the amazing Foliage Fiesta Press Plate from the July release. With the gorgeous leafy texture, I thought it would be perfect for my flowers. I experimented a little with a few panels to see what I liked best, and as usual I couldn't stop at just one or two.. nope, I ended up with three. Funnily enough I used the first experiment on this card, so I could have saved myself the trouble of making all of them but it's nice to have options.

The first one is done with Limestone Fresh Dye Ink and then I tried sweeping the Permanent Black Ink pad over the press plate for some extra texture, and finally I did a solid black one. I think the one where I swept the ink pad over the press plate, I could have skipped but I didn't know that when I did it and now I do. And so do you!

I didn't actually end up using a whole one of those panels either! Because you have to have a lot of texture, and the funkier the better! I cut the Limestone panel at an angle to create a fun space to put my flowers into. Instead of covering the whole panel with them, like I originally thought I would, I had the flowers and leaves kind of poke up out of the foreground. It ended up a bit topsy-turvy but I like it!

When it came to a sentiment I nearly didn't put one on at all, but it's never a bad idea to have a bunch of birthday cards ready, is it? This one is so bright and happy with all those fresh flowers that it had to be a birthday card. It kind of decided for me really.
The sentiment is from the Pocket Sentiments, which is stamped up with Permanent Black Ink and then cut out with their coordinating die cuts. While I had the die cuts out, I cut out a second piece and layered that up behind the stamped one. It's subtle but effective. I could have added more layers but I stuck to just one this time.
A few sparkles from the Smoky Quartz Gem Sparkle mix was the perfect finishing touch but you will be SHOCKED to see there are a very small amount of them. Six only.. what is happening to me?? I might blame it on the need to hoard these gorgeous sparkles until my new pack comes in.
Well, that's it from me today, but I really hope you have enjoyed this post. Don't forget to check out the video, and I will see you in the next one!

Lots of love and creativity,
Erica