Festive Holiday Card Ideas with the Mix & Match Embellishments Sampler Bundle - Green
by Lea Lawson October 29, 2026

Key Takeaways
Create custom embellishments from washi tape by layering coordinating designs onto cardstock and die cutting them into unique focal elements, frames, and accents.
Add realistic dimension to die-cut florals with ink blending and 3D embossing, then use the Key-Hole System for quick and effortless assembly.
Build visual interest through layers and texture by combining embossed backgrounds, stacked die-cut sentiments, and dimensional adhesives for a polished finish.
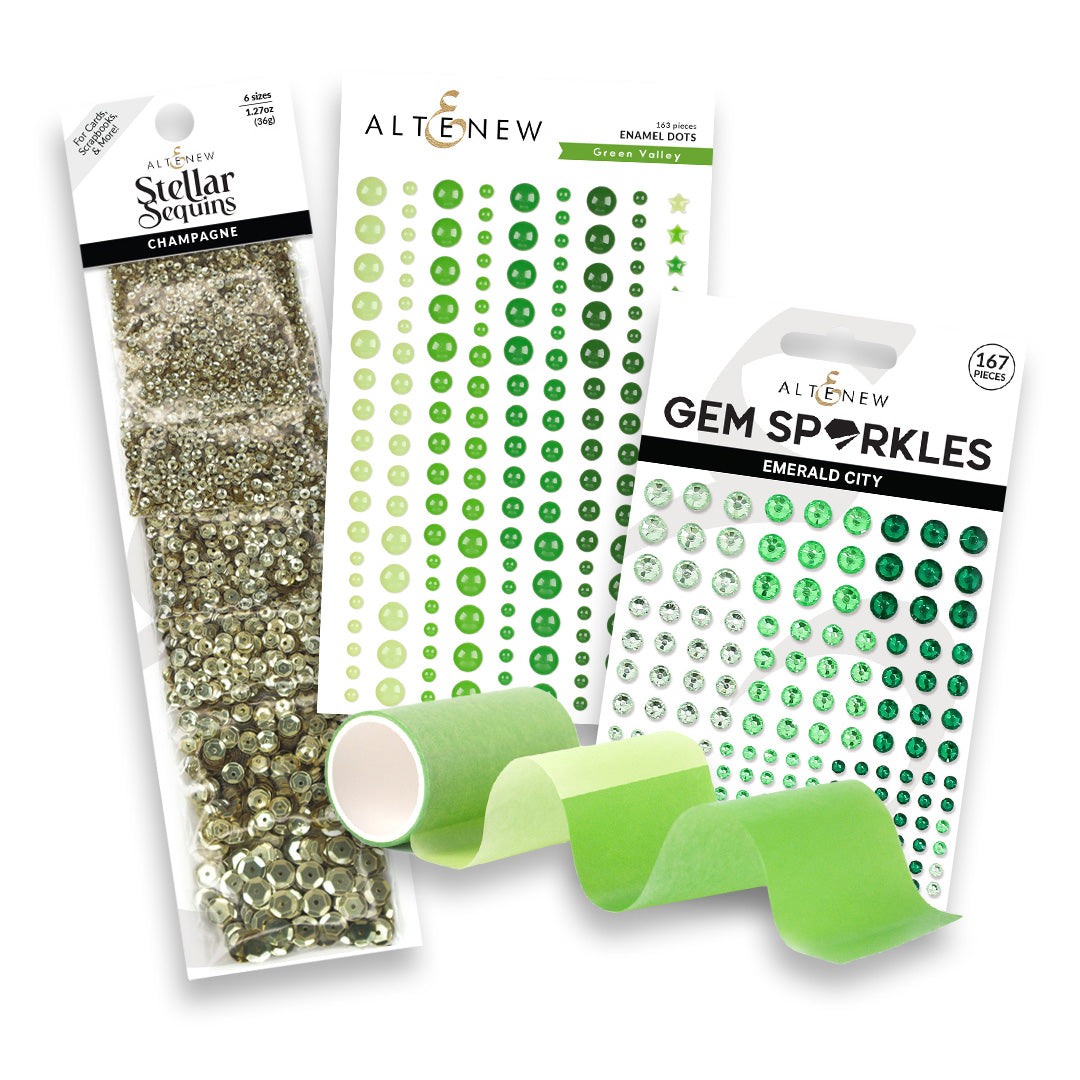
Mix and match embellishments for a cohesive look, using coordinating Gem Crystals, sequins, enamel dots, and washi tape from the sampler bundle to tie the entire design together.
Hello, crafty friends! Lea here today with another edition of Light & Airy with Lea. The holiday season is the perfect time to pull out your favorite florals, add a touch of sparkle, and experiment with creative embellishments.
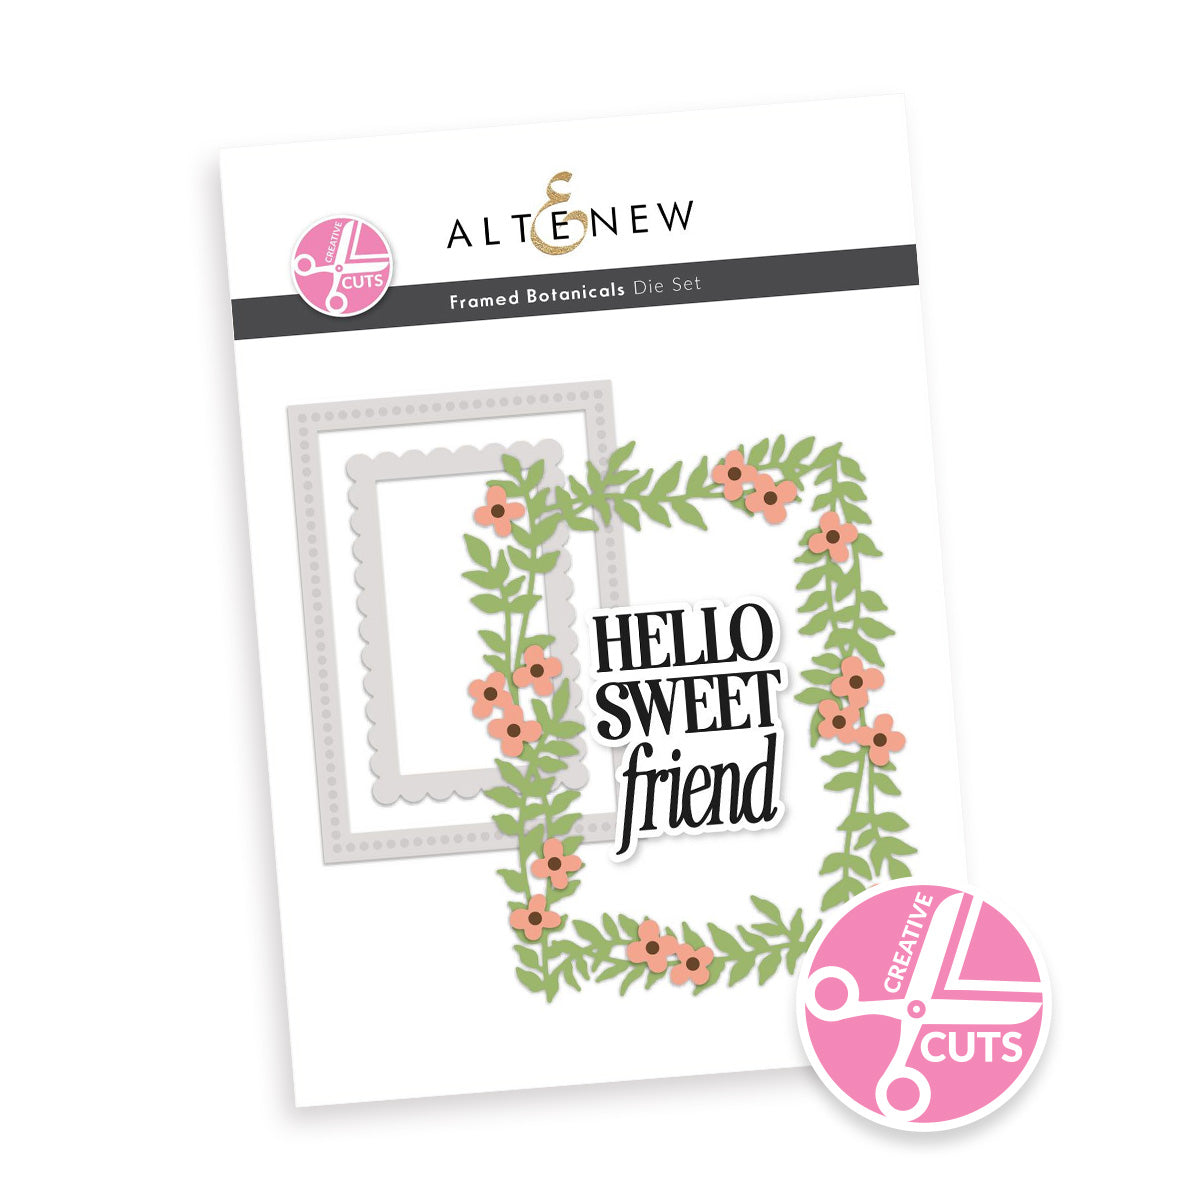
For today's combined card, I the Mix & Match Embellishments Sampler Bundle - Green with the Creative Cuts: Framed Botanicals Die Set, Lush Botanicals: Poinsettia 3D Embossing Folder & Die Set, Holiday Essentials Die Set, and the Winterberry Poinsettia 3D Embossing Folder to create a dimensional Christmas card filled with texture, color, and eye-catching embellishments. One of my favorite things about this sampler is how easily the embellishments coordinate together, making it simple to build a cohesive design while still adding plenty of visual interest.

Create a Custom Ombre Frame with Washi Tape Embellishments
The star of today's project is the Mix & Match Embellishments Sampler Bundle - Green. I love having a curated collection of embellishments at my fingertips because it takes the guesswork out of coordinating products. For this card, I featured two of the green washi tapes along with the light green Gem Crystals included in the sampler. These embellishments not only complement the holiday theme beautifully, but they also make it easy to introduce multiple shades of green throughout the design.
To begin, I created a custom ombre gradient panel by adhering strips of the two washi tapes directly onto a piece of white cardstock. Layering the embellishments side by side produced a smooth transition from light to dark green, creating a unique patterned background with minimal effort. Once the panel was complete, I used the leafy frame from the Creative Cuts: Framed Botanicals Die Set to die cut the decorative frame.
Because the washi tape embellishments add a bit of flexibility to the cardstock, the resulting frame felt slightly bendy after die cutting. To solve this, I die cut a second frame from plain white cardstock and adhered the two layers together. This simple step added rigidity and durability while keeping all the beautiful detail of the washi tape embellishments intact. The finished frame became the perfect foundation for the rest of the card design and provided a wonderful way to showcase these versatile embellishments.

Add Dimension with the Lush Botanicals: Poinsettia
Next, I turned my attention to the focal point of the card: the gorgeous poinsettia from the Lush Botanicals: Poinsettia 3D Embossing Folder & Die Set. While embellishments often serve as finishing touches, I find that dimensional florals work hand in hand with embellishments to create depth and sophistication throughout a project.
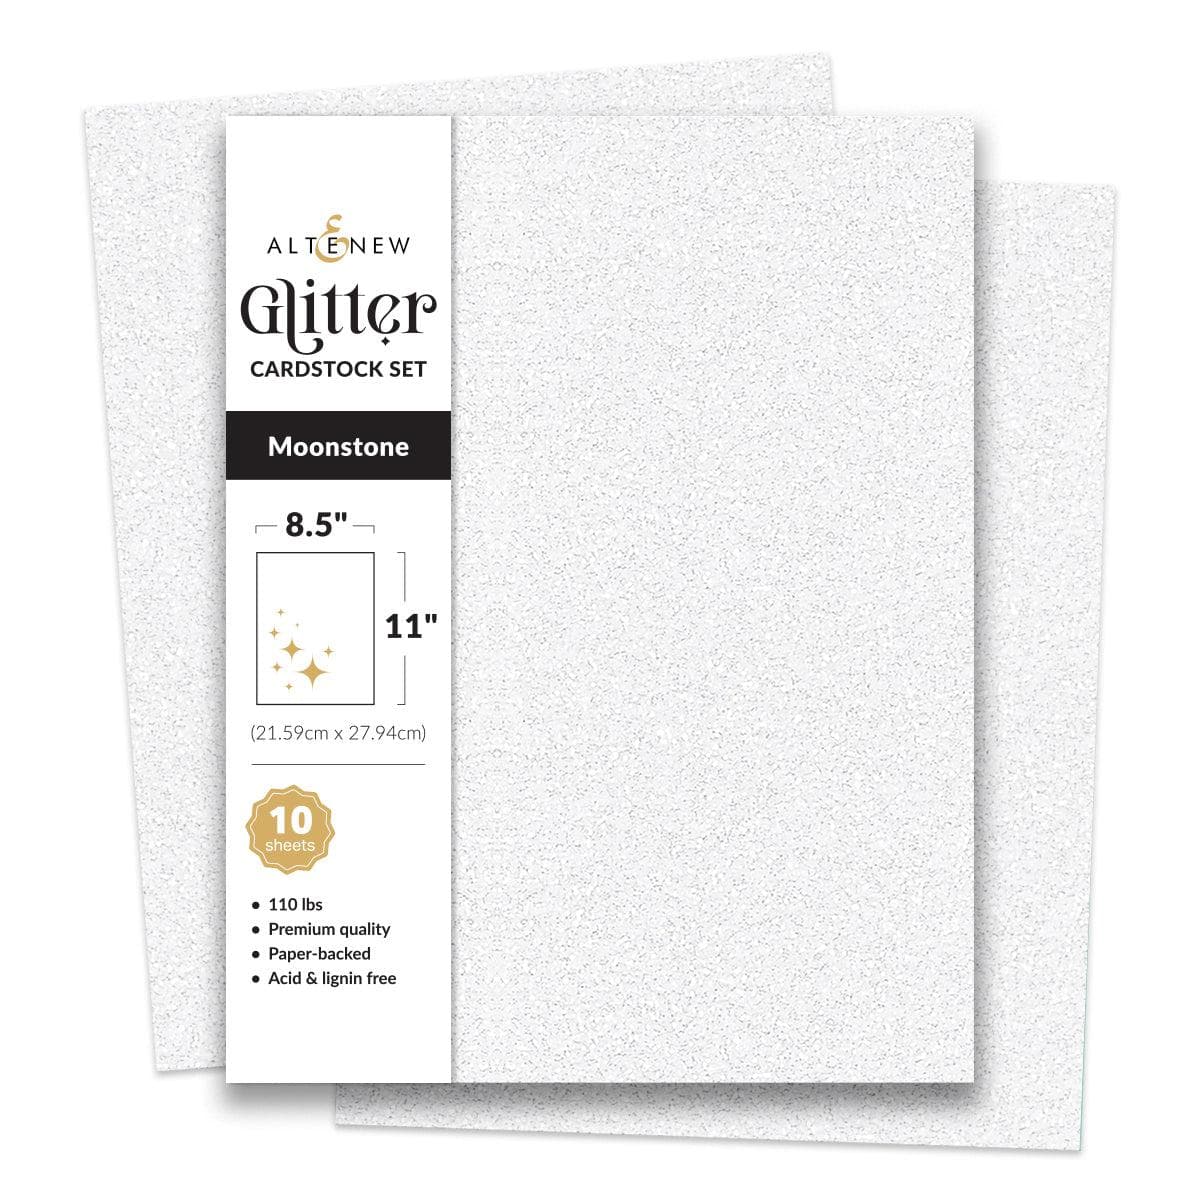
I started by die cutting all of the poinsettia petal layers from white cardstock. For the flower center, I used Moonstone Glitter Cardstock, which adds a lovely bit of shimmer and complements the sparkle found in many holiday embellishments. Beginning with white cardstock allowed me complete control over the final color palette and made it easy to customize the flower to coordinate with the green embellishments featured elsewhere on the card.
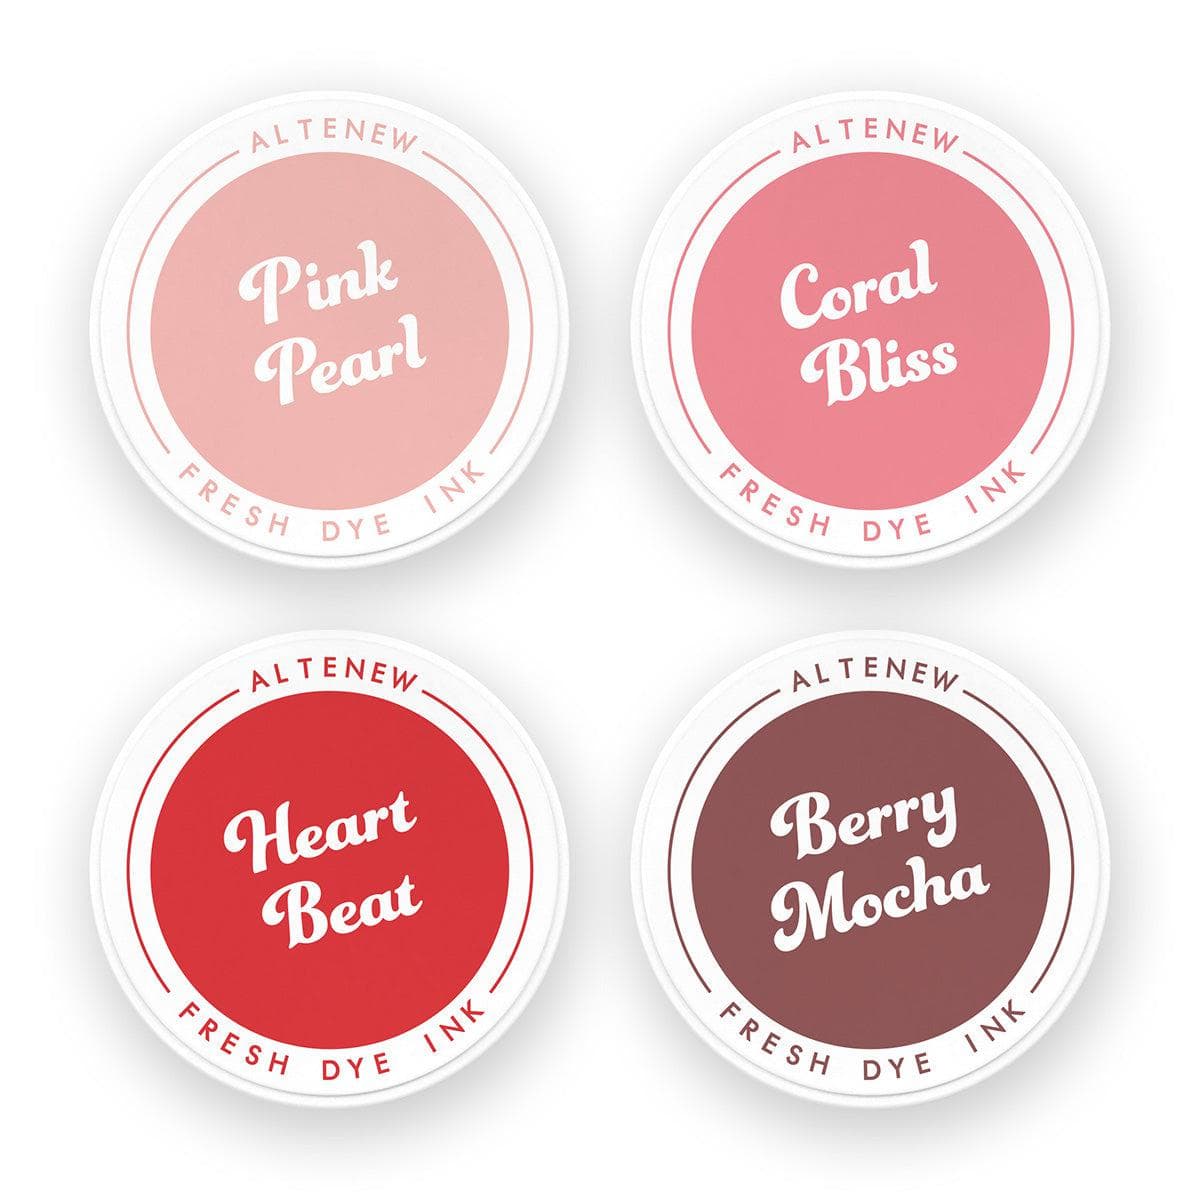
For coloring, I ink blended each layer individually before embossing.
Ink Colors Used:

Once the ink blending was complete, I aligned each die-cut layer inside the coordinating 3D embossing folder and ran it through my Platinum die cutting machine. The deep embossing adds incredible realism and detail to the petals, transforming simple die cuts into lifelike florals.
For the embossing sandwich, I used:
- A Platform Base
- F Shim
- Embossing Folder + Paper
- D Adapter Plate
After embossing all of the layers, I assembled the poinsettia using Altenew's innovative Key-Hole System, which makes layering quick and effortless. The embossed veins and blended color create beautiful movement within the flower, while the dimensional petals naturally draw the eye toward the center of the design. Even though the poinsettia serves as the focal image, it also works as a large-scale embellishment, helping tie together the smaller embellishments used throughout the rest of the project.

Create a Sparkling Holiday Greeting
No holiday card is complete without a festive sentiment, and I chose the elegant Season's Greetings sentiment from the Holiday Essentials Die Set. Since the card already featured several shades of green embellishments, I wanted the greeting to coordinate while still standing out against the background.
For the shadow layer, I die cut the sentiment from vellum. The vellum helps soften the layers underneath and ensures the greeting remains easy to read without covering up too much of the surrounding detail. For the main sentiment layer, I selected Malachite Glitter Cardstock from the Shimmering Shore Collection. The rich green sparkle beautifully echoes the washi tape embellishments and gem embellishments featured elsewhere on the card.
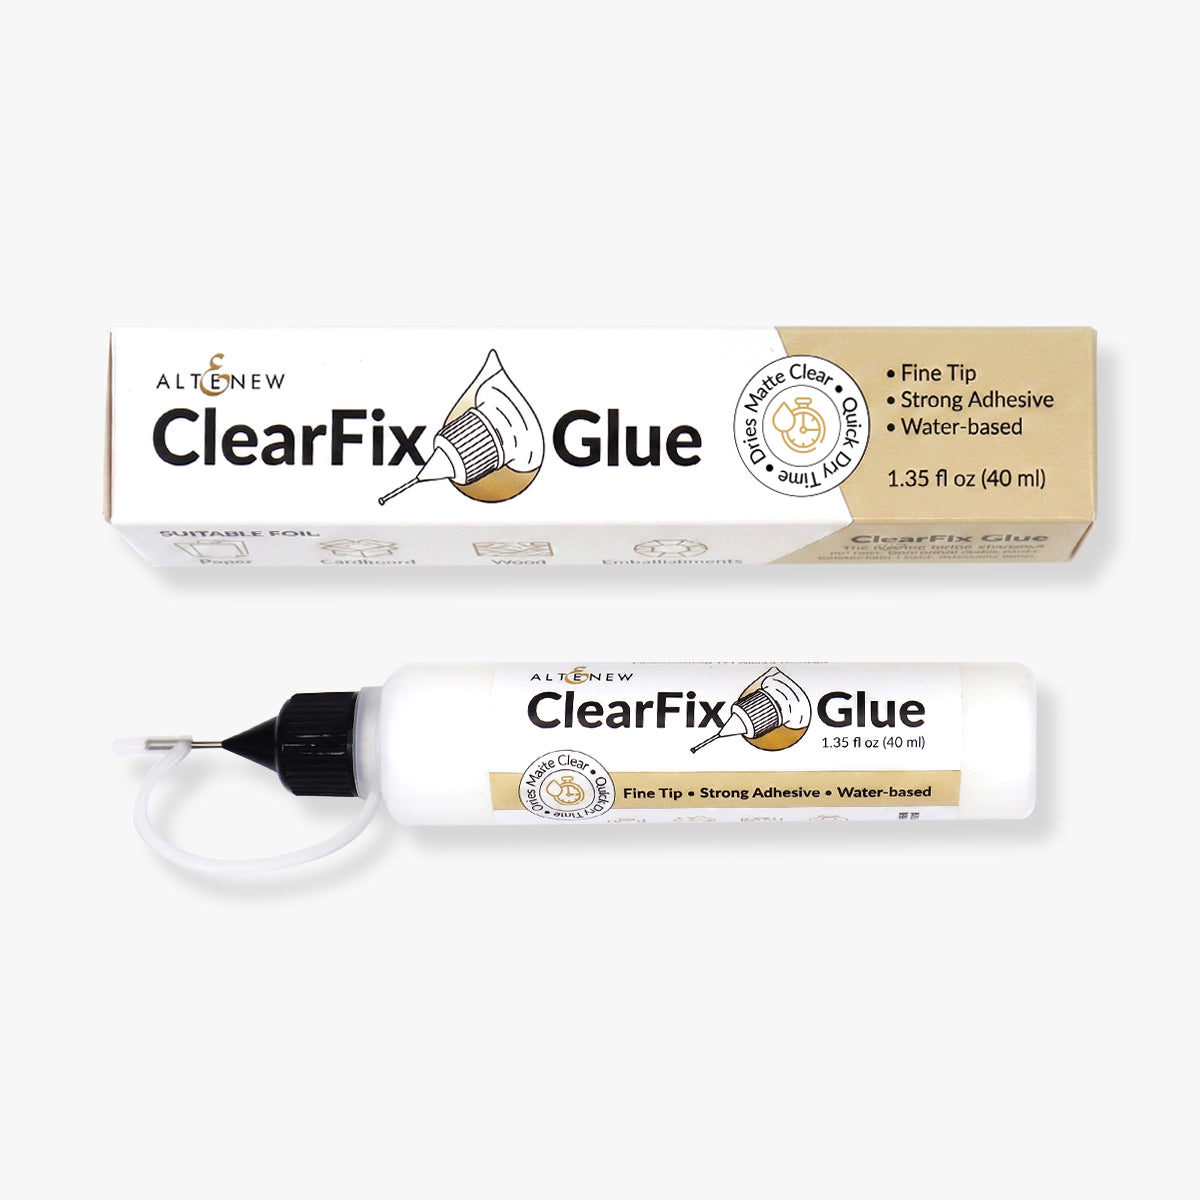
To create additional dimension, I die cut the inner sentiment layer two more times from white cardstock. I then stacked all three layers together, adhering them with ClearFix Glue. This creates a chipboard-like sentiment with plenty of height and stability while preserving the intricate details of the lettering.
Layered sentiments are one of my favorite ways to add interest to a card because they function almost like additional embellishments. The glitter finish catches the light beautifully, and the stacked layers help the sentiment stand up against the dimensional poinsettia without being visually overwhelmed.

Build a Textured Background
With all of the main elements complete, it was time to build the background. A card featuring so many embellishments and dimensional elements benefits from a background that adds texture without competing for attention.
To achieve this, I embossed a panel of white cardstock using the Winterberry Poinsettia 3D Embossing Folder. I used the same embossing sandwich as before:
- A Platform Base
- F Shim
- Embossing Folder + Paper
- D Adapter Plate
The subtle embossed pattern provides beautiful texture while allowing the focal embellishments, floral elements, and sentiment to remain the stars of the show. White-on-white backgrounds are always a favorite of mine because they add interest without introducing additional colors that might distract from the design.
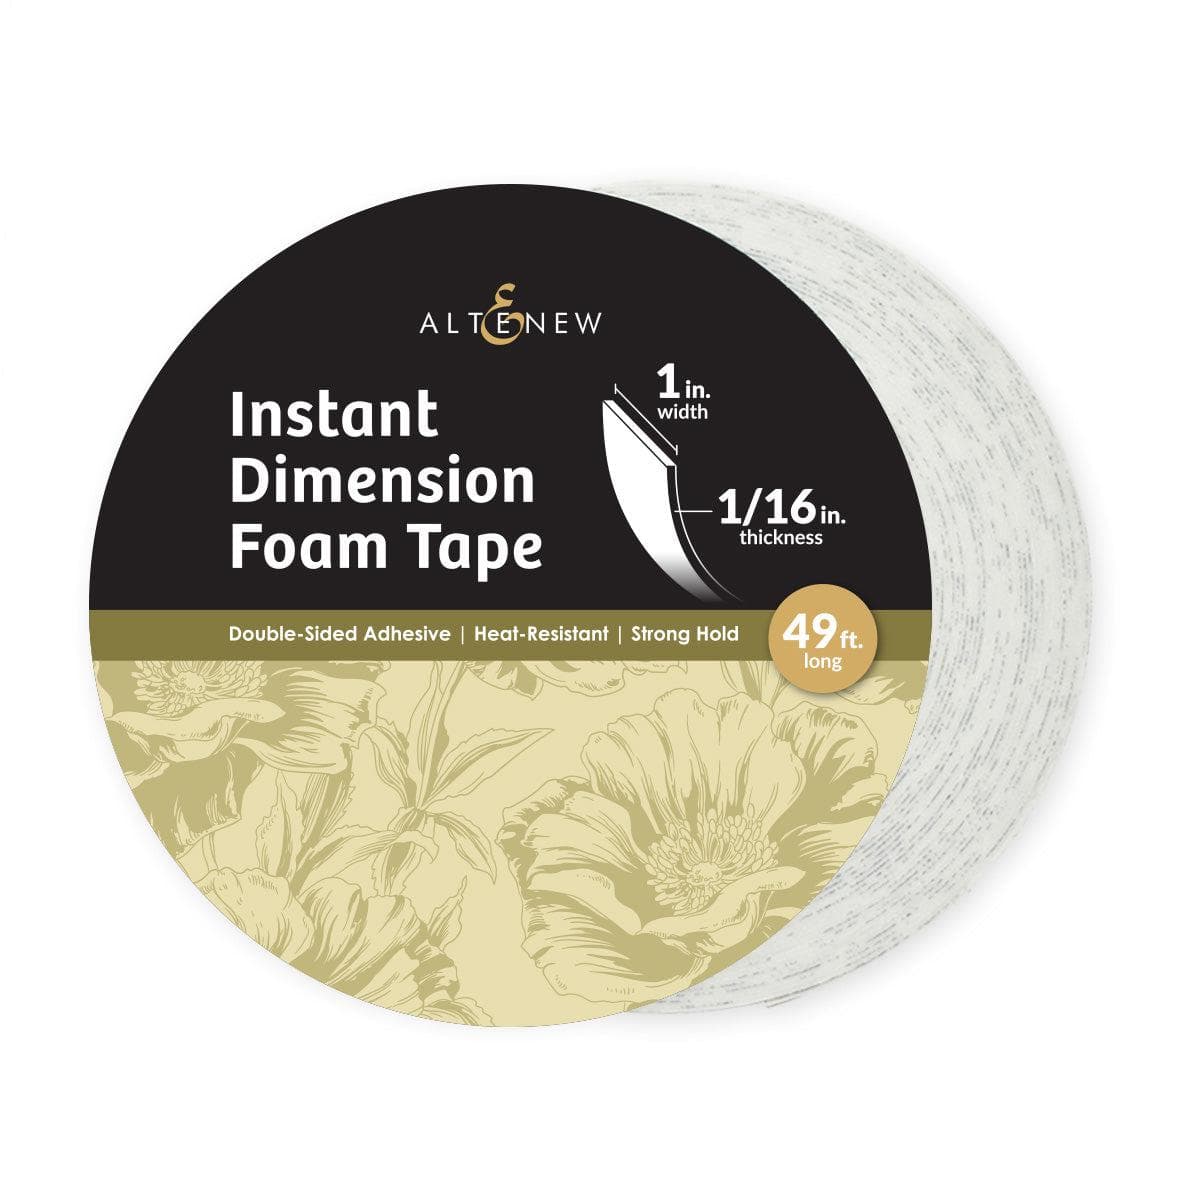
Once embossed, I adhered the panel to a card base covered in Crimson Cardstock using Instant Dimension Foam Tape. The deep red frame creates a classic holiday feel and provides striking contrast against the green embellishments. I then adhered the leafy washi tape frame, layered poinsettia, and die-cut sentiment to the card front.
To add even more depth, I mounted the sentiment using Foam Adhesive Strips. This subtle elevation helps separate the greeting from the embossed background and reinforces the dimensional look created by the various embellishments and floral layers. Combining embossing, layering, and carefully selected embellishments gives the finished card a luxurious, handcrafted feel.

Finishing Touches with Coordinating Embellishments
One of the easiest ways to bring a card design together is by repeating embellishments throughout the composition, and that's exactly what I did to finish this project. I added several of the light green Gem Crystals included in the Mix & Match Embellishments Sampler Bundle - Green, scattering them around the card to create visual balance and a touch of sparkle.
These crystal embellishments provide the perfect finishing touch, drawing the eye around the design while coordinating beautifully with both the washi tape frame and the glittered sentiment. Small details like these may seem simple, but strategic embellishments can dramatically elevate the finished look of a handmade card.
Another thing I love about this sampler is its versatility. If enamel dots or sequins are more your style, you could easily substitute those embellishments from the sampler instead. Having multiple embellishment options in one coordinated collection makes it easy to customize projects while maintaining a polished, cohesive appearance. Whether you prefer gems, sequins, enamel dots, or washi tape embellishments, the sampler offers plenty of creative possibilities.
Check Out The Full Tutorial Here!
I absolutely love how this holiday card came together. The combination of dimensional florals, textured embossing, layered die cuts, and carefully coordinated embellishments creates a design that feels elegant, festive, and full of detail. The Mix & Match Embellishments Sampler Bundle - Green made it incredibly easy to incorporate matching embellishments throughout the project, from the custom ombre washi tape frame to the finishing touches of sparkling Gem Crystals.
If you're looking for a versatile collection of embellishments that can be used across a wide variety of cardmaking styles, this sampler is a wonderful addition to your craft room. The coordinated embellishments take the guesswork out of matching products, while the assortment of gems, sequins, enamel dots, and washi tape gives you endless ways to add color, texture, and personality to your handmade cards. Whether you're creating holiday projects or everyday designs, these embellishments are sure to become a favorite go-to supply.
Warmly,
Lea

Ready to bring extra sparkle and dimension to your own handmade creations? For a limited time, you can grab the featured Mix and Match Embellishments Sampler Bundle - Green at an exclusive 30% discount! Shop here: https://altenew.com/products/mix-and-match-embellishments-sampler-bundle-green
Don't wait to restock your craft stash—this 48-hour flash sale ends on October 30 while supplies last!
Supply List
|