Using Wax Seals In A Modern Crafty Way
by Nathalie DeSousa October 28, 2026

Key Takeaways
Versatile Design Elements: Modern wax seals serve as dynamic focal points, title highlights, and decorative embellishments rather than traditional envelope closures.
Textural Layering: Combining wax seals with ink blending, thin twine, and metallic gold detail marker highlights adds multi-dimensional contrast to paper craft projects.
Custom Color Palette: Using varied wax bead colors lets you customize seal shades to match specific layout themes, ombre title strips, or journaling spreads.
Hello, crafty friends! It’s Nathalie here with you to share an exciting, fresh approach to using wax seals in a modern crafty way.
When you think of wax seals, old-fashioned letter closures probably come to mind first. However, there is something truly captivating about their texture, rich color, and delicate impressions that makes them incredible elements for contemporary paper crafting. Instead of keeping them strictly for envelopes, why not incorporate them into the main design layout and finishing touches of your projects?
Let’s explore how you can elevate your gratitude journal layouts by using wax seals in a modern crafty way.

Using Wax Stamp Seals as a Focal Highlight
First, let's look at how using wax seals in a modern crafty way helps you bring vibrant color, rich dimension, and tactile texture directly to your focal points. The crisp, intricate detail in wax stamp seals allows them to complement your paper craft projects seamlessly.
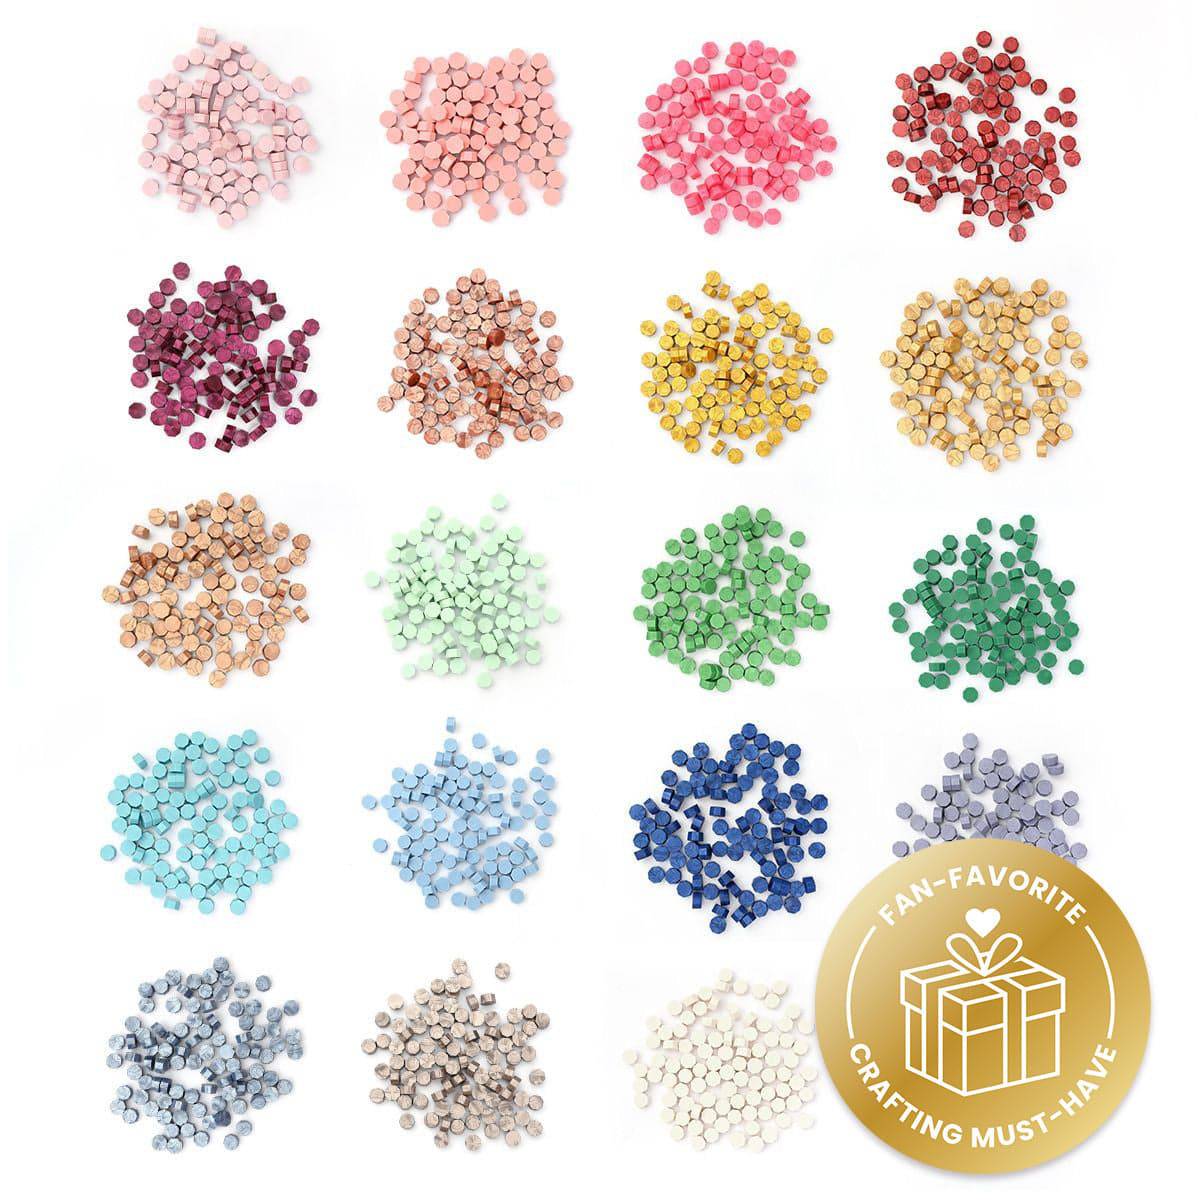
Using smaller wax seal stamps is an easy way to introduce extra pops of color and visual interest right around the title or focal area of your page. With so many wax bead colors available in the Altenew shop, you can mix and match shades effortlessly to build a full color-coordinated rainbow across your layouts.

Step-by-Step Tutorial: Creating an Ombre Title and Journaling Page
Create the Wax Seals: Using the Mini Double Heart Seal Stamp, Mini Bow Wax Seal Stamp, Mini With Love Wax Seal Stamp, and the Essential Wax Bead Bundle, melt and form different colored wax seals. Set them aside on a silicone mat to cool and harden.
Highlight Seal Details: Take a Gold Marker from the Essentials Permanent Marker set and gently stroke the raised design details on each mini wax seal to make the patterns pop. Let the ink dry completely.
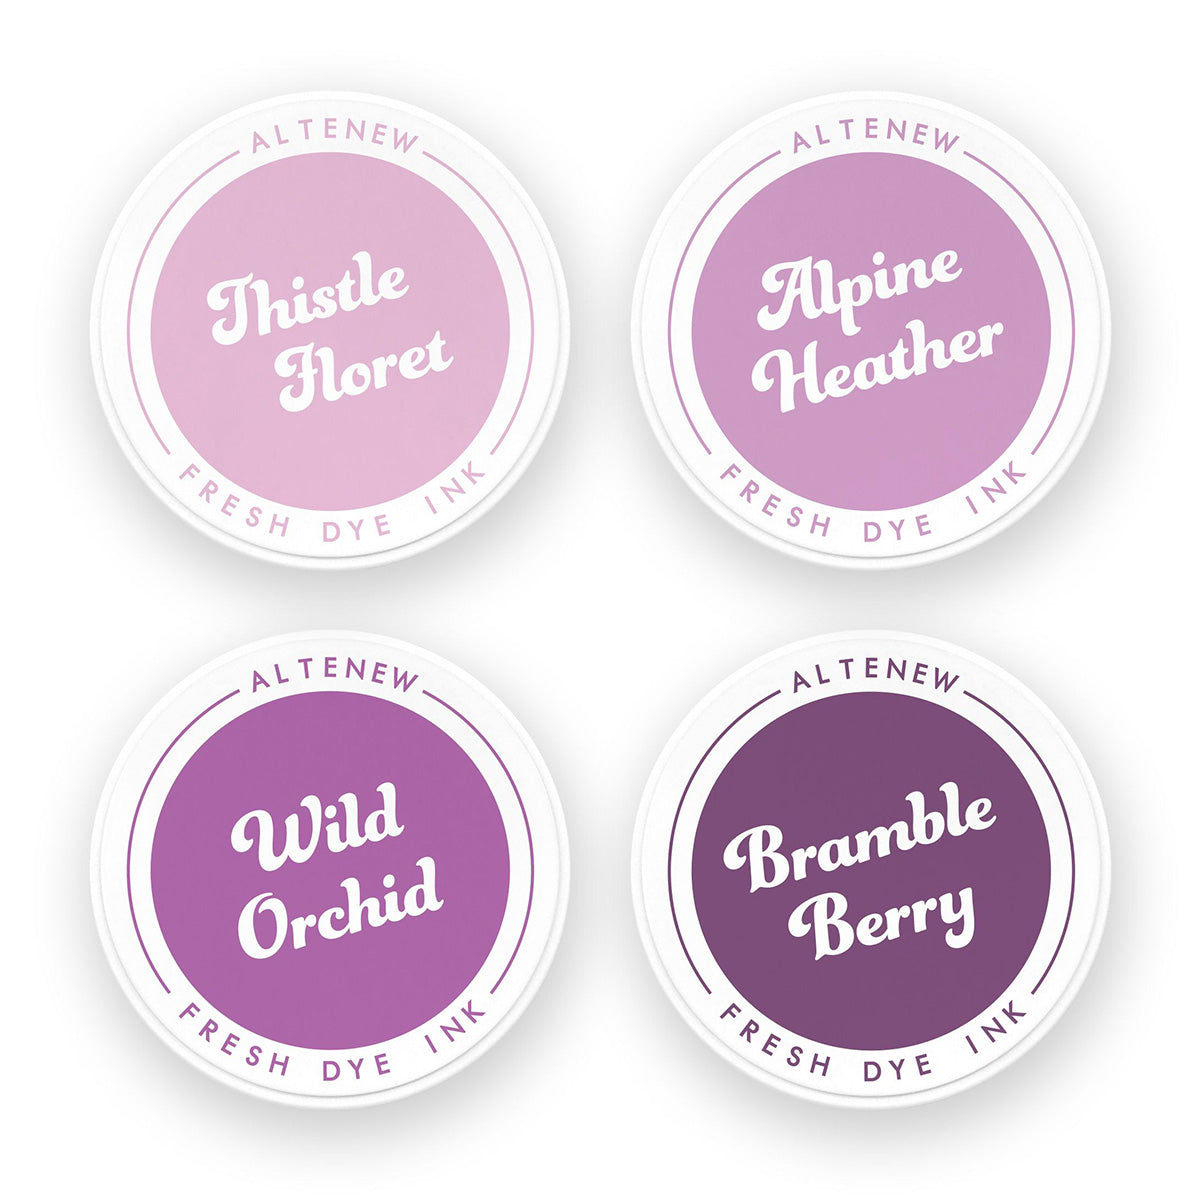
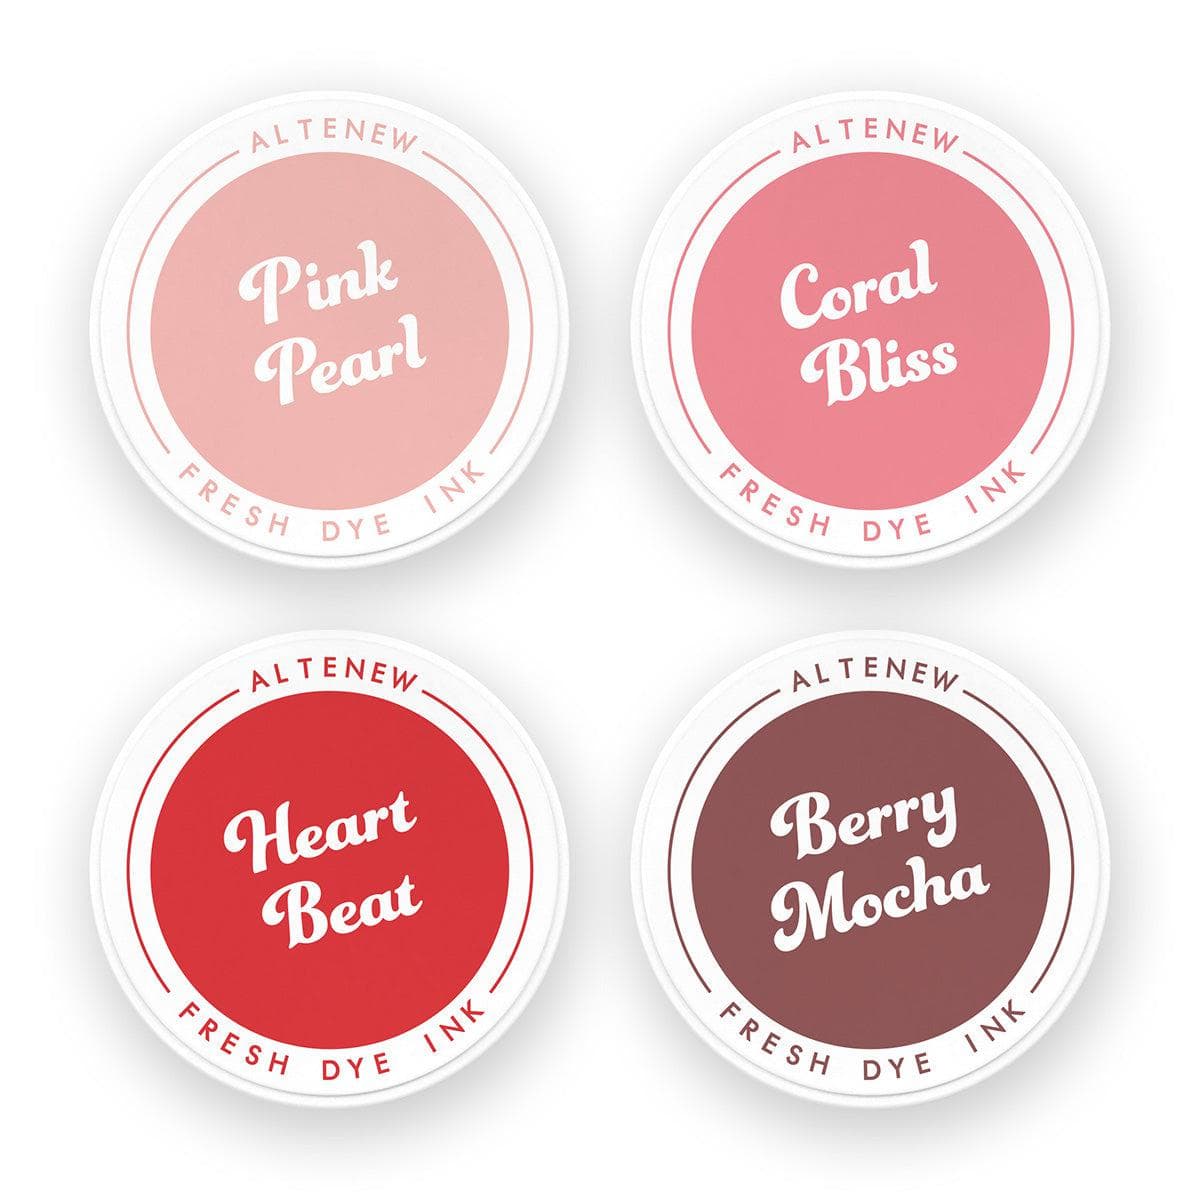
Craft the Ombre Title Strips: Cut thin strips of white cardstock. Using Fresh Dye Inks paired with ink blending tools, blend color onto the base of each strip, creating a smooth ombre effect that deepens toward the bottom edge. Note: Size the width of your paper strips according to the width of each letter being die-cut.
Die-Cut the Title Sentiment: Using the Caps Bold Alphabet Die set, die-cut one letter into each strip roughly 1/2 inch from the bottom edge. The negative space die-cuts will form your main title sentiment.

Create Contrast Letters: Using the same Caps Bold Alphabet Die set, die-cut the title sentiment letters again from a contrasting colored paper stock and set them aside.
Add Wrapped Twine Texture: Wrap thin twine in a matching color around each paper strip directly above the die-cut sentiment section. Secure the ends neatly to the back, then adhere the strips to the top edge of your base page.
Emphasize the Title: Adhere the contrasting die-cut letters into the negative spaces of the title sentiment to make the wording stand out clearly.
Mount the Wax Seals: Using ClearFix Glue, adhere your finished wax seals directly atop the wrapped twine so they align with their coordinating color blocks in an eye-catching zigzag formation.

Using Wax Seals for Embellishments and Story Complements
Another innovative approach to using wax seals in a modern crafty way is using them as structural page embellishments and sentiment anchors. Their round, organic shapes offer the perfect canvas for framing photos, anchoring phrase strips, or adding decorative balance to your page. The inherent versatility of modern wax seals lets you take your memorykeeping and scrapbooking to the next level.

Step-by-Step Tutorial: Enhancing Photo Layouts with Wax Seals
Prepare Accent Wax Seals: Using Milky White wax beads and the Mini Bow Wax Seal Stamp, create two distinct bow wax seals. Highlight the raised bow details using your gold permanent marker.
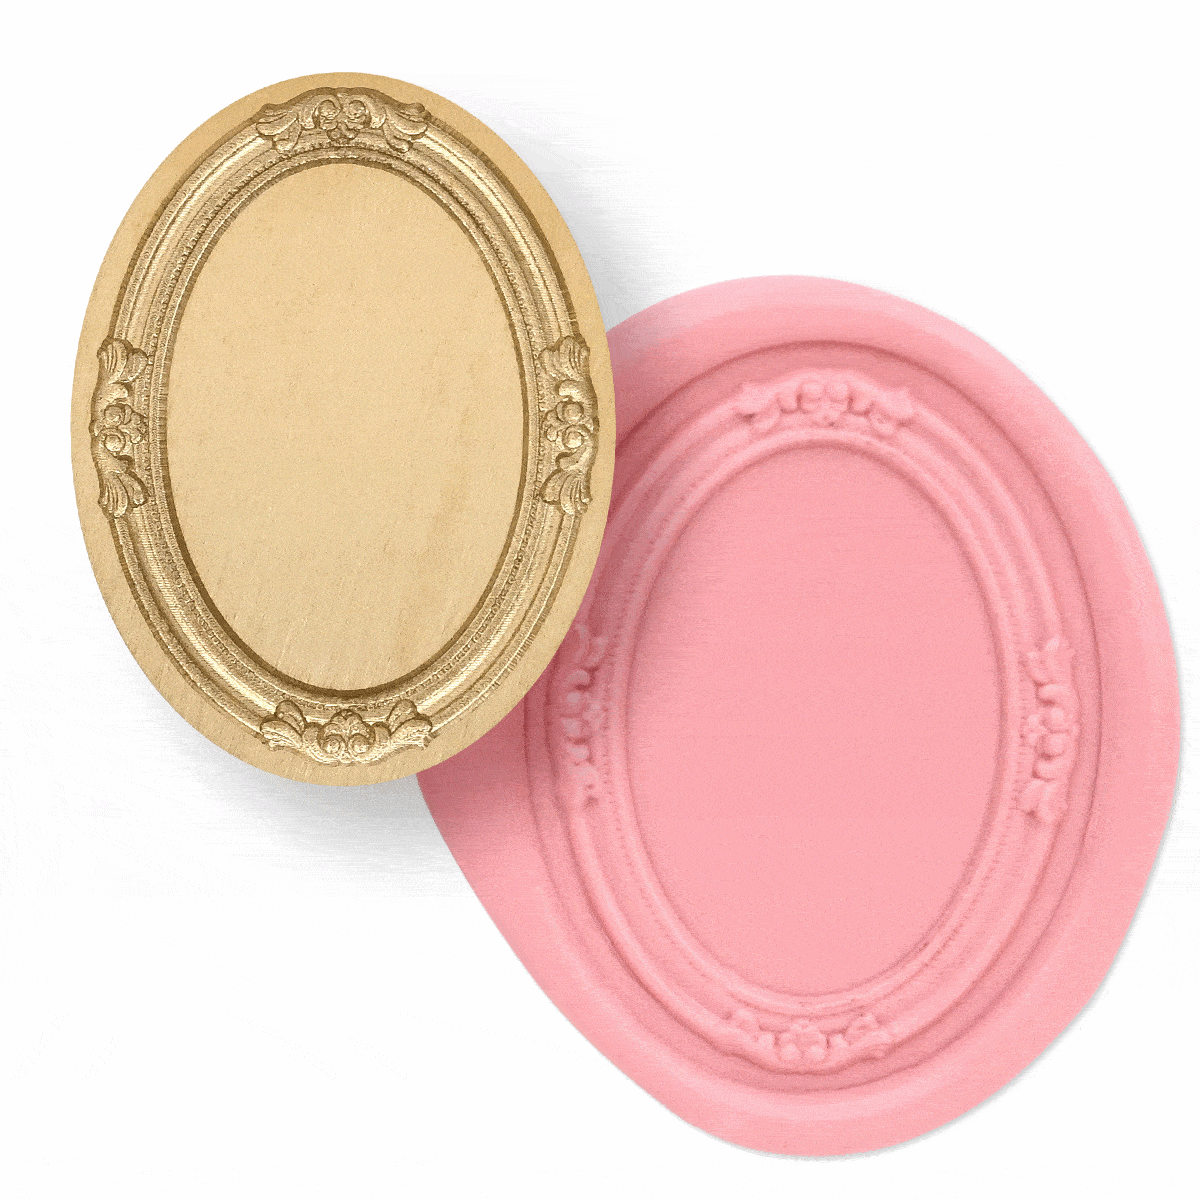
Create a Sentiment Base Seal: Melt Dusty Pink wax beads and stamp them with the Heirloom Oval Wax Seal stamp to craft a larger, flat seal surface specifically designed to hold a phrase strip.
Prepare the Layout Base: Cut a paper base from the same cardstock used for your title letters. Trim sheer vellum sheets slightly larger than your photos to create soft framing mats underneath them.
Assemble Seals and Final Touches: Adhere the two mini bow wax seals over the top corners of your photos for a decorative pinned look. Mount the larger pink oval wax seal near the bottom center of the pictures. Finally, attach matching sentiment phrase strips beside the mini bow seals and directly across the center of the oval seal.

Final Thoughts
I hope these step-by-step techniques for using wax seals in a modern crafty way inspire you to pull out your wax beads and stamp seals for your next gratitude journal layout or scrapbooking project. From title accents to sentiment banners, the creative possibilities are endless!
What ideas do you have for incorporating wax seals into your paper crafts? I would love to hear your thoughts and see what you create!
XO!


Special Limited-Time Offer!
Ready to start crafting with wax seals?
Don't miss our exclusive sale! Enjoy 20% OFF all wax seals, stamps, and accessories from October 28th through October 29th. It's the perfect time to stock up on your favorite wax bead bundles and seal designs for your upcoming gratitude journals and holiday crafting projects.
Shop here: https://altenew.com/collections/wax-seals
Supply List
|