Quick and Easy 5-Minute Birthday Card with Metallic Die-Cuts | Creative Die-Cutting with Bibi Cameron
Hello there, Bibi Cameron here and I'm sharing a quick and easy 5-minute birthday card idea using the new Craft-A-Flower: Japanese Anemone Layering Die Set and Altenew's Pigment Inks.

Adding Metallic Die-Cuts
I'm a big fan of transparencies, metallic accents, golden or silver elements – I love everything that shines when it comes to cardmaking.
So today, instead of using Altenew Fresh Dye Inks, I used gold pigment inks to add color to die-cuts.
The process was effortless and the inks added a completely different look and feel to the Japanese Anemone. It will do the same for any other die-cut flower you choose to use.

How to Create an Easy 5-Minute Birthday Card
This is a large format card and it requires only a few materials. It measures 4 1/2″ x 8″ inches, but remember that you can use this idea to make cards, gift boxes, or any other papercraft project in any size.
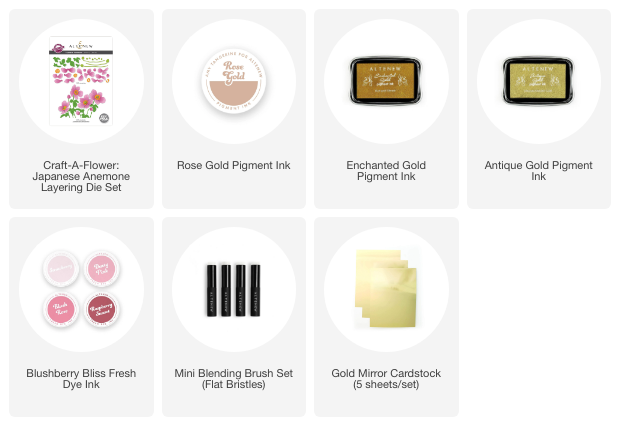
5-minute Birthday Card Supplies
- Die cutting machine
- Craft-A-Flower: Japanese Anemone Layering Die Set
- Antique Gold Pigment Ink
- Enchanted Gold Pigment Ink
- Rose Gold Pigment Ink
- Mini Blending Brush Set
- Gold Mirror Cardstock
- Liquid Glue

Let's create a 5-minute birthday card!
First, I die-cut all the pieces for the flowers out of smooth white cardstock – 300 grams. The flower stems and centres were cut out of gold mirror cardstock. The die-cuts have a key-hole system and they are numbered. So you can identify the order in which you have to assemble the flowers and what pieces go together – a super clever system!
I applied Antique Gold Pigment Ink to the die-cuts with the number 3, Enchanted Gold Pigment Ink to the die-cuts with the number 2, and Rose Gold Pigment Ink to the ones with the number 1 and also to the flower buttons.
Basically, I tried to add the darkest ink color to the petals in the back and the lightest to those in the front.
For the leaves, I used Antique Gold Pigment Ink. Then, in a spark of creativity, I added a hint of Raspberry Sunset Fresh Dye Ink at the center of the petals. I could go without it, but I had to try right? This ink color is included in the Blushberry Bliss Fresh Dye Ink Bundle
Next, I allowed the die-cuts to dry, I assembled the flowers and layered them on the front of the card base as seen in the pictures.

Have you tried using gold pigment inks on your die-cuts? Do you have other tips with pigment inks? I would love to know. Comment below!
That is all for today! I hope you like this easy 5-minute birthday card idea. Thanks for stopping by!
Happy crafting!
~Bibi
Supplies List