Textured Backgrounds + Watercolor Layered Pears
by Lydia Evans September 16, 2025

Hello crafty friends!
Lydia here, and I’m absolutely thrilled to be kicking off our September 2025 Release Video Hop! This release has so many exciting new products, and I couldn’t wait to dive in and start creating. For my project, I wanted to go for something a little different — a dark and moody card design that highlights the gorgeous new Fresh Pears Layering Die Set.
And let me tell you, these watercolor pears turned out so beautifully that I just had to share every detail with you.
The Inspiration
I’ve been loving the look of moody, rustic fruit illustrations lately — you know, the kind you’d see in old still-life paintings. I thought it would be so much fun to translate that same look into a card design, and the Fresh Pears Layering Die Set was just perfect for the job.
By pairing layered die-cuts with watercoloring, you get all the depth and dimension of a 3D design and the soft, organic feel of hand-painted artwork. It’s a match made in crafty heaven!

Creating the Pears
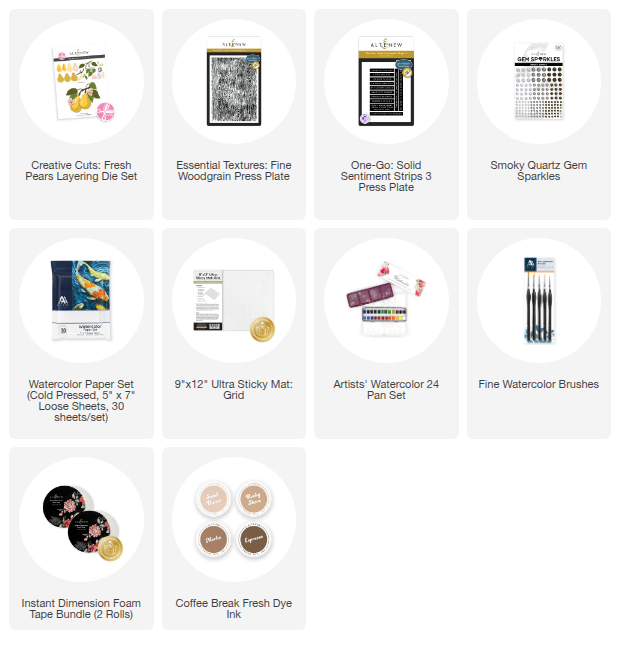
I started by cutting all of the pieces from the Creative Cuts: Fresh Pears Layering Die Set out of watercolor cardstock. I love working with watercolor cardstock for projects like this because it handles water beautifully and lets you play with blending and texture.
Once everything was cut, I popped the pieces onto my Ultra Sticky Mat (a total game-changer when working with small die-cuts!) and pulled out my Artists Watercolor 24 Pan Set.
I went for deep golden yellows, warm browns, and just a touch of green to give the pears a rich, realistic look. One of my favorite things about watercolor is that it never looks “too perfect.” The organic swirls and blends really make each piece feel unique — and in this case, it gave the pears such a natural, painterly finish.
After the coloring was done, I left the pieces to dry completely. Once dry, I used the layering guide and Keyhole System to line everything up and adhere the die-cuts together. The end result? Gorgeous pears that look almost good enough to eat!

Building the Background
Of course, the pears needed a background that would complement their moody, rustic vibe. I started with a panel of watercolor cardstock and layered it with Mocha Ink for a rich base.
Next, I letterpressed the panel using the Essential Textures: Fine Woodgrain Press Plate with Espresso Ink. This added a subtle but striking texture — almost like a dark wooden table or a rustic cutting board. It was exactly the touch I needed to give the card a cozy, vintage feel.
I mounted the finished panel onto a 4 1/4" x 5 1/2" white card base using Instant Dimension Foam Tape. I love how the foam tape lifts the panel just enough to add depth, and I used the same tape again to adhere the pears in place, giving them a lovely layered effect.

Sentiment & Finishing Touches
For the sentiment, I reached for the One-Go: Solid Sentiments Strips 3 Press Plate, which I inked with Bronze Metallic Pigment Ink. The metallic shimmer against the dark background is so striking!
After letterpressing, I used the coordinating One-Go: Solid Sentiments Strips Die to cut them all out in one go — such a time-saver. I can’t say enough how much I love that this die also works perfectly with the Solid Sentiment Strips 1 & 2 Press Plates. It makes it so easy to build a stash of ready-to-use sentiments for future cards.
To bring everything together, I added a sprinkling of Smoky Quartz Gem Sparkles. They catch the light beautifully without overwhelming the design — just the right touch of glam to finish things off.
Final Thoughts on this Watercolor-Inspired Card
I had so much fun making this card. The combination of watercolor, layered die-cuts, and letterpress textures created exactly the dark, moody, yet elegant vibe I was going for.
What I love most about this design is how versatile it is. You could recreate the look with different color palettes for other fruits, or even use brighter tones to get a completely different feel. It’s one of those projects that really shows off how flexible these new dies can be.
I hope this inspires you to pull out your watercolor and dies and experiment with your own moody creations. And don’t forget — this is just the beginning! There are so many more beautiful projects waiting for you on the rest of the September 2025 Release Video Hop, so be sure to follow along and check out what the other amazing creators have made.
Thanks so much for stopping by today — I can’t wait to hear what you think of this card!
Happy crafting,
Lydia