Stampwheel Tips and Tricks Every Crafter Should Know | Tremendous Textures with Erica
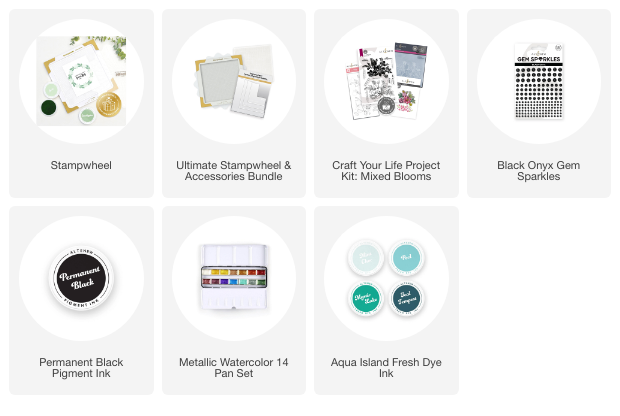
Hi, Altenew fans and friends, it's Erica back on the Altenew blog and YouTube channel, and today we are going to play with the Stampwheel and the beautiful Craft Your Life Project Kit: Mixed Blooms Set.
It comes with an outline stamp as well as a solid stamp, and we will be using both, in different ways. With the help of the Stampwheel I was able to do some ombré stamping, using some gorgeous teal Aqua Island Fresh Dye Inks, while still keeping all the details intact.
Aside from a die cutting machine, a Stampwheel is an absolute MUST-HAVE tool in your craft room, for sure.
Stampwheel Tips and Tricks Every Crafter Should Know
I have a video on the YouTube channel too, and you can find it HERE or click on the thumbnail below. It's a long one, almost 28 minutes as it's all filmed in real time.

Why the Stampwheel is a must-have for every crafter
I have both a MISTI and a Mini MISTI, and I love them, but the Stampwheel offers even more versatility with the removable lid and the option of turning it the exact amount of space by fitting it into the pattern around the frame. Perfect for wreath building and repeat pattern.
I use my Stampwheel all the time, and I'm so excited about the Stampwheel 2.0 with its upgraded design!
Easy Cardmaking with the Stampwheel
I started out by putting an A2-sized piece of white cardstock on the sticky mat in the Stampwheel, and then placed the outline stamp slightly off the panel. The idea is to start the background pattern so that it looks like a continuous pattern and not a random bit here and there.
After picking up the stamp with the Stampwheel lid, I just flipped it over and dabbed lots of Permanent Black ink on it to get it really well covered. When I was happy with the level of ink on the stamp, I simply flipped the lid back the right way and placed it into the pattern around the frame. Then I pressed it down to stamp the image onto the paper. The outline wasn't perfect, because in my haste to use this gorgeous image, I didn't condition it before I got to work.

Not to worry though, if your first stamping isn't perfect. That's the genius of the Stampwheel! I inked it up a second time and stamped it again, and this time it was perfect. Then, I flipped the lid around to be able to stamp the image on the other side of the panel. There was still a little bit of white space left, so I did reposition the panel in the StampWheel and covered that bit too.
With that, the background panel was finished, and it was time to clean up the Stampwheel, the grip mat, and the stamp, before moving on to the next stamping stage.
I had an idea I wanted to try out, and no time like the present, am I right?
For this, I switched to the solid floral image in the Mixed Blooms stamp set, but obviously kept the Stampwheel out, and I also opened my brand new Aqua Island Fresh Dye Ink bundle. This time I remembered to condition the stamp before I inked it up, so yay me. The first colour, Mint Choc, is a gorgeous sea glass green and the name had me tempted to have ice cream for dinner.

The second colour I used was Pool, and this I dabbed around the edges of the stamp, not all over it. You might think we are going to go straight back to stamping, but hold your horses!
First, we are going to soften the ink edges on the stamp so that we get a gorgeous gradient look, rather than hard lines. I've done it like that on purpose in the photo below to show you what I mean.

To achieve a smooth and almost seamless gradient, rub your mini ink blending tool on the ink pad and then dab along the ink line on the stamp to soften those. What we are aiming for is a soft blend of one colour to another, not sharp lines. See what a difference it makes from the photo above?

For a final little bit of cardmaking drama, I skipped Mystic Lake and went straight for Teal Tempest.

I dabbed this on the very edges of the stamp and then did the same thing with the mini ink blending tool to soften the ink, before flipping the StampWheel lid over again and stamping the final layer.
Without the Stampwheel, this technique would be very, very tricky indeed, so I'm very glad I have one to help me.

I had one final thing to do with the Stampwheel, and that was to stamp up a sentiment from the Mixed Blooms stamp set, and I did that on white card stock, with Permanent Black ink. This I trimmed down to a skinny banner and set aside.
With all the stamping done, it was time to do the final cleanup of stamps, my work mat, and Stampwheel, put all that away and grab my splatter box. Naturally, I couldn't resist adding some metallic water colour splatters
I decided to add another little experiment by adding a touch of black card stock to the card as well, to cover up a less than successful attempt to get a clean cut off the excess bits of the floral image.

I feel like it brings the dram-AH up a notch while still working with the colors of the card.
To make sure that this doesn't sag, I cut two pieces of card stock slightly skinnier than the banner itself and adhered to the back, to build it up. I should have done that both at the top and the bottom, but I skipped doing the bottom part because I didn't think it needed it. However, in hindsight, I should have.
Being a tad addicted to bling and sparkle, of course I had to add some to the card. I used a generous amount of Gem Sparkles in Black Onyx, and they were the icing on the proverbial cake, so to speak. The only other color I think would have potentially looked better is teal, but alas, I don't have any teal or turquoise sparkle gems.
That is it from me for today, but I really hope you have enjoyed this post and found some helpful Stampwheel tips here.
~Big crafty hugs from Erica
~Supply List~