Cheerful Double-Sided DIY Tag (With Video Tutorial) | Terrific Tags with Michelle
Hello there, Michelle here with another edition of Terrific Tags with Michelle. Today, I am sharing how you can extend the design from the front of a project and continue it to the back – a double-sided DIY tag!

Easy and Fun Double-Sided DIY Tag
Stamping & Coloring
I started off by stamping the bee and flower image from the Bloom & Evolve Stamp Set onto white cardstock using Permanent Black Ink. I stamped it multiple times using the Stampwheel to get good coverage of the ink.
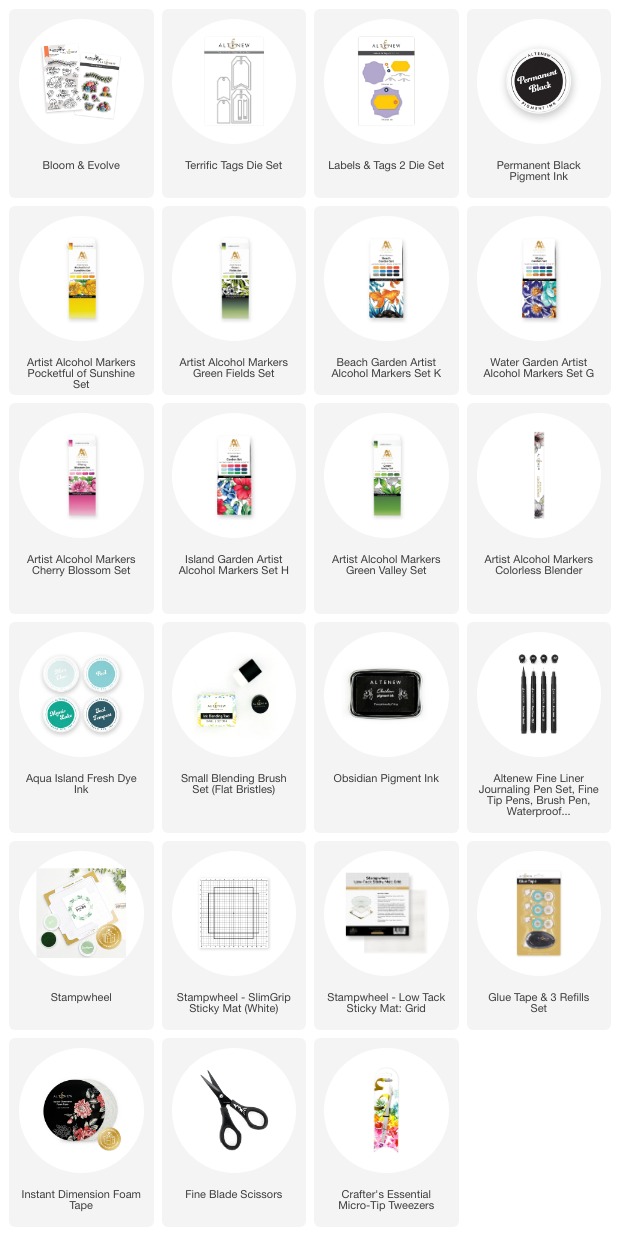
I then colored the images using Artist Alcohol Markers. I used Pocketful of Sunshine, Jet Black, Gentleman's Gray and Sweet Dreams markers for the bee.
I then used Enchanted Garden, Tea Party and Cherry Blossom markers for the flowers, and Green Valley markers for the leaves.
The images were then die cut out using the Bloom & Evolve Die Set.
Creating the Background

I die cut two tags from the Terrific Tags Die Set from white cardstock. I placed them on a Sticky Mat and added ink blending with a Small Blending Brush and the new Aqua Island Fresh Dye Inks.
I first added Pool ink at the top, fading to the white of the cardstock towards the bottom and then went in with a little Mystic Lake ink at the top to darken it up a bit.
TIP: To get a nice smooth faded blend, start at the top with a decent amount of pressure on the brush and then as you go downwards, lighten the pressure on the brush. This will create a lovely soft blend!
On one of the DIY tags, I stamped a sentiment from the Bloom & Evolve Stamp Set using Obsidian Pigment Ink.
Double-Sided DIY Tag: Creating the Scene

I adhered the flowers to the bottom of the tag without the sentiment using Instant Dimension Foam Tape and cut off the excess using scissors.
I then placed the bee where I wanted to adhere it but before I adhered it, I took a Fine Liner Pen and drew in a trail for the bee. I placed the two tags side by side and extended the trail to the tag with the sentiment on, this will create the double-sided DIY tag design.

The two tags were adhered back to back using Glue Tape. The bee was then adhered on top with more Instant Dimension Foam Tape.
I die cut the flower shaped eyelet from the Labels & Tags 2 Die Set and adhered one on each side of the tags. To finish, twine was threaded through the top of the tag and tied in a bow at the front.
Video Tutorial: Easy and Cheerful Double-Sided DIY Tag
I hope I have inspired you to try extending the design of your project from the front to the back and create a double-sided tag. If you were making a card, you could extend the design from the front of the card to the inside, and that would look great too!
You can watch the full process video below or on YouTube.

Thank you so much for stopping by today, I hope you have a wonderful day!
Supplies