Master Stencil Layering: Tips for Depth, Dimension & Texture
by Erica Andersson November 2, 2026

Key Takeaways
- Achieve Effortless Depth: Elevate die cuts using Instant Dimension Foam Tape and Foam Dots without gumming up your craft scissors.
Foolproof Ink Blending: Rely on manufacturer packaging palettes when selecting vibrant ink combinations for floral layers.
Controlled Shimmer: Add refined luster with Antique Gold Metallic Ink Spray and subtle clusters of iridescent gems.
Essential Workflow Tools: Improve precision and speed using a sticky alignment mat, masking tape, and fine-tip clear adhesive.
Hello Altenew fans and friends! It's your layer-loving gal Erica back on the blog and the YouTube channel today. I am sneakily sharing some brand-new products releasing tomorrow as part of the November release.
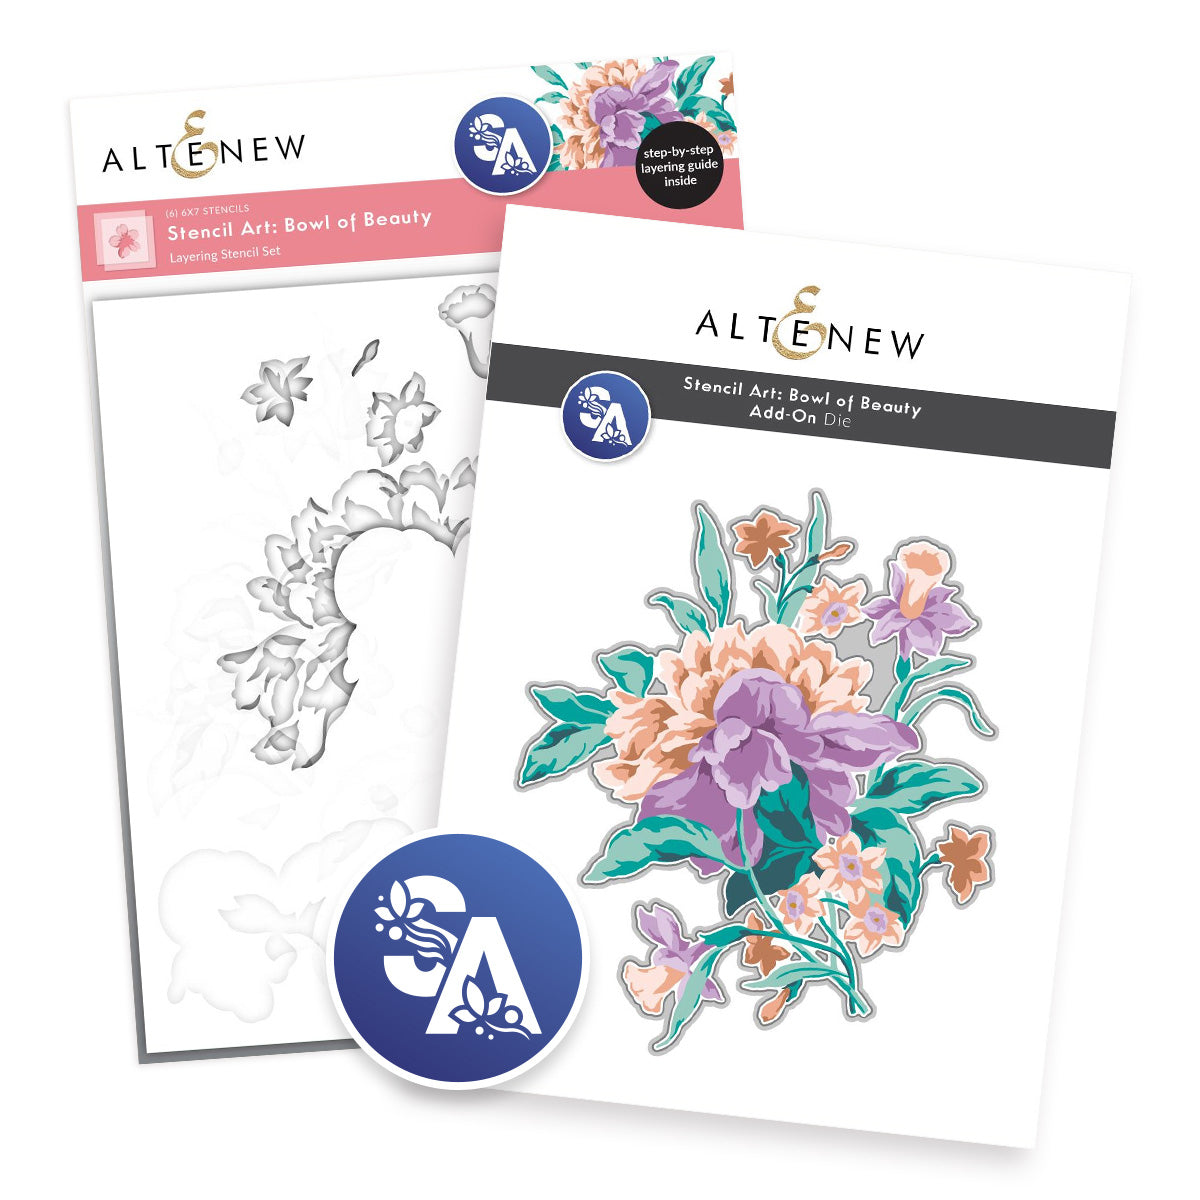
As soon as I laid eyes on the Stencil Art: Bowls of Beauty layering stencils and the matching Add-On Die, I was completely smitten. The floral details are stunning, and having a coordinating die-cut for such an intricate focal image makes card assembly seamless and exciting.

Mastering Ink Blending with Layering Stencils
On the front of the packaging for the Stencil Art: Bowls of Beauty die set, there is an eye-catching sample image with a truly spectacular palette. While I had a dozen different concepts floating through my head for this stencil set, I decided to play it smart and follow the tested color recipe printed inside the packaging. If you ever feel stuck on where to begin, letting the curated color guides guide your first pass is a foolproof way to get familiar with the layering system.
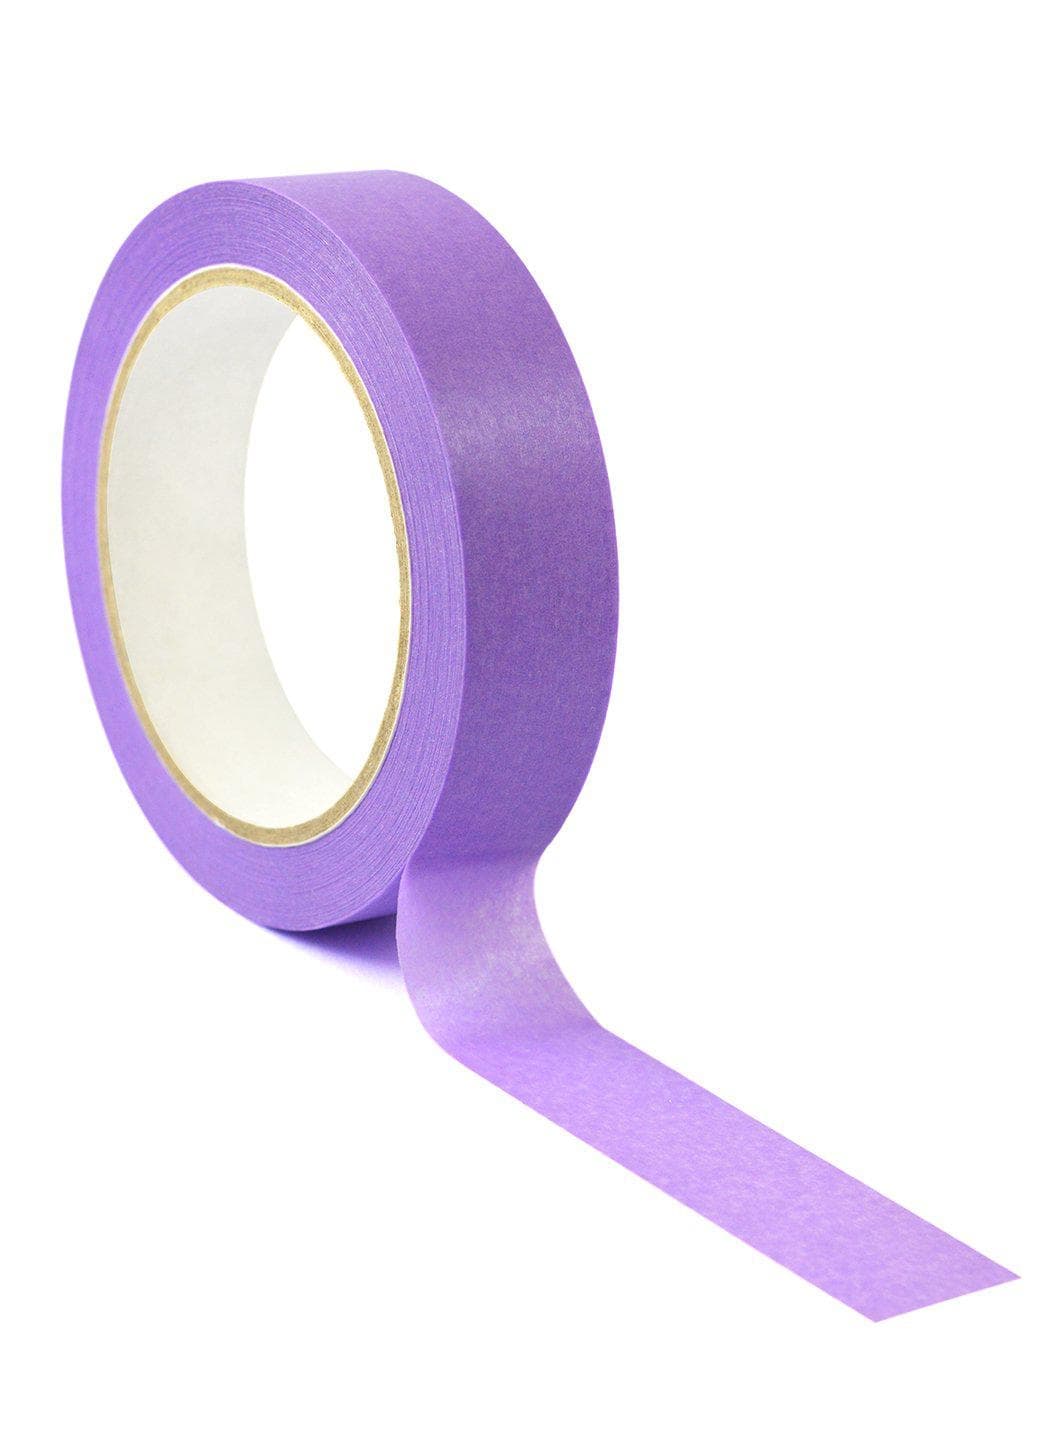
To secure everything in place while ink blending, the Stampwheel 2.0 stickymat made alignment effortless. Because the stencil contains multiple petal and foliage sections close together, I isolated specific openings with Satin Masking Tape to avoid accidental ink transfer.
For the floral bloom and lush foliage, here is the full ink recipe:
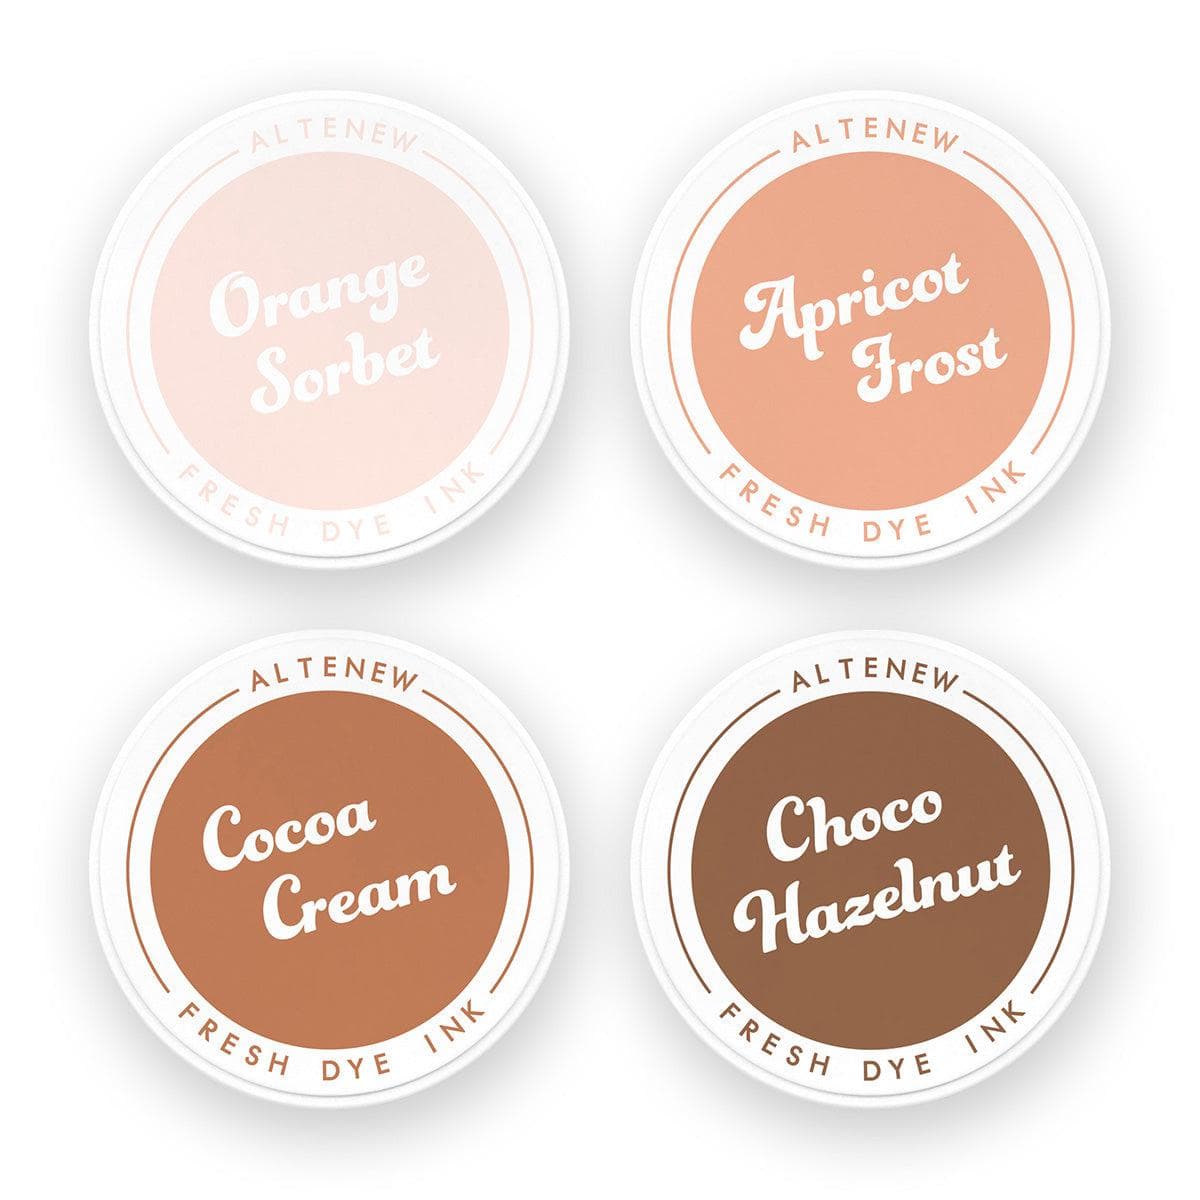
Warm Petal Tones: Orange Sorbet, Apricot Frost, Cocoa Cream, and Yellow Ochre
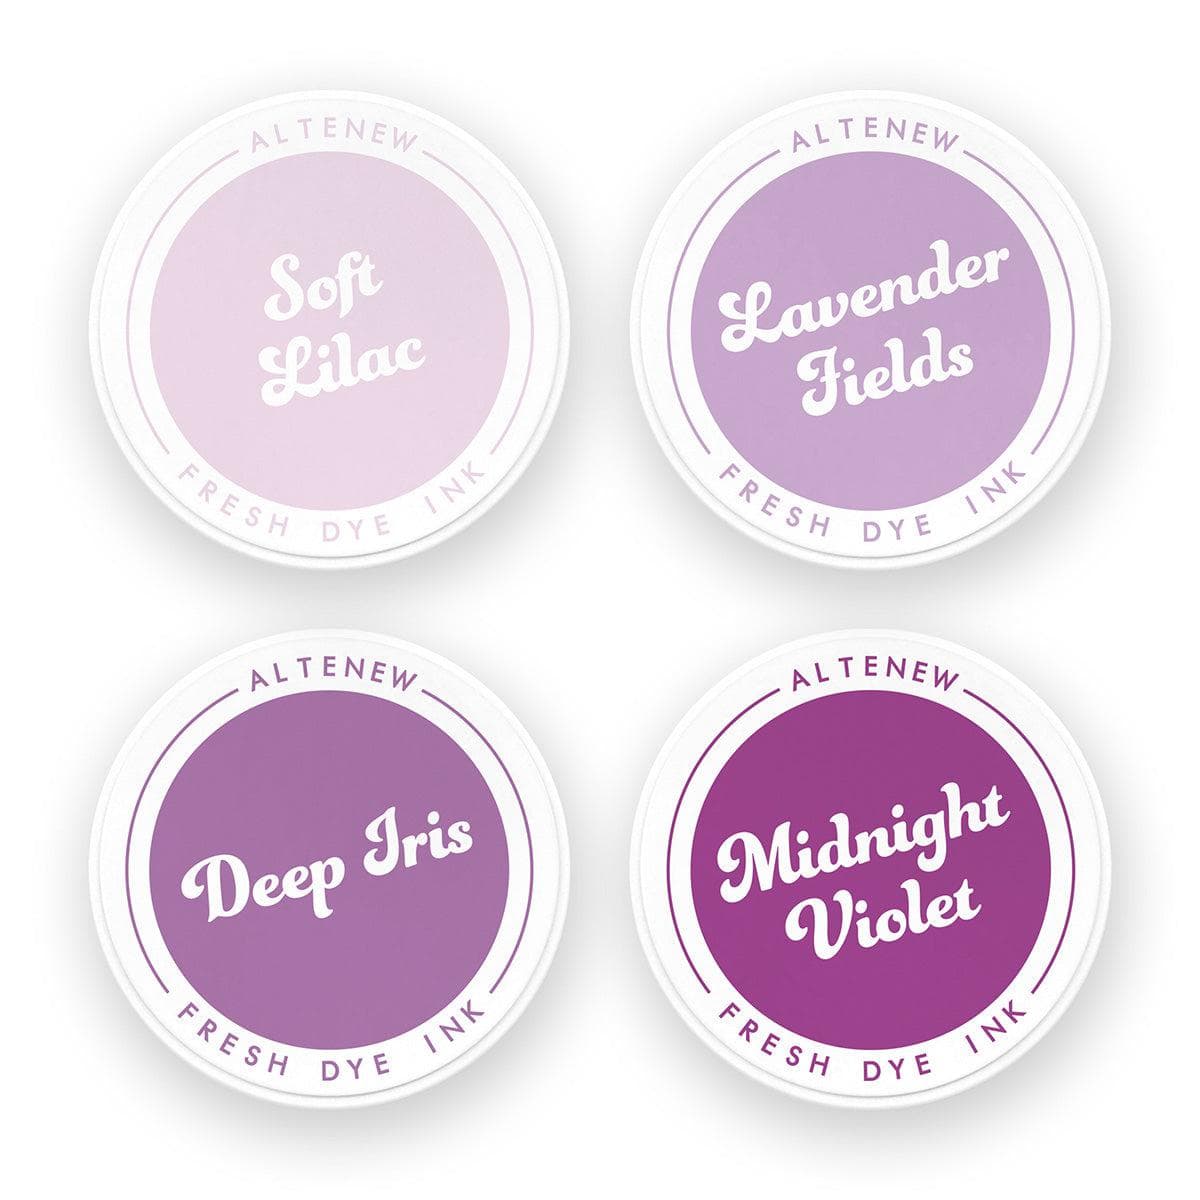
Cool Floral Accents: Soft Lilac (substituting for Pink Crystal), Lavender Fields, Deep Iris, and Bramble Iris
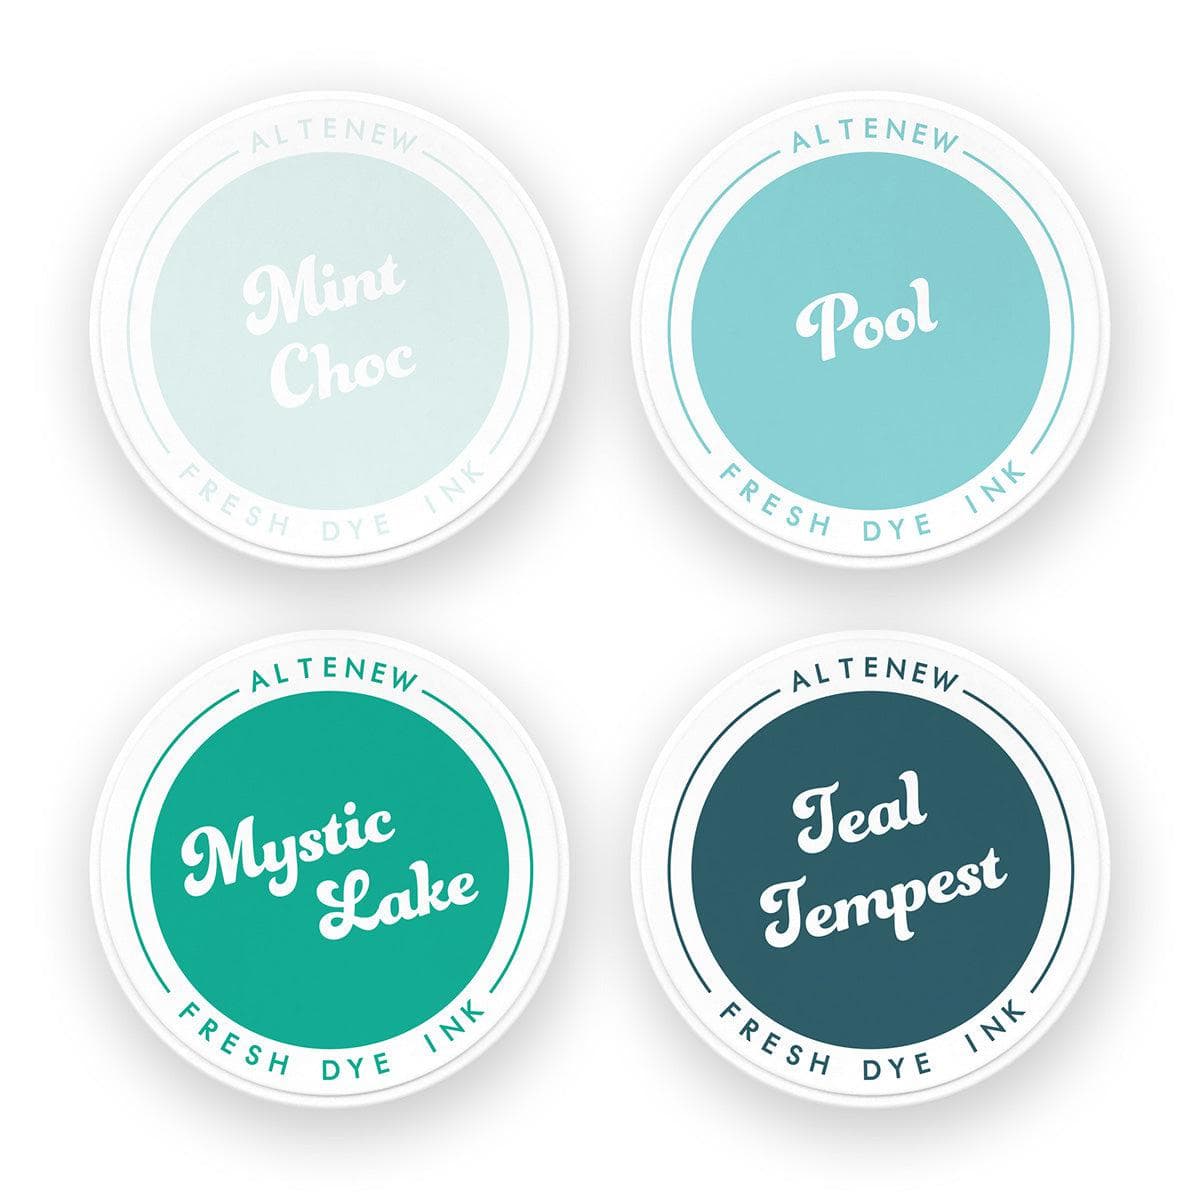
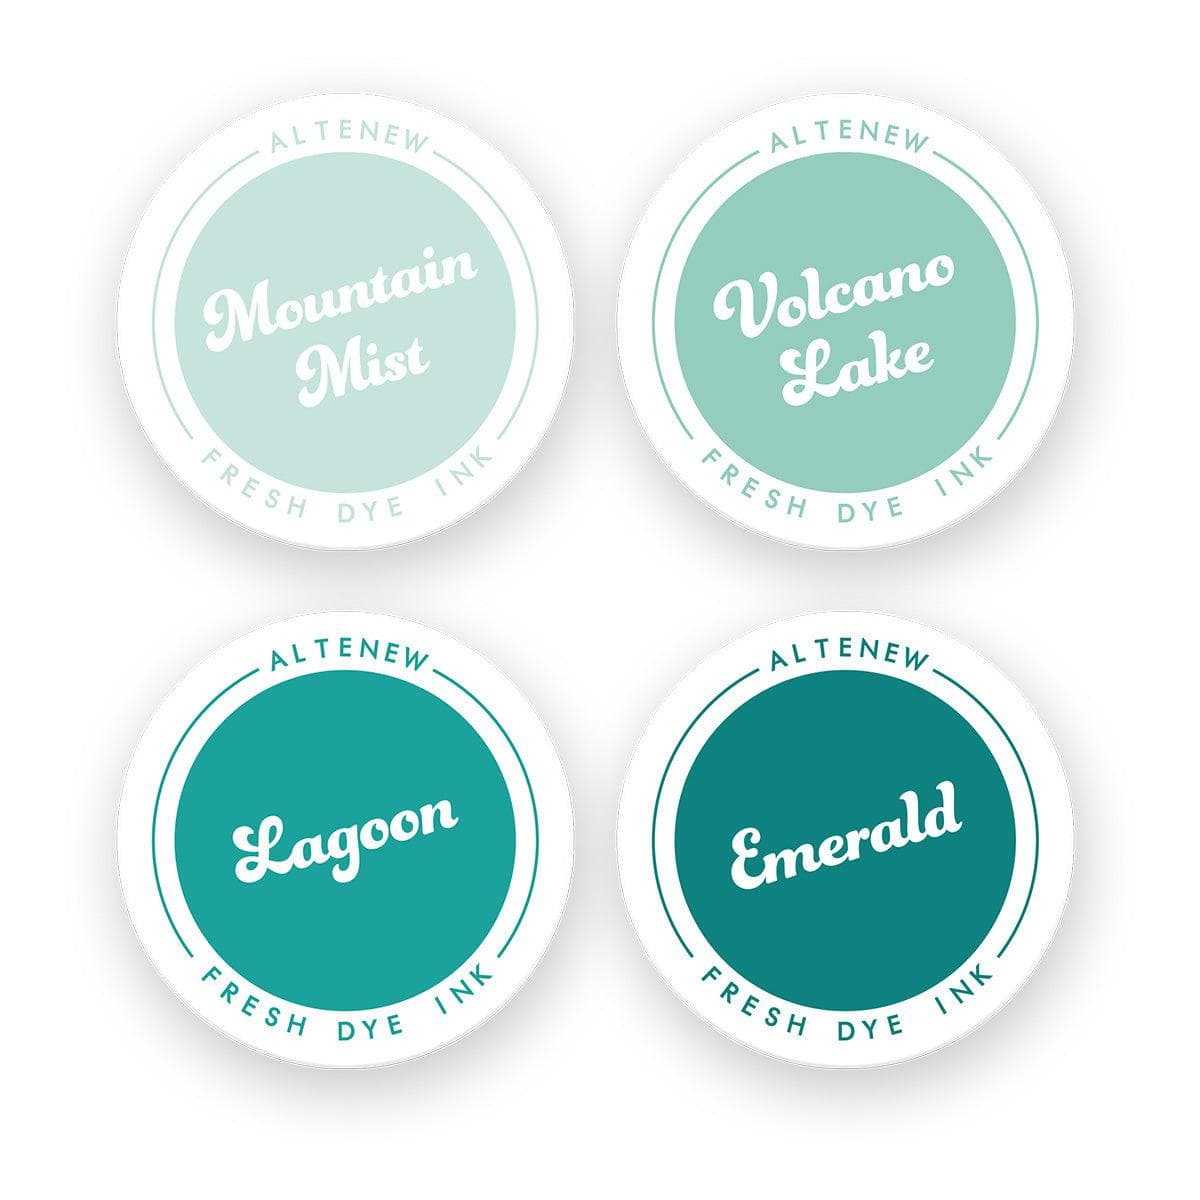
Lush Greens and Aquas: Mint Choc, Pool, and Mystic Lake (substituting for Volcano Lake and Lagoon from the Aqua Island Fresh Dye Ink bundle), plus Teal Tempest for deep contrast


Did You Know?
Layering stencils work on a value gradient. The openings with the most open space are designed for your lightest ink shade, while the progressively smaller cutouts receive your medium and darkest tones. Sticking to this light-to-dark progression creates natural highlights and shadows without needing advanced illustration skills.

Die-Cutting and Building Dimension
A quick tip for stencil maintenance: whenever you work with detailed layering stencils, keep a shallow dish of water right beside your workstation. As soon as you finish blending a specific layer, drop the stencil straight into the water bath. This prevents pigment and hybrid inks from setting into the fine plastic bridges while you move on to the next step. Once all layers are inked, give them a quick rinse, pat them dry on a lint-free towel, and they are ready to use again immediately.
After finishing the ink blending, run the panel through your die-cutting machine using the coordinating die set.
When mounting your stenciled floral to the card front, you have two great structural methods:
Stacking Cardstock: Die-cut three or four extra blank shapes from 80 lb white cardstock and adhere them behind your focal piece using liquid glue for a sturdy, chipboard-like feel.
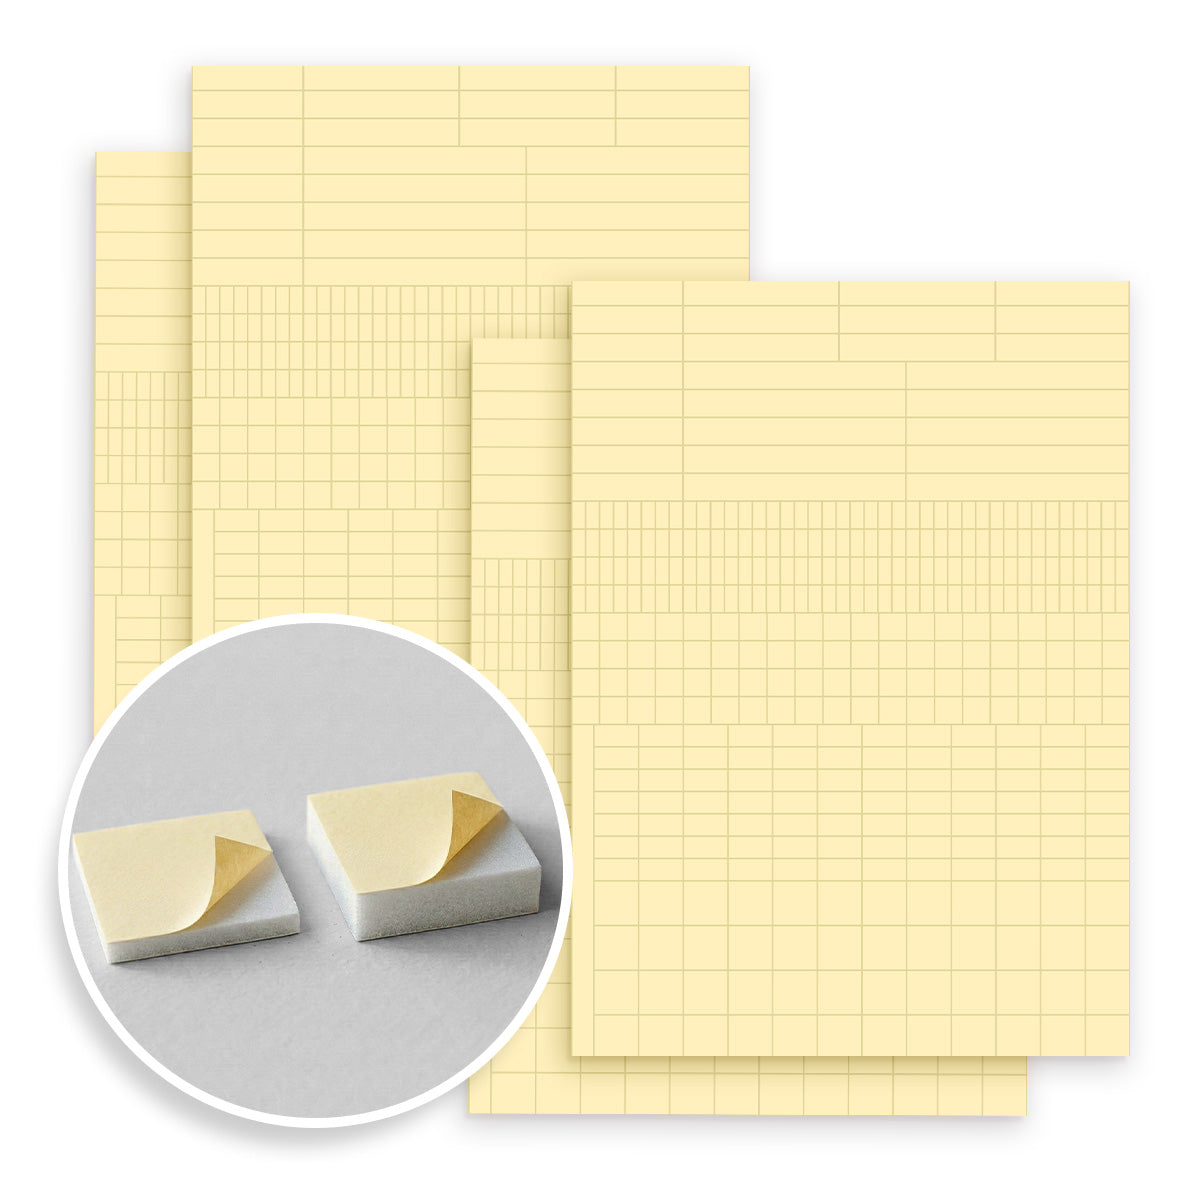
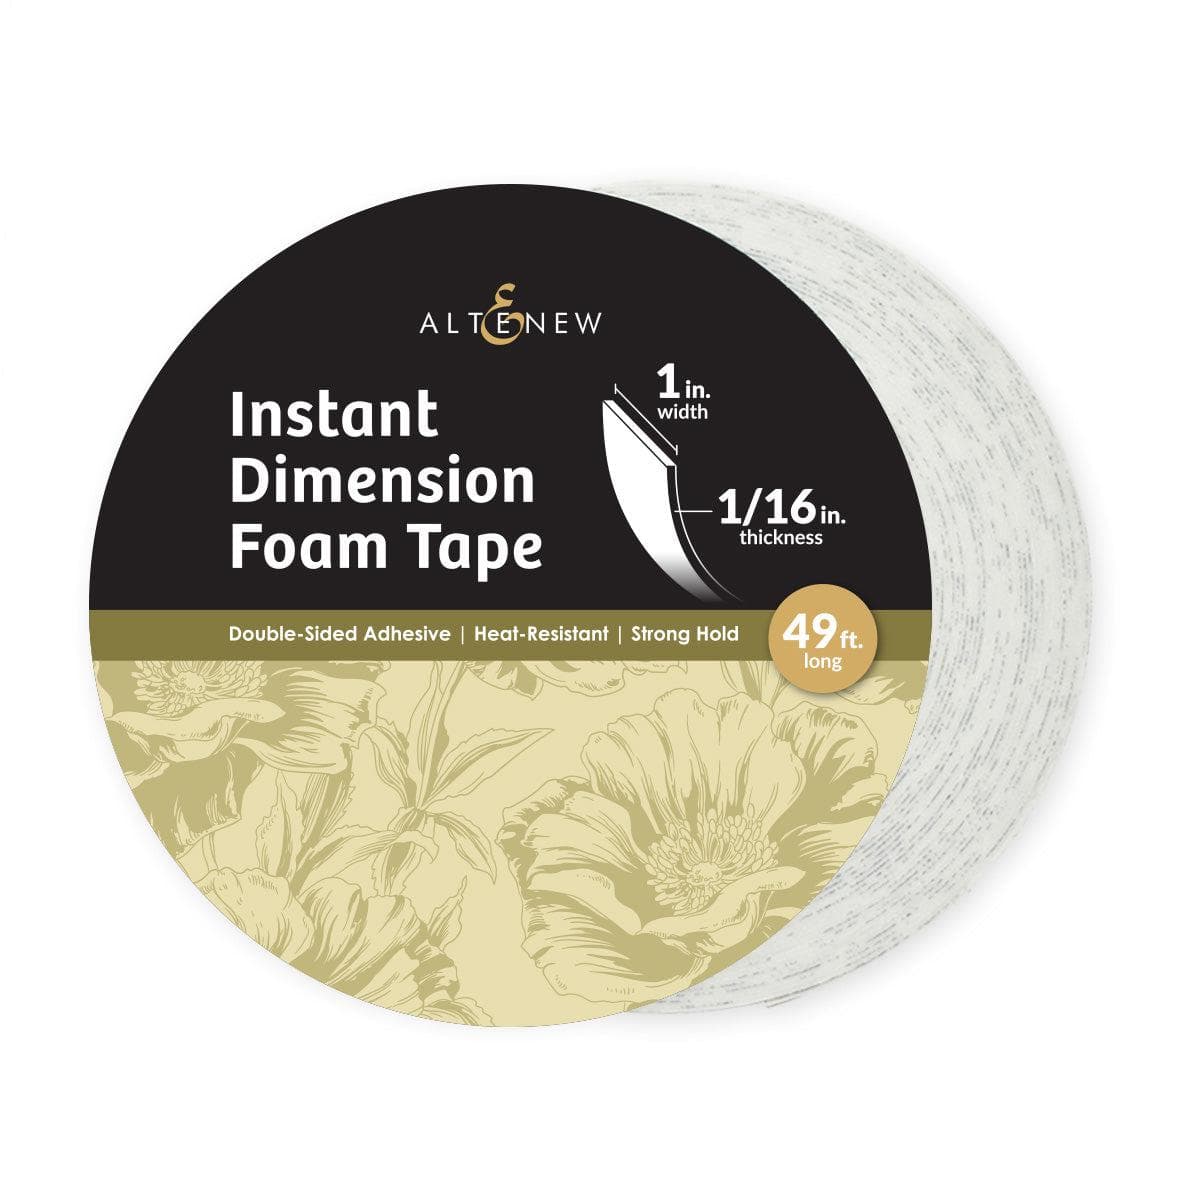
Foam Adhesive: Add Instant Dimension Foam Tape or Foam Dots across the back to lift the focal point off the background cleanly.
Pro-Tip for Handling Foam Tape: To avoid sticky residue on your scissors, apply a piece of discarded backing paper directly over the exposed sticky edge before snipping. Even non-stick, Teflon-coated shears can accumulate gummy buildup when cutting high-tack mounting tapes repeatedly. This simple trick preserves your blades and provides a dry grip area so your fingers and tweezers stay clean during card assembly.
Adding Shimmer, Texture, and Balanced Bling
Sparkle level is entirely a matter of personal preference—some crafters prefer a clean matte finish, while others love a full trip to Bling Town.
To give the card an elegant, luminous backdrop without distracting from the stenciled bloom, spritz a light mist of Antique Gold Metallic Ink Spray across your card base or background panel. The fine droplet mist adds organic texture and warmth that complements the orange and gold tones of the floral layers.

Assembling Layered Sentiments with Precision
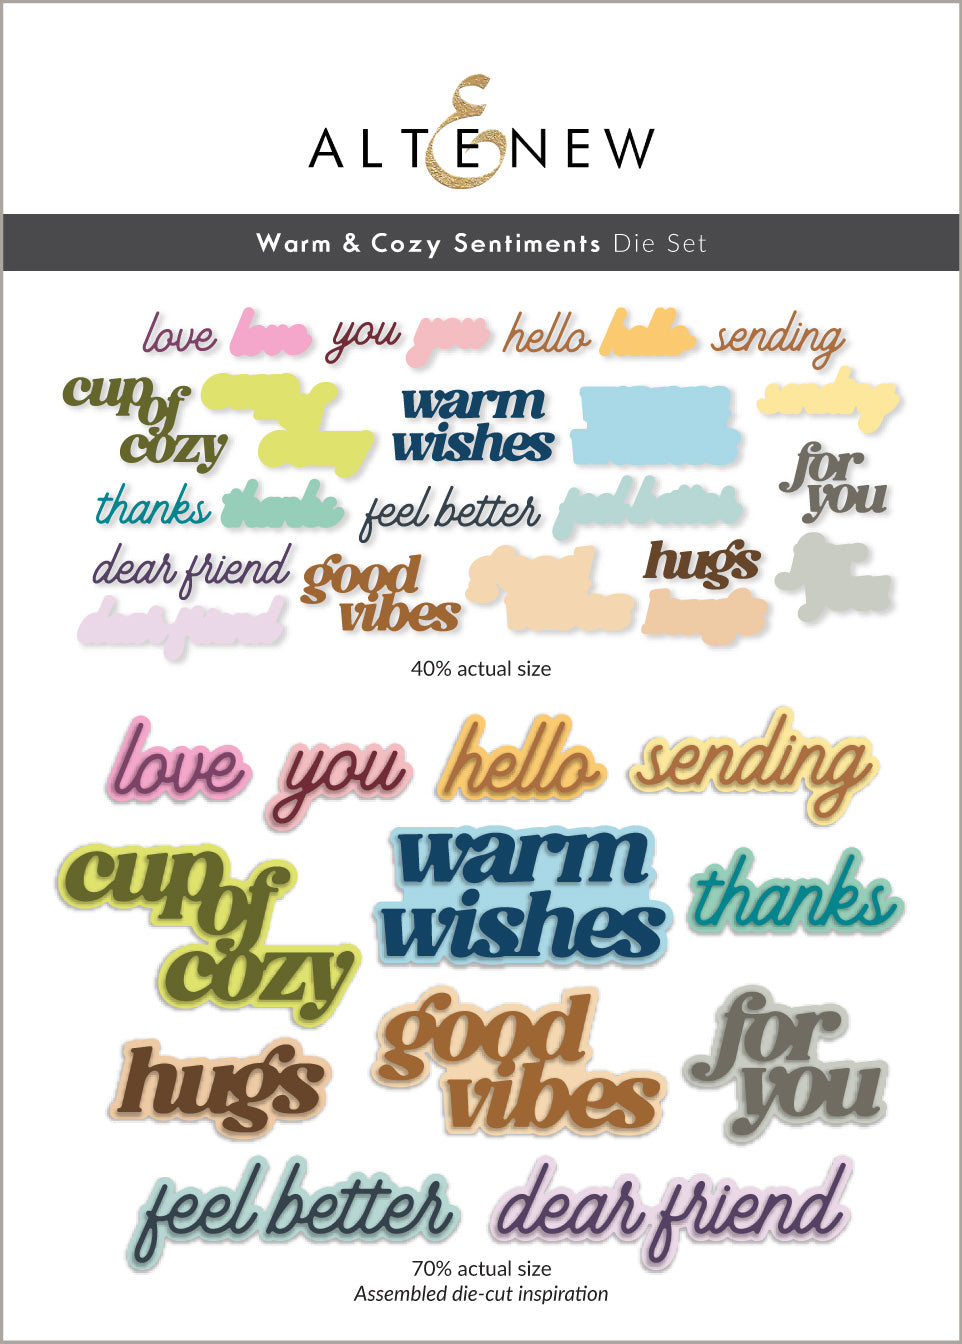
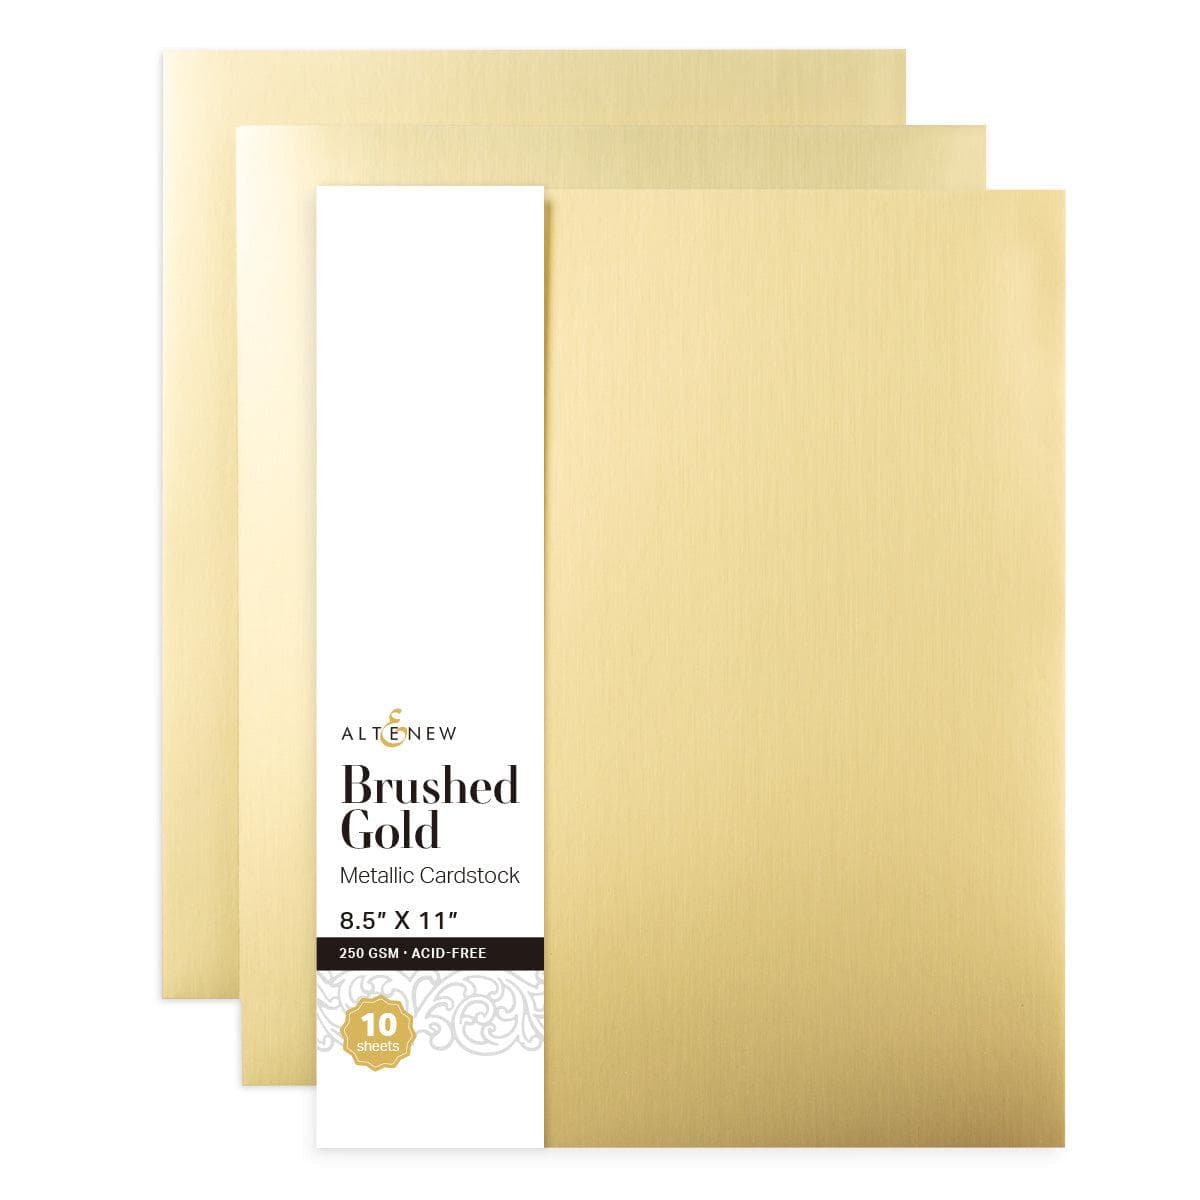
To coordinate with the gold metallic background splatter, pair your artwork with a phrase from the Warm & Cozy Sentiments set cut from Brushed Gold Metallic Cardstock.
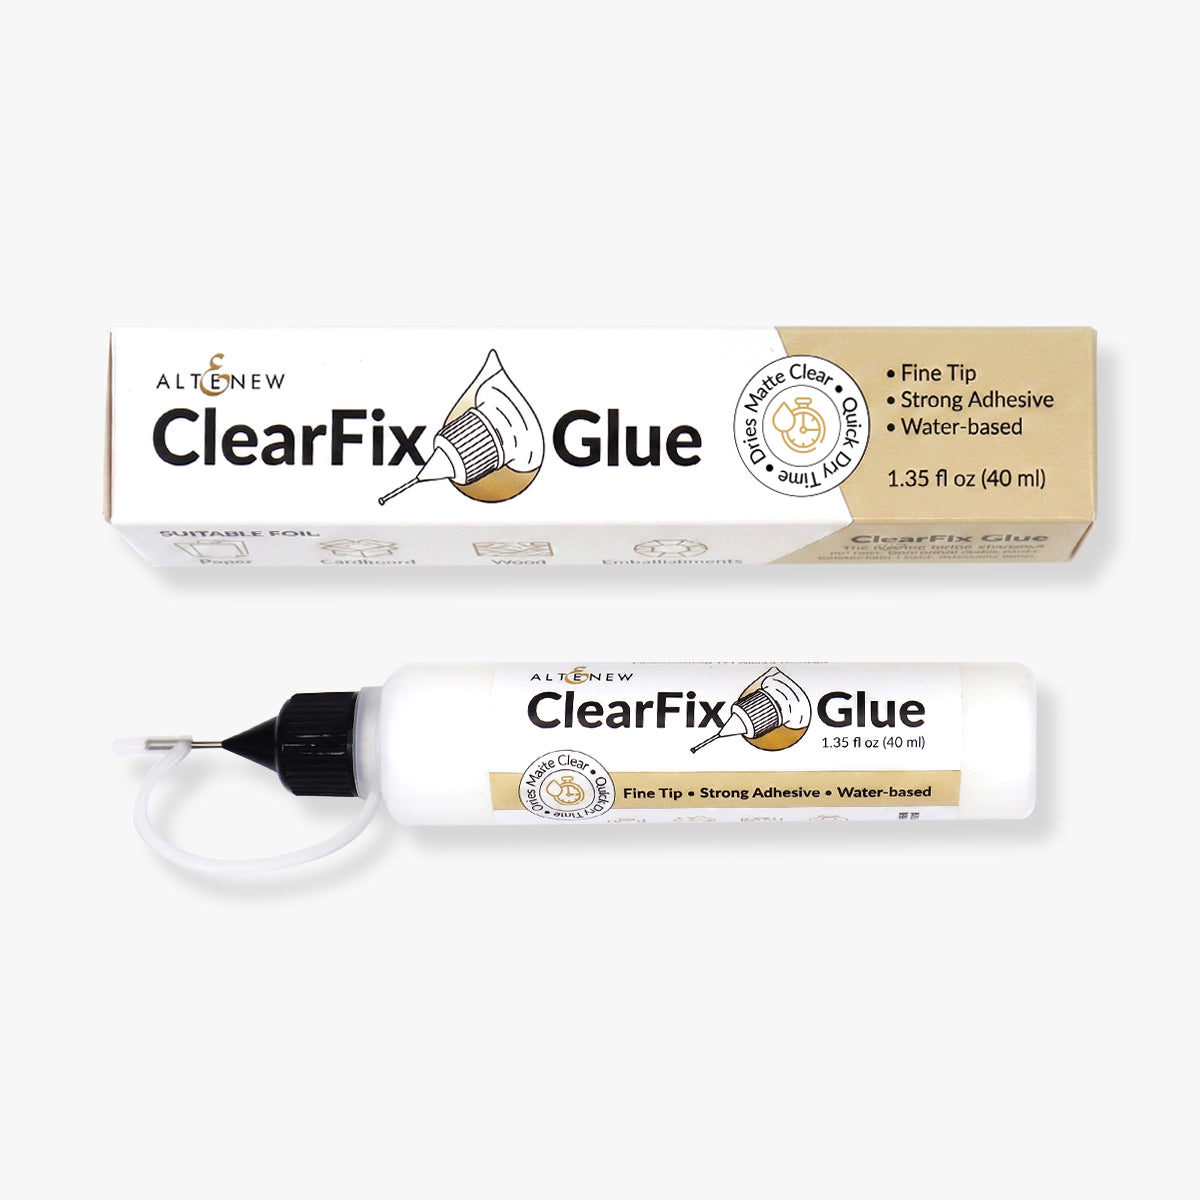
Delicate, thin-script sentiments look best backed with a white shadow die-cut to maintain legibility over busy backgrounds. Because fine fonts offer minimal surface area, use ClearFix glue with an ultra-fine applicator tip. The adhesive bonds quickly and dries completely matte and clear, meaning any minor adhesive seep remains invisible once dry.
Finishing Touches with Gem Sparkles
To complete the composition, add a scattering of Iridescent Crystal Gem Sparkles around the floral petals.
Using three varying gem sizes, arrange them in clusters of three and tuck them partially beneath the edges of the die-cut bloom. Placing gems tucked into crevices—rather than floating randomly across the top surface—enhances the visual illusion of physical depth across the entire card face.
Quick Crafting Tips
Plan for Postage: High-dimension cards featuring multiple layers of foam tape are best suited for hand delivery or padded mailers. For standard postal sorting, swap foam tape for stacked cardstock layers.
Build Creative Rhythm: Treat creativity like a muscle. Even spending 5 to 10 minutes testing an ink blend on scrap paper maintains artistic momentum.
Rely on Color Guides: Whenever creative fatigue hits, follow the recommended ink palettes included in packaging inserts to remove guesswork.
Invest in Functional Basics: Specialty items like sticky mats, non-stick shears, and needle-nose glue bottles drastically reduce crafting friction and elevate finished results.
Share Your Progress: Photograph your handmade cards in natural lighting and share them with the crafting community. Imperfect experiments often spark fresh ideas for others!
Don't forget to watch the full step-by-step process over on the companion YouTube video to see every layer come together. Until next time, wishing you plenty of sparkle and happy crafting!
With love and light, sparkle and creativity from your girl Erica
Supply List
|