EASY Tip to Add Texture with Dramatic Watercoloring! | Tremendous Textures with Erica

Hi and welcome back to another rollercoaster of a card making session. It's your girl Erica back on the Altenew blog and another Tremendous Textures with Erica video. Today, we are going to have a look at the gorgeous Inked Poppies Press ‘n' Foil Plate. You might be wondering how we are going to create texture with watercoloring, I am here to show you it can be done. It takes a little bit of bravery with your coloring, but the results speak for themselves.

Welcome to Creativity Unlocked, where we highlight a new product from each month's collection or a fan favorite from past collections!

Cardmaking Tips with the Inked Poppies Press Plate
The Inked Poppies press plate was released just this month and I'm sure I am not the only big fan of it. I do so happen to be a total floral-obsessed person so in my mind you can never have enough floral images. This one is a stunner though, the poppies cover an entire card front so you don't need much more than a sentiment and boom, you are done. That's the great upside of a floral image that really packs a punch, it takes so much guesswork out of the design elements.
Let's get into the nitty-gritty of the making of this card, shall we? There is a VIDEO over on the Altenew YouTube channel too, if you prefer to watch this card come to life that way.

I started out by getting all my BetterPress supplies ready: you will need the actual BetterPress platform (or a hot foil machine if you go the hot foil route) your choice of press plate and we are obvi going to use the Inked Poppies one, some ink, water colour paper, watercolours of your choice and a refillable watercolor brush. If you only get one of the three sizes available, I'd recommend going for medium.
I have gone for different markers for this one, I love them, they are so vibrant and lovely to use. I don't have any of the Altenew Dual Tip Pens, but you had better believe I will add them to my stash as I'm currently in the US for the rest of this month. There are four fab sets to chose from and I like that each pack comes with a great colour combo! For the look I went with, the Islands of Fiji Brush & Fine Tip Pens would be the closest from the Altenew packs.

In the video you will see that I use a little acetate sheet over my BetterPress platform before adding the Poppies press plate and adding ink. The reason for this is because I am a total lunatic and don't like my platform to get stained. Yep, it's true and I am fully aware that it's bonkers to think that way, but I can't help it. Anyway… *glances away with a sheepish look on my face*
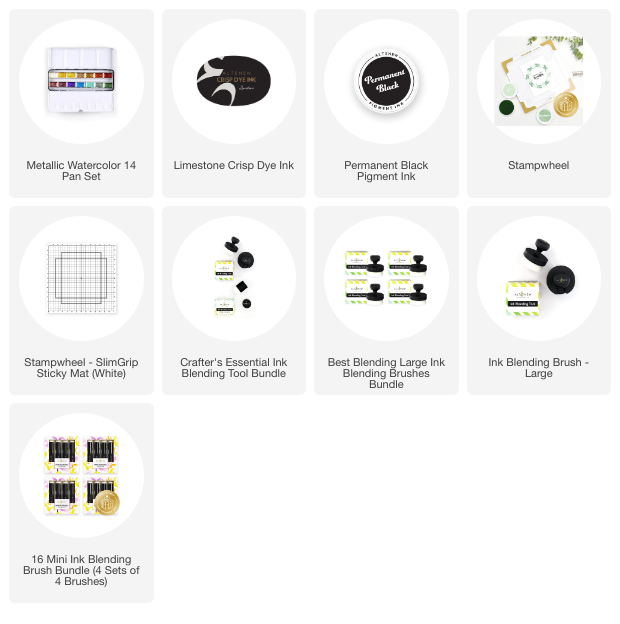
I actually ended up using a BetterPress ink for this, but I have tried a range of Altenew Crisp Dye Inks on various projects (see THIS POST for two examples) and they work great, so don't feel scared to experiment a little with the inks you have.
I explain why in the video, and I will quickly mention it here too. I wanted to try rubbing the ink pad over the poppies plate, rather than dabbing, because it just takes forever to get good coverage that way. Maybe because it's metal, as opposed to a photopolymer stamp? I didn't want to mess up any of my Altenew Crisp Dye inks so the BetterPress ink pad became the sacrificial lamb so to say. It works great and hasn't damaged the ink pad, and I have also seen Lydia do the same technique so we are good to go!
Once the whole thing has been inked up and run through the die cutting machine, we have a fabulous image to colour and colour we are going to do! Yes! We are going to go for a POP of colour too, and not one that can be found on poppies in nature. At least not that I have seen. I have a soft lavender/old pink large poppies in my garden, and they are lovely but colour wise we are aiming for yowza.

You will need a lot of patience (or a heat tool of some kind to speed up drying) but I promise the end result will be worth it. With the help of that watercolour brush and your choice of watercolours, we are going to start by adding a light colour wash all over the flowers and leaves. Different colours, mind you. This first layer does not have to be perfect, if anything, leaving some white space here and there on the poppies will help a lot with creating highlights and contrasts.
Each layer you do after this add more colour than the last one, and for one final dramatic touch, go direct to poppies with your marker. This part requires a bit of crafting bravery and a steady hand, but you can do it, I believe in you!

Like I said, the key is patience and a bit of bravery. Remember it's only paper, and if for whatever reason it doesn't turn out how you pictured it, you will learn something from it for next time. I'm sure you will reach for these gorgeous poppies over and over again!
In the video you will see a lot of the colouring, albeit a little bit sped up or we would be here all day. Sadly some of the footage, and of course it was the last part where I went direct to poppies with the markers for those delicious details, didn't film properly so that bit isn't shown in the video. If that's something you would like to see, please do drop me a comment here or on the video and let me know, and I will bear that in mind for future videos.
Poppies coloured and dried, it was time to move on to the next step: adding a sentiment and a touch of sparkle. Oh, ok, a generous sprinkling of sparkle! I didn't want to cover up the poppies too much so I stamped ‘thank you for being so amazing' from the Sulfur Cosmos stamp set (another stunning floral set just released this month) with Permanent Black Ink on white card stock.
It made so much sense to use the Black Onyx Gem Sparkles for this card. It adds just the right amount of card drama! Plus they perfectly accessorise the poppies too, at least I think so. I contemplated using the Pink Turmaline Gem Sparkles as it comes with three beautiful shades of pink sparkles but after comparing them over the poppies, thanks to the clear acetate sheet they come on, I settled on the black ones.

I just had another idea for a layout where the pink gems would look gorgeous. So basically do the same card and colouring, but cover all the white space around the poppies with dark grey or black, and then pop the pink gems in those spaces. That would look DRAMATIC and stunning, I'm sure! *adds that to the ever-expanding-list of projects to try* I also think the poppies would look fabulous in all sorts of colours so maybe we should start a challenge to see who comes up with the most fun colour combo for them, who's in?? Popping Poppies sounds fun, doesn't it?
For now I think that's enough jibber-jabbering for one day, but I really hope you have enjoyed this post, and get a chance to watch the video! If you watch it, I'd be delighted if you would leave me a comment over there on YouTube, or at least a thumbs up!
~Lots of love and crafty hugs from Erica
~Supply List~