Make Butterflies Glow with Embossing and Ink Blending (With Video Tutorial) Creativity Unlocked feat. Flutter and Bloom

Hello there, Michelle here with Terrific Tags with Michelle and another edition of Creativity Unlocked featuring Flutter & Bloom where I will show you how to make butterflies glow on your handmade cards!

Welcome to Creativity Unlocked, where we highlight a new product from each month's collection or a fan favorite from past collections!
Flutter & Bloom
Introducing Flutter & Bloom – designed with intricate butterflies and delicate blossoms, the 8″ x 11″ Flutter & Bloom Stamp Set is perfect for adding a touch of beauty and elegance to your projects. Embrace nature's elegance and add heartwarming greetings to your creations, from the versatile collection of twenty-three sentiments included in the set. The Flutter & Bloom Die Set coordinates with the Flutter & Bloom Stamp Set and cuts out the images in the set.
Make Butterflies Glow: Flutter & Bloom Card Idea

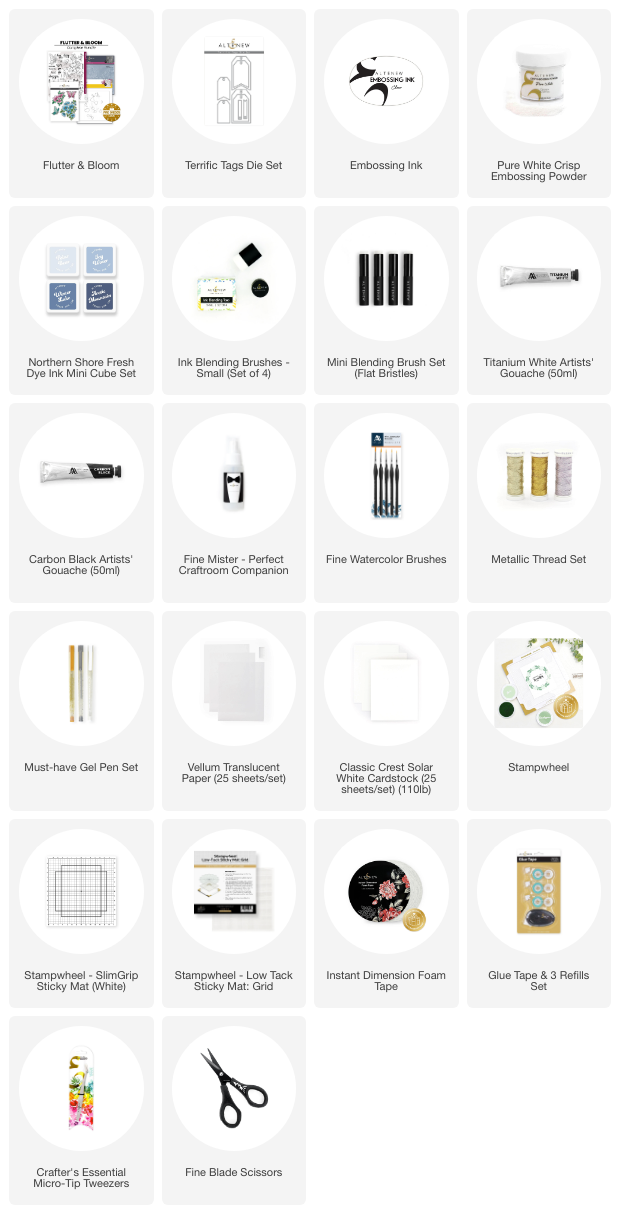
I started off my card by stamping the butterfly from the Flutter & Bloom Stamp Set onto Vellum Translucent Paper using Embossing Ink and the Stampwheel. I applied Pure White Crisp Embossing Powder and heat set.
TOP TIP: If you have never tried heat embossing on vellum, be careful! Vellum can warp easily so try not to keep the heat tool in one place for too long.
It was then die cut out using the coordinating die in the Flutter & Bloom Die Set.
Ink Blended Background

For the background, I die cut one of the larger tag dies from the Terrific Tags Die Set from Classic Crest 110lb Solar White Cardstock. I wanted the tag to be a bit shorter in height, so I placed the die back over the top of the tag and then cut it again.
This can easily be done by cutting off the bottom of the tag using a paper trimmer/guillotine, but I like the slightly rounded edge that dies give.
I placed the tag on a Sticky Mat and then using the new Northern Shore Fresh Dye Inks, added ink blending on top. I started off by adding a layer of Icy Water first, using a Small Blending Brush. I then added Winter Lake on top, first with the same brush and then with a Mini Blending Brush, to focus the darker color around the outside edges. I finished off with Arctic Mountain.

Keeping the centre of the tag lighter adds a lovely glow behind where the butterfly will go.
I then took the tag to my splat box and made some gouache mixture to splatter on top. I added a little water to Titanium White Artists' Gouache first, and using a size 2 brush, tapped the gouache onto the tag. I did the same with the Carbon Black Artists' Gouache but using a size 1 brush. I tried to focus those splatters around the edges.
Assembling the Card
Once the tag was dry, I threaded Silky Lilac Metallic Thread through the top of the tag and tied in a double bow. The tag was then adhered to an A2 sized white card base using Instant Dimension Foam Tape.
I stamped a sentiment from the Flutter & Bloom Stamp Set onto black cardstock using Embossing Ink. I applied Pure White Crisp Embossing Powder and heat set. It was cut into a strip.

I adhered the sentiment strip to the butterfly using Instant Dimension Foam Tape (using the grid lines on my mat to help line it up). I then added Glue Tape to the back, where the sentiment strip will hide the adhesive, and adhered it to the card.
In hindsight, I think I will see if I can carefully remove the butterfly and add a small strip of double sided tape instead.
Video Tutorial: Make Butterflies Glow with Flutter & Bloom
I hope I have inspired you to add a glow to your butterfly projects with Flutter & Bloom. You can watch the full process video below or on YouTube. Bonus: At the end of the video, I also share another way to use the butterfly, so make sure to check that out!

Thank you so much for stopping by today, I hope you have a wonderful day!
Supplies