EASY Foam Tape TRICK to Make Your Cards POP! | Tremendous Textures with Erica
Hi, it's your texture and layers obsessed girl Erica back on the Altenew blog and YouTube channel today, with what can only be described as a total fan girl post about foam tape. The genius who invented foam tape needs to be given a Crafting Nobel Prize in my opinion.
Foam tape plus die-cut pieces = a little bit of crafting magic.

I made a video too, and you can watch it below or click on THIS LINK.

In the video, I'm also sharing a few foam tape tips and tricks, like how to avoid getting the sticky stuff on your scissors, which if it has happened to you, you already know how annoying that is.
Sticky scissors is a nemesis in the crafting world, if you know you know.
How to Make Your Cards Pop with Foam Tape
So, let's talk foam tape.
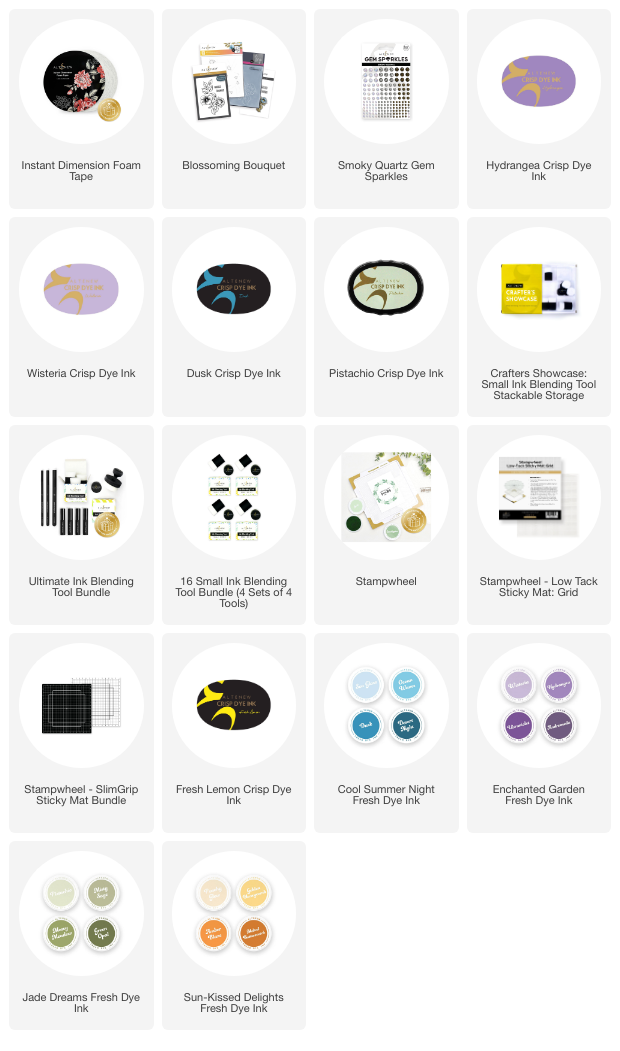
It is hands down one of my most used adhesive products, and if you haven't tried it yet, I highly, HIGHLY recommend clicking on that ‘add to cart' button on all the foam tape options. Take the Instant Dimension Foam Tape, which is one of Altenew's amazing product. You are not going to run out anytime soon, as it is a big roll and at a very reasonable price too. We like that a lot, value for money and long lasting. Talk about win-win.
Using foam tape to pop up a die-cut, a sentiment or even a panel on a card base are a few ways to add some delicious layering to your card, and you can go subtle with just one layer, or go BIG by adding a couple of layers of foam tape on top of each other. It works really well but you have to make sure to prop up all layers evenly. Ask me how I know, lol.

This is the card I made for today's post and video, it's got lots of texture on it, both on the background and the floral image itself.
I started out by using the Blossoming Bouquet 3D embossing folder on a couple of pieces of white cardstock. One was going to be ink blended on, using the coordinating layering stencils, and the other one will be for the background.
To add color to the floral image I have used the Blossoming Bouquet layering stencils with some yummy inks. A mix of Wisteria and Hydrangea, which you can find in the Enchanted Garden Crisp Dye Ink family, and with a touch of Dusk, this is from the Cool Summer Nights Crisp Dye Ink family, to create that lavender haze look on the flower petals.
For the leaves, I have used Pistachio and Mossy Meadow, these come from the Jade Dreams Crisp Dye Ink family, and for the middle of the flower Fresh Lemon, this you can find in the Pocketful Of Sunshine Crisp Dye Ink family, and a touch of Amber Blaze to create that pollen look. Amber Blaze is from the Sun-Kissed Delights Crisp Dye Ink family.

I do love a coordinating die-cut, it just makes life so much easier than fussy cutting, and I used these on the floral image when I was finished with the ink blending.
On the back of this, I have added LOADS of foam tape, all cut to size to fit the die-cut. If you don't have foam tape yet, you can cut out two or three pieces using the diecut and layer these up instead. Foam tape is fab though as you get a little bit of a floating look with it, which you don't get when you use the diecut stacking method.
Sentiment-wise I used one from the gorgeous Sulfur Cosmos stamp set, it has a load of great ones with a fabulous font. After stamping this up with some Permanent Black Ink and the help of the Stampwheel, I used the Sulfur Cosmos coordinating die-cuts to cut out the ‘Thanks' and to finish the sentiment, I stamped up ‘you are the best' on a skinny banner too.

The background is quite fun too. It has the texture of the 3D embossing folder on it and I was just about to glue down the floral image with all that foam tape, when I had an idea. I splattered some black spray on it to add more interest, and that was just the thing!
Once the floral image and the sentiment were in place I added lots of bling from the Smoky Quartz Sparkly Gem Sparkles mix. It adds a little something extra, and really brings focus to the height the foam tape added on the flower, don't you think?

Here you can really see the background texture and the depth the foam tape has added to the design. I really like how this turned out, and I hope you do too!
Do you use foam tape a lot in your handmade cards? Share some tips in the comment section below. I'd love to hear them!
Thank you so much for stopping by today and I will see you soon again!
~Crafty hugs from Erica
~SUPPLY LIST~