Lilac Layering set TWO different ways | EASY tricks to stretch your supplies || Tremendous Texture with Erica + VIDEO
Hi Altenew and lilac flower fans!
It's Erica back on the Altenew Blog and YouTube channel today, with a couple of cards using the same gorgeous diecut set: Craft-A-Flower Lilac Layering Die set. It's a beautiful, and surprisingly versatile set! It's also not too small and fiddly, as it's almost a ‘zoom in' on a part of a lilac branch, rather than the whole bunch together, if that makes sense?
Before we get into today's card and video, we should go back in time a little and re-visit the live stream I did with Lydia on Oct 10th! I used the same Craft-A-Flower Lilac Layering Die set in that live, but with a different look.
Look at us both wearing our beautiful Altenew crafting aprons too!
We did some chatting, some die cutting, some ink blending, more chatting and more ink blending, and more chatting. It was such a fun hour and it went by very quickly! Some might say we were on a roll (crafting puns are hilarious, aren't they??)

Right, so first things first: let's cut some of these flower pieces out. By some, I mean all of them and then some. Why make it easy for yourself and start by making just one? Oh no, that's not what you do when you are a little bit extra like I am. I think I might have cut out enough pieces for four different lilac branches.

The upside with me being a lunatic like this, is that I can show you some colours that might look nice on these, rather than going for the traditional lilac/purple. It's only paper, after all, why not have some fun with different colour combinations?
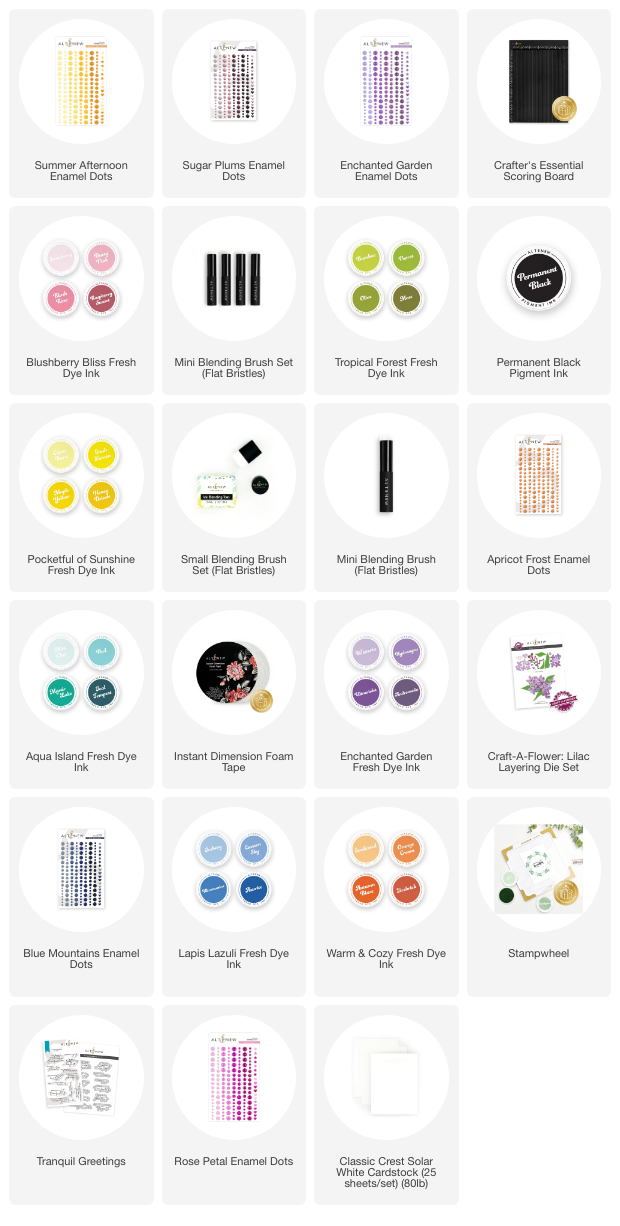
These yellows look fabulous, if I may say so myself! These are from the Pocketful Of Sunshine Fresh Dye ink family.

They also look very sweet and spring-like in pinks! These gorgeous pinks are from the Blushberry Fresh Dye ink family.

As I am a rainbow-oholic and put a rainbow on pretty much everything I can, I felt it was imperative to try it with this lilac set too. The conundrum I had was getting the colours in the right order, as I wanted to ink blend them onto the diecut pieces before adhering them to the branch diecut.
I came up with an idea that I think you might agree is pretty smart! You will need the StampWheel – Ultra Sticky Mat : GRID grippy mat out of your StampWheel (or other see-through sticky mat) and you will need to decide beforehand which way you want the branch to point. It is also easier if the branch is cut out of black card stock so you can see it clearly through the mat.

Then using either the branch diecut itself or even the layering guide on the back of the packaging, place the lilac diecut pieces in the order from top to bottom onto your grippy mat. Smart, huh?
With all these pieces in place, you can now ink blend your rainbow, or other colour combinations to create a gradient or ombré, with the pieces staying in place and not causing confusion.

The colours I have used are, from top to bottom, Citrus Burst, Orange Cream, Blush Rose, Wisteria, Eastern Sky and finally Pool. Please note that the links go to the colour family, so if you want just the one colour, you will have to select it from the drop down menu.
When all of the lilac diecuts had sufficient colour on them, I glued down the layered pieces to the flowers and then the flowers themselves to the branch. I used a white one though, so the colours take centre stage. Oh, and the leaves have actually been done in a green. I used Bamboo and Parrot from the Tropical Forest Fresh Dye Ink family.
Instead of using the diecuts for the middle of the flowers I have used an array of enamel dots! I think I must have used at least five different packs to get the best colour combination, yet enough of a contrast to make them pop, but it was worth it!

While this was drying, I used the Crafter's Essentials Scoring Board to create a pattern on a piece of white card stock. This is a super simple, yet effective, way to add some interest and texture to a background without taking too much attention away from the main focus, our lilac flowers. This panel I have trimmed down a little so it has a white frame around it, and I have used a generous amount of Instant Dimension Foam Tape on the back of it.

The gorgeous sentiment is from the Tranquil Greetings stamp and die set, and it's stamped up with Permanent Black Ink. Sometimes keeping the sentiment simple when you have so much going on is the best approach.
Down below you can see the two cards I have finished so far, and just by placing the lilac flowers at different angles and using different colours, you get two very unique looks. Nothing at all like a traditional lilac, that's for sure. The one on the left looks a bit tropical, almost like a frangipani, doesn't it?

Well, that's about it from me for today but don't forget to check out the YouTube video, as well as the replay of the live with Lydia, linked at the top of the post. Have a wonderfully creative day and I will see you soon again!

Big crafty hugs from Erica