Tips on Using Layers, Details and Texture Together for Stunning Results | Tremendous Textures with Erica
Hi Altenew fans and friends! It's time for a new video with your girl Erica. I'm back on the Altenew blog with a post, and on the YouTube channel with a new video! Unfortunately, I don't have any progress photos for this card, however I hope the video will make up for it.

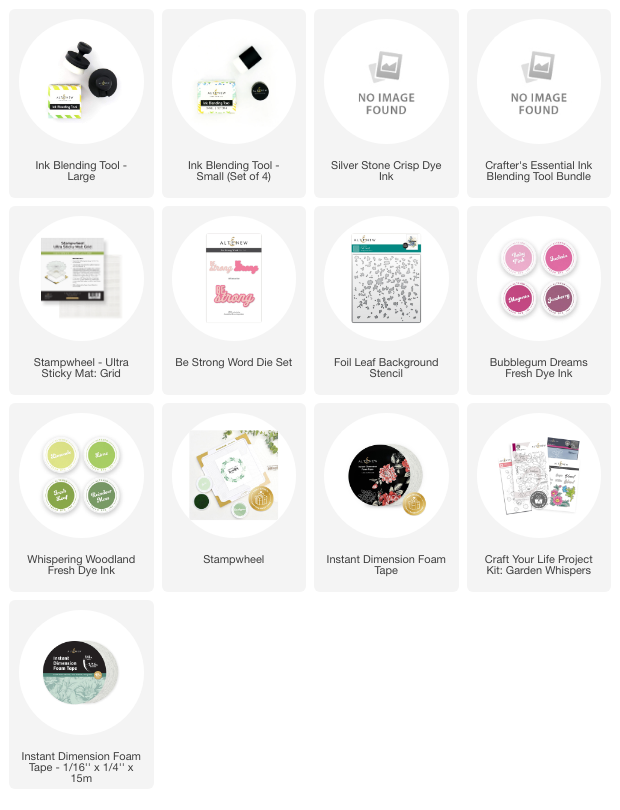
For this card I have used the absolutely LOVELY Craft Your Life Project Kit: Garden Whispers and the pinks and greens inks from the Spectacular Spectrum Fresh Dye Ink Bundle. For shimmery details and texture, I picked out the gorgeous Shimmer Relief Paste – Burnished Platinum and used it with the new Foil Leaf Background Stencil. That pattern is so fun!

Ok, so first things first: the background. I started out by ink blending the greens from the Whispering Woodlands Fresh Dye Ink Bundle, in an ombre look on a card panel. This panel is 4.25″x5.5″, and if you have a Stampwheel – Ultra Sticky Mat: Grid, this will be a total breeze. The card stock isn't going anywhere so you could even ink blend holding the ink blending tool with your teeth, if you wanted to. I do not recommend this though, and don't ask how I know, LOL.
Once you have enough colour on your panel, and this part is totally up to you so go with what your creativity says, clean off the grip mat and place your panel back down. I have a great little trick for this, that I show in the video.
Pick a stencil of your choice, and whatever Shimmer Relief Paste color catches your eye. I have, as mentioned, gone for the Foil Leaf Background Stencil and Shimmer Relief Paste – Burnished Platinum.

If you haven't opened your tub of Shimmer Relief Paste yet, do that and stir the paste with a palette knife before doing anything else. This will ensure it's properly mixed and prepared to be used. Now, I know it is really tempting to scoop out loads of the paste and just go nuts, but you will not need as much of it as you might think. In the video you can see that I use a surprisingly small amount of it and it still was a bit much. If you do use too much, not to worry, just scrape off the excess and put it back in the tub. Easy peasy!

When you are planning on using Shimmer Relief paste on your background or project, please do bear in mind that it needs sufficient time to dry. This is not the medium to go for if you need to get a card in the mail today. If you would like to see the pastes in action, and see them being put to the test before you get started yourself, I have another video on the Altenew YouTube channel you can check out HERE.
While the background is drying, let's move on to the floral images we are going to focus on today. In the Craft Your Life Project Kit: Garden Whispers there are two floral images, and as they come with coordinating layering stencils, you can add colour to them in a total jiffy. Unsurprisingly, I have used the Bubblegum Dreams Fresh Dye Ink Bundle for the pops of pinks. As well as the gorgeous greens of the Whispering Woodlands Fresh Dye Ink Bundle for the greenery. In the video you can see the ink blending come to life with the help of the layering stencils.

It's really hard to beat layering stencils when it comes to both speed of adding colour, while also being suitable for beginners to pro card makers. That's a pretty impressive thing, when you think about it. Ink blending is also one of my favourite techniques, as you might be able to judge from the amount of videos I have featuring this fun technique.
Another thing I'm absolutely in love with is coordinating diecuts. I am not a fan of fussy cutting, I have old lady eyes now and can't see super well up close, plus I find it painstaking cutting images by hand. I would rather have a coordinating diecut to my stamp set, than a second stamp set in all honesty.
With the flower cut out and the background dry, it was time to start thinking about how to put these together. Usually in my videos you will see me go back and forth on placements and play around with layouts to find what I like best, but sometimes this process is pretty quick and I did find that this card came together relatively fast. Quite often I have to cut so much of this process from the videos or they would be soooo long.
Now, there are some lovely sentiments in the Craft Your Life Kit: Garden Whispers Stamp Set, but I have been on a bit of an empowering streak with my card making recently so I decided to go for the Be Brave word diecut instead. Originally, I thought it would look nice with white on white, but it just disappeared a bit too much, so I ended up grabbing one of the ink blending tools I had used with the Bubblegum Dreams pinks and added a touch of color with what was left on it.

Stampwheel – Ultra Sticky Mat: Grid came in so handy for this part again, as it prevented the word diecut to crinkle and get bent while I ink blended over it. You can see this part in the video too, and I love seeing the pink build up on that word diecut. Ink blending looks really cool in a Timelapse video I think.
With the word diecut layered up and lots of Instant Dimension Foam Tape on the back of the floral image, it was time to put all of this together! At this point, it really wasn't much left to do, but I still found time to add some sparkle gems, of course. Even with that shimmery background, it was just the icing on the cake, I think! These are some of the last gems in my beloved Smoky Quartz Gem Sparkles packet, but they were the perfect complement to the Shimmer Relief Paste – Burnished Platinum.

This card has a lot going on, and will not mail very easily at all, but oh well, I don't really consider that a massive problem. It will be a good excuse to put together a little care package to someone who might need a little encouragement and reminder of what they can do. A bit of chocolate is never wrong, is it? A good book, a little something for some pampering like a sheet mask, a snack and a card with a loving message can make such a difference in someone's day. Especially if it's a complete surprise and arrives just when you need it, you know?

Wow, ok that's a whole lot of talking and jibber-jabbering. If you are still here, thank you! That's it from me for today, thank you so much for stopping by and spending some time with me. I also hope you get a chance to watch the video I made. Have a great day!
Lots of love and crafty hugs from Erica