Create Simple Winter Scenes with Cardstock Scraps (With Video Tutorial) | Terrific Tags with Michelle
Hello there, Michelle here with another edition of Terrific Tags with Michelle. I don't know about you but I keep all my cardstock scraps, even the really little ones. Sometimes a die set will come along that is perfect to use them up, like the Winter Village Die Set that I am using today.

DIY Tag Background
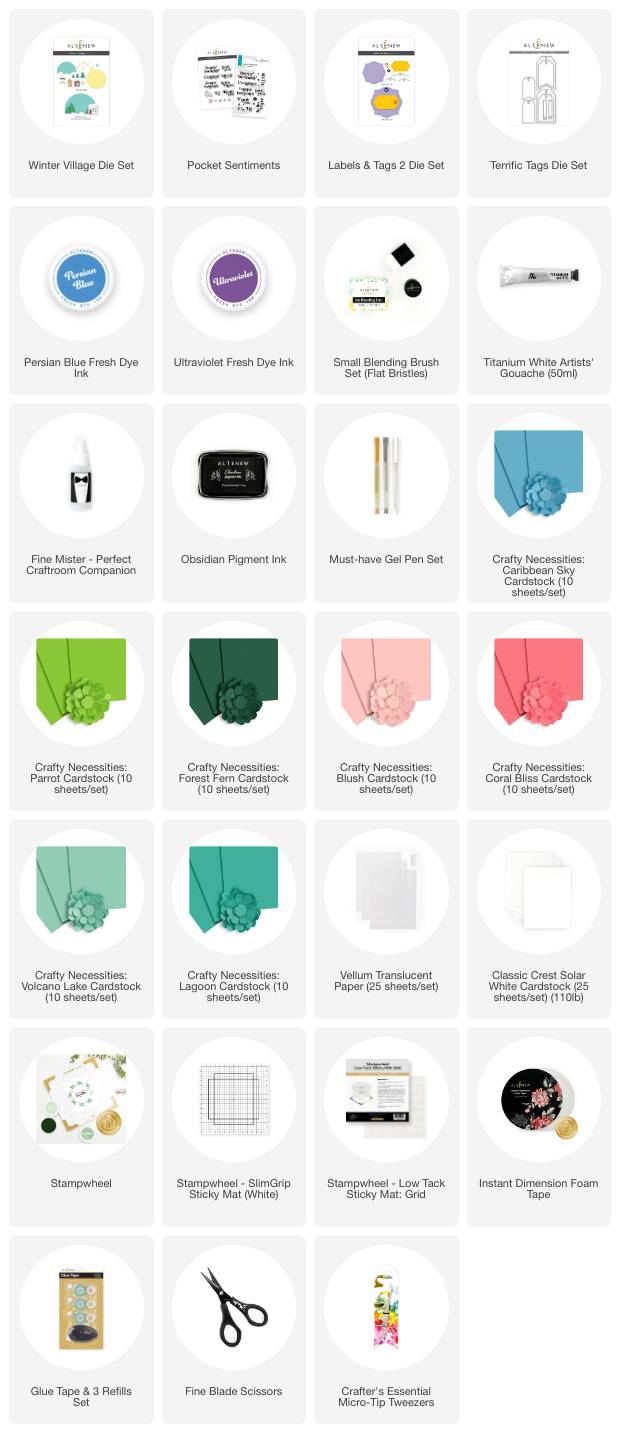
I started off my tags by die cutting a middle sized Terrific Tag Die twice from Craft Necessities: Caribbean Sky Cardstock. I then cut the hole reinforcer/eyelet from the Labels & Tags 2 Die Set from the same cardstock and adhered them to the tags.
Using Small Blending Brushes, I first blended Persian Blue Fresh Dye Ink onto the tag, starting at the top and fading to the color of the cardstock towards the bottom. I then blended Ultraviolet Fresh Dye Ink towards the top for some added depth.

TOP TIP: If you start with a base of colored cardstock, ink blending becomes a lot quicker as you can use the cardstock color as your lightest shade!
I added a little water to Titanium White Artists' Gouache, picked it up with a paintbrush and splattered it onto the tags before setting them aside to dy.
Use Up Those Cardstock Scraps!

For the scene, I started off by die cutting two of the same tags from Classic Crest 110lb Solar White Cardstock. I then cut the bottom part again using the landscape/snow die from the Winter Village Die Set.
I cut the trees in the set from Crafty Necessities: Parrot and Forest Fern Cardstock. The houses were cut from Crafty Necessities: Blush and Coral Bliss for one house, and Craft Necessities: Volcano Lake and Lagoon Cardstock for the other.
As you can see, the pieces are very small so perfect for using up those cardstock scraps!
Scene Assembly

I adhered the roof and door to both houses using liquid glue and then cut a little Vellum Translucent Paper and adhered it to the back, so that it shows through the windows.
The snow/landscape was adhered to the tag first using Glue Tape. The trees were adhered using a combination of liquid glue and Instant Dimension Foam Tape. The houses were adhered with foam tape also.
Add a Sentiment

I stamped the ‘happy holidays' sentiment from the Pocket Sentiments Stamp Set twice onto Classic Crest 110lb Solar White Cardstock using Obsidian Pigment Ink and the Stampwheel. They were die cut out using the Pocket Sentiments Die Set.
Watch the video below for a trick to get perfectly die cut sentiments!
I cut the die again from white cardstock and adhered the stamped one on top, for some added dimension. They were then adhered to the tags using liquid glue.
To finish off, I added white gel pen dots/snow to the trees and houses and then threaded twine through the top of the tags and tied in a bow.
Video Tutorial
I hope I have inspired you to use your cardstock scraps. Let me know in the comments if you keep little scraps too, they definitely came in handy for these tags! You can watch the full process video below or on YouTube.

Thank you so much for stopping by today, I hope you have a wonderful day!
Supplies