5 Steps to Create Stunning Cards with Colored Cardstock | Perfect Pairings with Jaycee
by Jaycee Gaspar September 8, 2024


Hello, crafty friends! Today, we're diving into the vibrant world of colored cardstock, specifically focusing on Altenew's stunning Build-A-Garden: Alluring Orchids. Released in September 2024, this collection is perfect for those looking to create eye-catching cards with a touch of elegance.

This post is also part of our Creativity Unlocked series, where we highlight a new product from each month's collection or a fan favorite from past collections!

Why Colored Cardstock?
Using colored cardstock can completely transform your project, adding depth and character. In my recent video, I showcased Altenew's new Crafty Necessities Colored Cardstock Sets, which offer rich colors ideal for crafting beautiful floral designs. The Caribbean Sky cardstock, in particular, serves as a gorgeous backdrop for the jewel-toned Phalaenopsis orchids we’ll be creating today.
Video Tutorial
Watch the video below or on YouTube HERE.

5 Steps to Create Stunning Cards with Colored Cardstock

Prepare Your Card Base
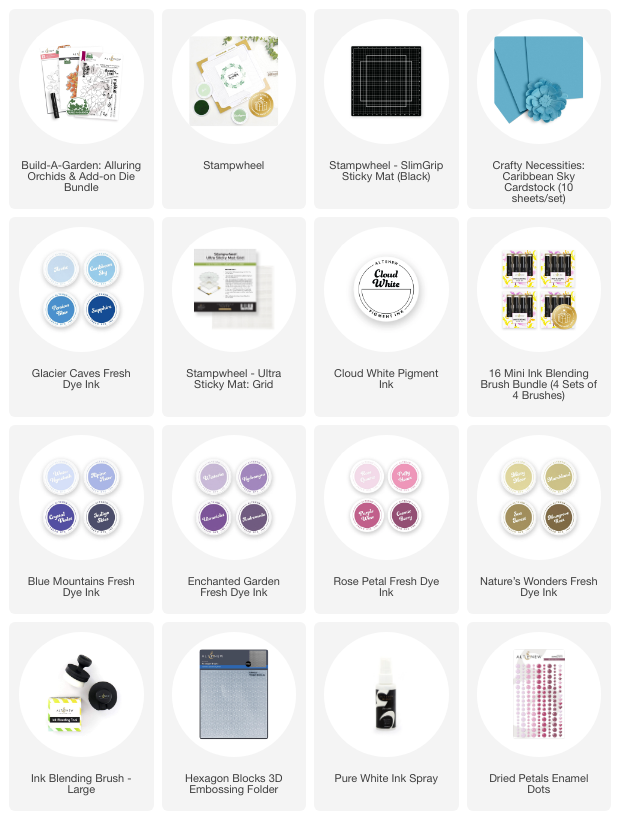
Begin with a cut A2 panel of Caribbean Sky cardstock, secured on your Stampwheel. Place the outline stamp from the Alluring Orchids set onto the cardstock and use Persian Blue ink to stamp the outline. To ensure precision, keep the outline stamp on your Stampwheel as you'll be using it later in the process.
Stencil for Color
Using the coordinating stencils, we’ll add depth and vibrancy to our orchids. For this project, I’m recreating the shades found in blue-violet Phalaenopsis orchids. Using Cloud White pigment ink as a base, blend the colors and gradually move to deeper shades, applying Persian Blue and then Indigo Skies to create a stunning gradient on the petals.
Layer and Detail Your Orchids
As you move through the stencil layers, repeat the ink blending process—start with lighter pigments and gradually add deeper ones. For the labellum and stem, be sure to clean your brushes between colors to avoid muddying the inks. The result should be rich, multi-dimensional flowers that pop against the Caribbean Sky backdrop.

Create a Stunning Background
To enhance our stenciled flowers, we’ll create a gradient background on another panel of Caribbean Sky colored cardstock using Persian Blue and Indigo Skies inks. For an added touch of texture, I used a geometric embossing folder—Hexagon Blocks 3D—to bring a professional look to the card.
Assemble Your Card
Once your orchid panel is fully inked and dried, use the Alluring Orchids die set to cut out your flowers. Align them with your beautifully blended background. I find matching the color of your die cuts to your background adds a refined elegance to the project, making it visually cohesive.

Final Touches
To finish off your card, splatter some Pure White Ink Spray for a nice glow that complements the Cloud White Pigment Ink on the petals. Foam mount your “Hello” sentiment for added dimension, and sprinkle on a few Dried Petals Enamel Dots for some extra flair!
Creating with colored cardstock not only elevates your project but also allows you to explore different techniques. The Build-A-Garden: Alluring Orchids, combined with the Crafty Necessities Cardstocks, makes for a versatile crafting experience that yields stunning results.
I hope you enjoyed this tutorial! Which color combination do you prefer for your orchids? Share your thoughts in the comments, and happy crafting!
~Supply List~