Lovely layers, tremendous texture and Stencil Art
by Erica Andersson November 2, 2026

Key Takeaways
Mastering layering with easy tips: Learn how to add layers to die cuts using Instant Dimension Foam Tape and Foam Dots.
Adding a mix of shimmer without making it messy: Using a Metallic Ink Spray on a background, and Gem Sparkles as finishing touches.
Try colour combos from the packaging as a starting point: When unsure of where to start with colour combinations, why not try one that is suggested in the packaging to get a feel for the products.
Tools to make your life easier are worth the investment: Having the right tools on hand will make your life easier, creating smoother and the finished card more polished.
Hello Altenew fans and friends, it's your layer loving gal Erica back on the blog and the YouTube channel today. I am sneakily sharing some products that will be released tomorrow, as part of the November release. As soon as I saw the Stencil Art Bowls Of Beauty layering stencils and the Add-On Die Cut, I was in love! Oh my, it's just stunning, and to have a coordinating diecut for this amazing image is such a lovely bonus.

Mastering Ink Blending with the Stencil Art set
On the front of the packing of the Stencil Art Bowl Of Beauty add on diecut, there is a stunning image and the colours are spectacular. I had many ideas of how to use this stencil set, but I decided to start by using the colour combo inside the packaging of the stencils. This will definitely not be the last time I will use this layering stencil set, that's for sure.
Layering stencils to the rescue for vivid details
Using the StampWheel 2.0 grippy mat made easy work of using the layering stencils, but a little bit of masking was needed, using the Satin Masking Tape.
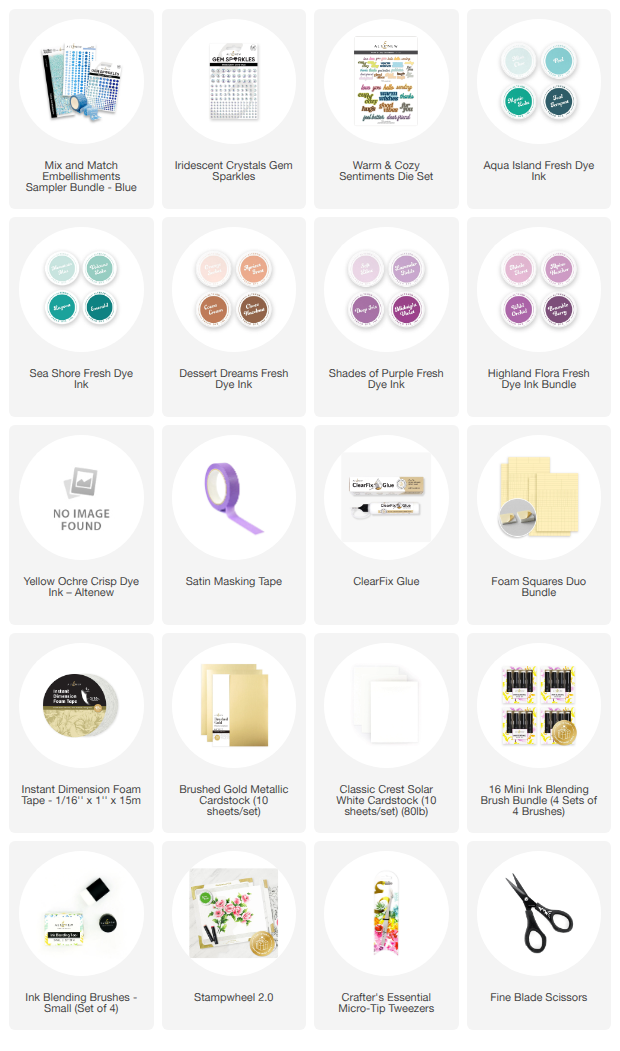
The ink colours used are listed inside the packaging, but in case you wanted to know the names of them, they are: Orange Sorbet, Apricot Frost, Cocoa Cream, Yellow Ochre, Pink Crystal (which I did not have, I substituted it for Soft Lilac) Soft Lilac, Lavender Fields, Deep Iris, Bramble Iris, Volcano Lake, Lagoon (I didn't have these two last inks either, so I substituted them for inks from the Aqua Island Fresh Dye Ink bundle) Mint Choc, Pool, Mystic Lake and Teal Tempest, the last one is listed on the colour combo suggestion.

Die cutting and Layering up
When using stencils, even single ones, it's really handy to have a bowl of water on hand to pop your stencils into after finishing the ink blending. When you use layering stencils, and want to use them again for several cards, pop the stencil into the water for a quick rinse and then leave on a towel to dry, while you crack on with the rest of the layers.
When you are finished ink blending, it's time to get the coordinating diecut out and cut out your gorgeous image. When it comes to layering up the image, you have a couple of options. There is die cutting extra layers from white card stock and glue these together, for a really solid base. Or you can add Instant Dimension Foam Tape, or Foam Dots to the back of it for some nice height.
One top tip I have for using Instant Dimension Foam Tape is to put some of your left over backing tape on the sticky part, This ensures that the adhesive does not end up all over your scissors, even the Fine Blade Scissors which are teflon plated to make them resist sticky stuff, can end up full of adhesive if you cut a lot of tape.
Doing this will also give you a surface to touch, without your fingers or tweezers ending up with adhesive on them. The last thing you want is to have a gorgeous card ready for assembly, and as you are putting things together, the adhesive ruins the look.
If you are using the Foam Strips you can cut them to size easily, before taking off the backing tape.
Shimmer, sparkle and bling
When it comes to adding sparkle to your card, that's a very personal choice. Some like none, some like little, some like a wild trip to Bling Town (that last one is me, but you do what you like)
One of my most used ways of adding some shimmer to a background, is to spritz some Antique Gold Metallic Ink Spray on a panel or directly onto a card base. This gives a beautiful background, and subtle shimmer, perfect for adding a beautiful bloom like this one.
Layered sentiments give you so many options

To keep things cohesive with the golds shimmer layer, I decided to use a sentiment from the Warm & Cozy Sentiments, and make the words stand out in Brushed Gold Metallic Cardstock. This is layered on a white 'shadow' piece, and even with a skinny font, it's easy to layer up using the ClearFix glue, with its fine tip. It really is such a game changer when it comes to layering up small die cuts, word or sentiment diecuts, and the glue dries clear so even if it spills out a little, it will not matter once it's dry.
Final layer of bling: Gem Sparkles!
With the card almost finished, a generous smattering of Iridescent Crystal Gem Sparkles were just the perfect finishing touch. These are among my most used Gem Sparkles, and I'm running low and need to restock soon.
I have tucked the clusters of three, all three sizes used, amongst the floral layer. I did not add any on the top layer, but thanks to the iridescent look of them they really add to the illusion of it being more layers than it really is.
Well, I think I have jibber-jabbered on long enough now, but I hope you found some inspiration here with me today, Don't forget to check out the layer-luscious YouTube video as well. Until the next tine,
With love and light, sparkle and creativity from your girl Erica
To summarise all the layers
Layers are perfect for cards that are hand delivered. If you are mailing your card, it's better to keep the layers to a minimum by skipping the Instant Dimension Foam Tape.
Don't be afraid to experiment and try new techniques, creativity is like a muscle, it needs to be used to be at its best. Even if you can only manage 5 minutes, that still counts!
When creating feels difficult, try a colour combination from some of the card samples in the packaging and see how that feels. A lot of the times just being creative will lead to more creativity.
Having the correct tools on hand can be an investment, but the right ones for you and your crafting needs will make a huge difference.
Take pictures of your creations and share! Even if you are not 100% happy with the card yourself, you will inspire someone in return.
Luscious Layered Card Supplies