How to Make the Most Out of Your Stencils + EASY Watercolor Background
Hello Altenew friends, Hannelie here and I'm sharing tips on how to make the most out of your stencils. Today, I'm creating a bright and bold floral birthday card featuring the Stencil Art – Painted Geranium Layering stencil set and add on die set. This subscription set features 6 layering stencils capturing a vibrant branch of painted Geraniums.

I’m always eager to expand my knowledge about the florals I incorporate into my handmade cards. Today, I learned that Geranium essential oil offers therapeutic benefits to help reduce feelings of stress, anxiety, sadness, fatigue, and tension. I love the herbaceous aroma of crushed geranium leaves, and I can’t get enough of the stunning variety of colors these blooms offer.
How to Make the Most Out of Your Stencils + EASY Watercolor Background
Now that we know a little bit more about Geraniums, let's get started with today's card where I will share an idea to create a quick water colored background , using the same stencil and inks, you used to create your focal point, so hold on to that inky stencils before you clean them!
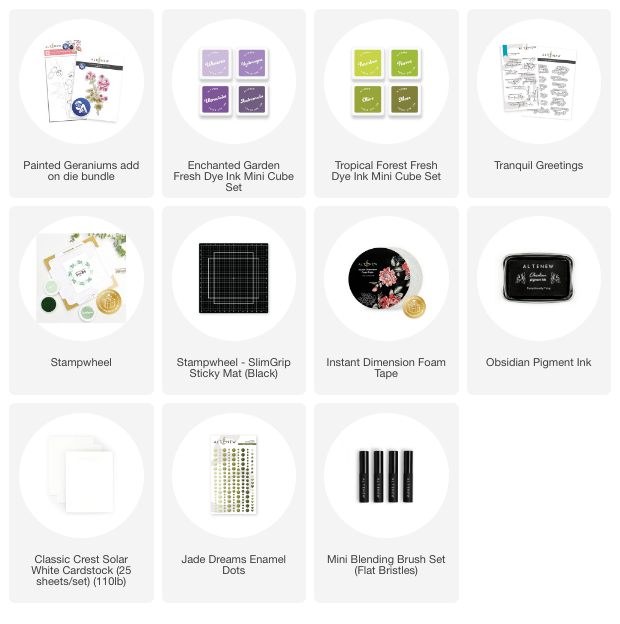
For today's birthday card you will need:
- White Cardstock
- Stencil Art – Painted Geranium Layering Stencil Set and Add-on Die
- Die-cutting machine
- Sticky Mat
- Enchanted Garden Fresh Dye Ink Cubes
- Tropical Forest Fresh Dye Ink Cubes
- Tranquil Greetings stamp set and coordinating dies
- Yellow Pigment ink
- Stampwheel
- Obsidian Black Ink
- Instant Dimension Foam Tape
- Jade Dreams Enamel Dots
- Water Spritzer
- Blending Brushes
Step by step instructions:
- Start off by die cutting the geranium floral image.
- Secure the die-cut onto the sticky mat.

- Apply ink with blending brushes. Use the stencils in numerical order, starting with the lightest shade from your ink set. The packaging includes detailed, easy-to-follow layering instructions to guide you through the process.
- To create the background for your card, start by lightly spritzing the stencils you've just used for the flowers, with water. Gently press the spritzed stencil onto your cardstock to transfer the ink to create a loose water colored look. I began with green and then repeated the process with purple. **Tip:** Use minimal water to prevent the cardstock from warping. Alternatively, you can use watercolor paper to reduce the possibility of warped card stock. Once done, allow the background panel to dry completely. **Tip:** If the cardstock warps, place it under a heavy book or run it through your die-cut machine to flatten it.

- Decide on your layout and trim the stencilled die-cut to fit the card.
- Use Instant Dimension Foam Tape to adhere the floral image to the card base.
- Use your Stampwheel to stamp the sentiment and use the coordinating die to cut it out.
- Adhere the sentiment to the card.
- Embellish the card using enamel dots.

I decided to use a simple black and white sentiment for my card to balance out the bold and colorful design. When adding the sentiment, I always feel it's a bit like adding the full stop to a sentence. A sentiment has the ability to tie a design together beautifully. What is your your go-to style of sentiment? I would love to read your ideas in the comments below!
Wishing you a wonderful creative day. Thanks for stopping by!
~Supply List~