How To Get Perfect Die Cuts : Inking It Up With Mindy
by Mindy Eggen June 19, 2025

Hey friends, it's Mindy in my series Ink It Up With Mindy! If you've ever struggled to line up your die cuts just right after stamping or stenciling, you're not alone—and today's post is here to help! I'm sharing a simple but game-changing die cutting hack using the Build-A-Garden: Radiant Blossoms bundle from Altenew.
Be sure to watch the video HERE or on the Altenew YouTube channel for a full step-by-step walkthrough of my process—from stenciling the Radiant Blossoms to using my die-cutting trick that guarantees crisp, clean cuts every time.
Turn Your Die Cuts Into Perfectly Placed Images!

This card started with ink blending through the layering stencils included in the Radiant Blossoms bundle. I chose a pastel palette of pinks for the flowers, and used teals for the foliage for a fresh and delicate look.
The collections I used are:
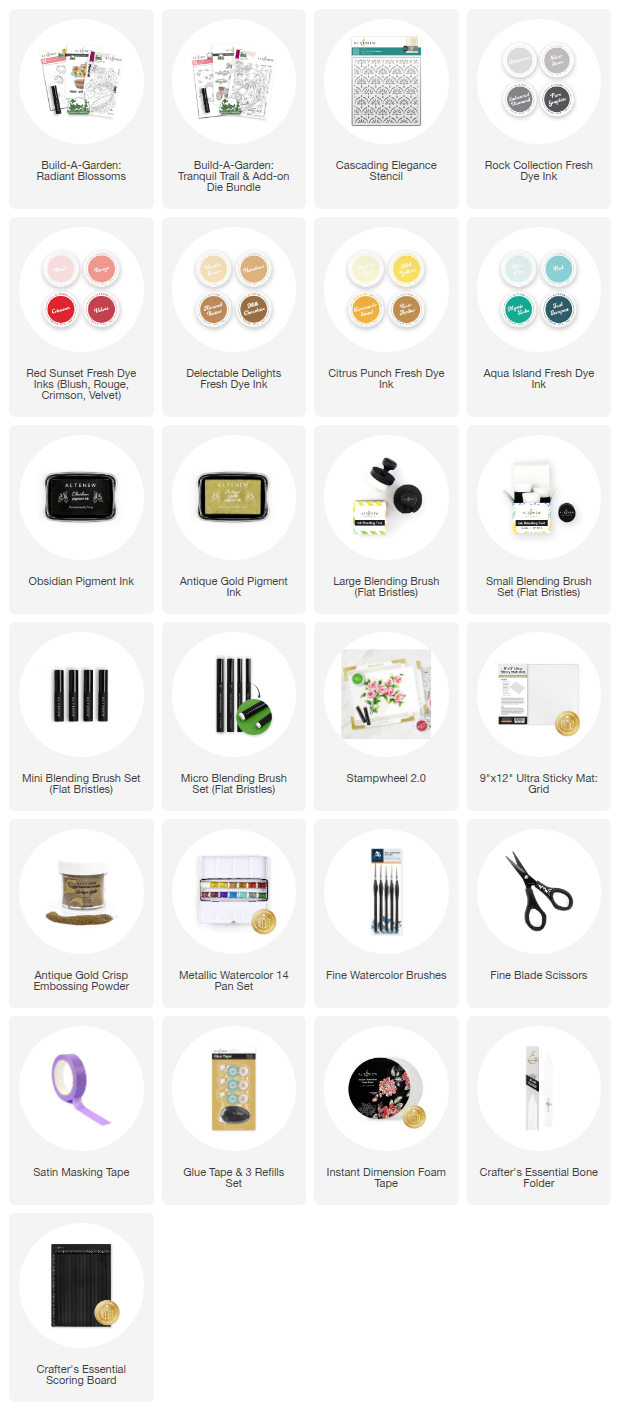
- Red Sunset Fresh Dye Ink Collection
- Aqua Island Fresh Dye Ink Collection
- Rock Fresh Dye Ink Collection
- Citrus Punch Fresh Dye Ink Collection
- Delectable Delights Fresh Dye Ink Collection
Altenew’s blending tools make it easy to apply smooth, even color through the stencils for a professional look. To achieve detailed and precise blending on the floral images, I used small and micro blending brushes. These sizes are perfect for getting into those tight corners and adding depth exactly where it's needed—especially when working with layering stencils like Radiant Blossoms. The smaller brushes gave me full control over ink placement, helping the colors blend seamlessly without overpowering the finer details.

Your Die Cuts Will Thank You for This Hack!
Once the stenciling was complete, I used a die-cutting hack that has completely changed my crafting game. Instead of trying to line up the dies after the fact, I die cut a template first and used it as a guide for my dies. This ensured perfect alignment every time—and saved me tons of time and paper.
For the background, I reached for the Cascading Elegance Stencil to add a soft, elegant texture behind my focal point. Using a large blending brush, I applied Rouge ink in a light circular motion for a smooth, airy blend. To add a bit of shimmer and interest, I finished the background with subtle splatters of metallic watercolor. This simple step brings everything together with a touch of shine and dimension—without overwhelming the main design.

To finish off the design, I stamped a sentiment from the Build-A-Garden: Tranquil Trail Set using Antique Gold Pigment Ink and heat embossed it with Antique Gold Embossing Powder for an elegant, metallic finish. I used the coordinating die to cut it out perfectly, then popped it up with foam tape for added dimension. This touch of gold really elevates the entire card and complements the soft stenciled background beautifully.
Thanks so much for joining me today! I hope you found the tricks with die cuts helpful for getting perfectly aligned images every time—it’s such a simple step, but it makes a huge difference in the final look of your project. Pairing it with the Build-A-Garden: Radiant Blooms set really allowed those florals to shine, especially against the softly stenciled background. If you haven’t tried this method yet, I definitely encourage you to give it a go.

Don't forget to watch the video for this tutorial on Altenew's YouTube channel HERE! Until next time, happy crafting!

SUPPLIES