How To Add Partial Stenciling With Ink Blending | Terrific Tags with Michelle

Hello there, Michelle here with another edition of Terrific Tags with Michelle. Today, I am adding partial stenciling to my card. This is a great way to get just the parts of the stencil that you want and extend their life!

Welcome to Creativity Unlocked, where we highlight a new product from each month's collection or a fan favorite from past collections!

The Focal Point
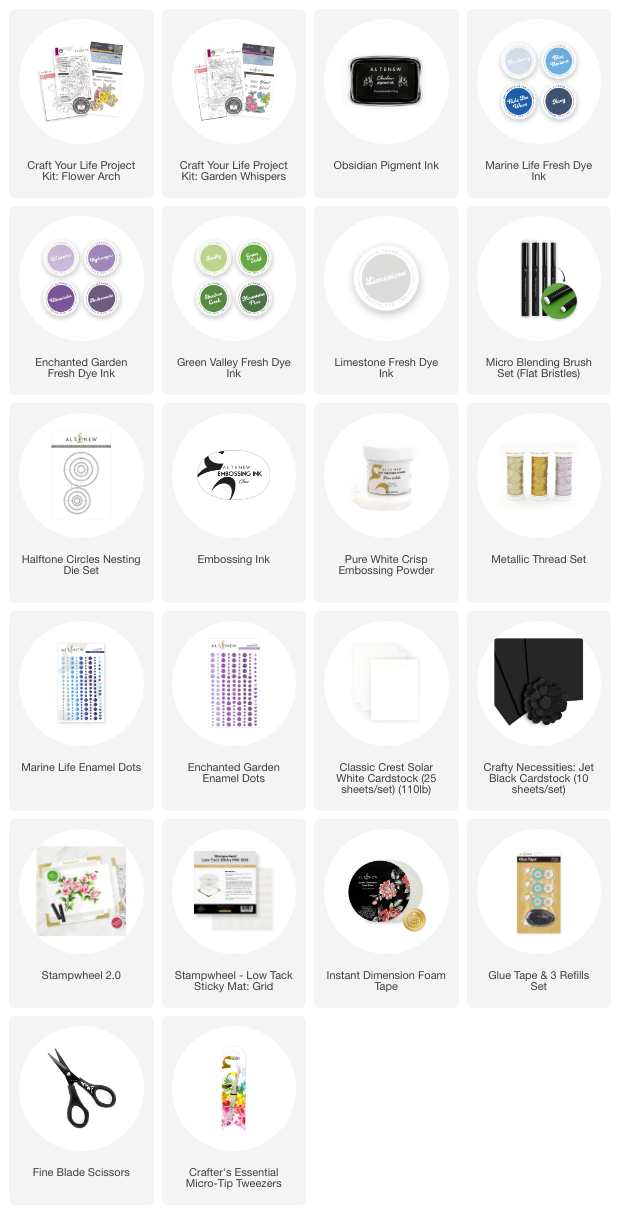
I started off my card by stamping the floral image from the Craft Your Life Project Kit: Flower Arch onto Classic Crest 110lb Solar White Cardstock using Obsidian Pigment Ink.
I die-cut the image out using the coordinating die and then placed it on a 4.25″ x 5.5″ panel of white cardstock to gauge how much I wanted to cut off the sides. I secured the image onto the front of the panel with low-tack tape and then flipped it over and drew lines on the back to show where to cut with my guillotine.

Ink Blending
To add color to the image, I first placed it on my Sticky Mat and then placed the first stencil from the Craft Your Life Project Kit: Flower Arch on top. I used Marine Life Fresh Dye Ink (Blue Horizon, Ride the Wave and Navy) to add color to the flower first.
I then added a little Enchanted Garden Fresh Dye Inks (Hydrangea and Ultraviolet) around the edges of the petals. I did the same for the second stencil to complete the flowers.
For the third and fourth stencil, I used Green Valley Fresh Dye Inks (Firefly and Grass Field) to color the leaves and stems.
There are more stencils to add layers to the flowers and leaves, but I decided not to use them today.

Partial Stenciling
For the background, I wanted to use the brickwork stencil in the kit, but did not want the doorway part of the stencil on the card. So I placed the second half of the stencil onto a panel of cardstock, and using a Micro Blending Brush, blended Limestone Fresh Dye Ink (Rock Collection) on top.
I did this quite messily, adding some areas of the bricks darker and some lighter, for added interest.
I wanted the brickwork to extend further than the stencil, so I moved the stencil across to the right, and being careful to try and line up the bricks, added more ink blending to create more bricks at the top.
Doing partial stenciling like this really extends the life of your stencils. It is easy to do and the possibilities are almost endless to achieve the look you want!

Creating the Sentiment
I adhered the background panel to an A2 sized white card base with Glue Tape. I then adhered the flower piece on top with Instant Dimension Foam Tape.
I stamped a sentiment from the Craft Your Life Project Kit: Garden Whispers onto Crafty Necessities: Jet Black Cardstock using Embossing Ink. I applied Pure White Crisp Embossing Powder and heat set.
It was cut into a circle using the Halftone Circles Nesting Die Set and then I punched a little hole at the top to make it into a tag. It was adhered to the card with more Instant Dimension Foam Tape.
I tied Metallic Thread into a bow and adhered it to the top of the tag.
To finish, I embellished with Marine Life and Enchanted Garden Enamel Dots.
Video Tutorial: Partial Stenciling
I hope I have inspired you to try partial stenciling. You can watch the full process video below or over on YouTube.

Thank you for stopping by today, I hope you have a wonderful day!
Supplies