2 Ways to Make a Classic Statement Using the Quill & Inkwell Layering Die Set
 Hello friends, Hannelie here today with two elegant cards showcasing the Quill & Inkwell Layering Die Set from the March release.

Welcome to Creativity Unlocked, where we highlight a new product from each month's collection or a fan favorite from past collections!

The die set features two different feathers, a nib, and an inkwell. As always, layering the elements is made super easy by following the keyhole system.
For my designs, I wanted to create cards that were simple yet striking, and I knew a classic black and white palette with a touch of gold would be the perfect way to achieve that.
For the first card, I used both the Quill and Inkwell, while on the second, I featured just the quill. What I love about the Quill & Inkwell die set is its versatility—you can use the quill without the nib in so many different designs! It’s a great way to get more value from a single set while unlocking endless creative possibilities.
Let's get started!
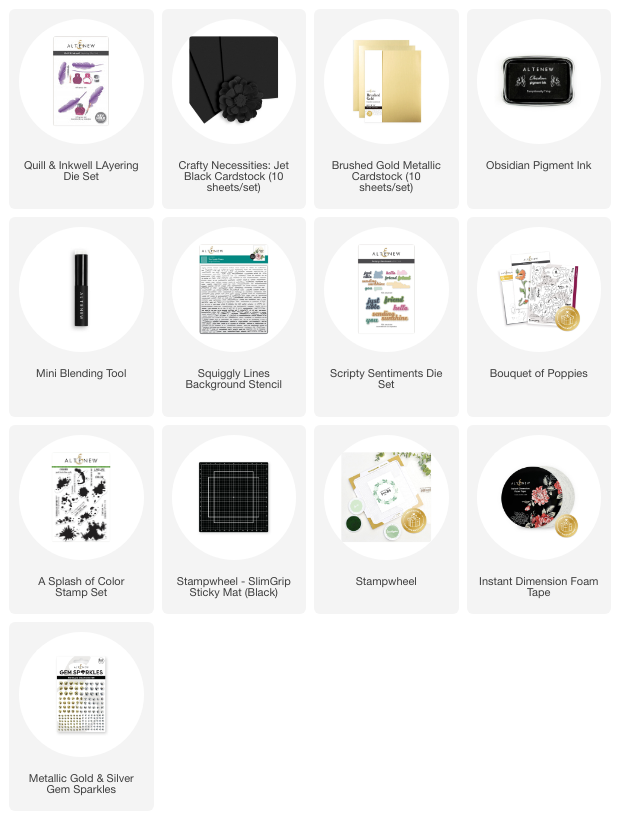
To make today’s cards you will need:
- Quill and Inkwell Layering Die Set
- Die cutting machine
- White cardstock
- Jet Black Cardstock
- Brushed Gold Metallic Cardstock
- Vellum
- A Splash of Color Stamp Set
- Squiggly Lines Background Stencil
- Mini Ink blending Brush
- Circle mask* (see note below)
- Stampwheel – SlimGrip Sticky Mat (Black)
- Obsidian Pigment Ink
- Stampwheel
- Scripty Sentiments Die Set
- Sentiment stamp from the Bouquet of Poppies Stamp Set
- Instant Dimension Foam Tape
- Metallic Gold Gem Sparkles
*You can use a ready-made, store-bought mask or circle stencil, or easily create your own by die-cutting an 8.5 cm circle from a piece of card stock and using the negative space as your mask.

Step-by-step instructions to make the “Congrats” card:
- Trim and fold the white card stock to create an A2 card.
- Secure the card onto the sticky mat of the Stampwheel.
- Choose your preferred stamp from the Splash of Color Stamp Set to stamp a small background using Obsidian Black ink. You can stamp the sentiment at the same time. Please refer to photos for placement of elements. Remove card from Stampwheel.
- Die-cut the elements from the Quill and Inkwell Layering Die set and assemble them by following the keyhole system.
- Adhere the Quill and Inkwell to the card using Instant Dimension Foam Tape.
- Embellish the card with Gold Metallic Gemstones.

Step-by-step instructions to make the “Just a Note” card:
- Trim and fold the white card stock to create an A2 card.
- Secure the card onto a sticky mat.
- Position the stencil and circle mask, and apply Obsidian Black Ink with a mini blending tool to create the background.
- Remove the mask and stencil from the card, and the card from the sticky mat.
- Die-cut two feathers, one from Brushed Gold card stock and one from jet-black card stock. Layer the gold feather over the black one with a small offset to create a shadow effect.
- Die-cut the sentiment, also from Brushed Gold card stock, and the shadow layer from white card stock. Adhere the gold layer to the white layer using the adhesive of your choice.
- Adhere the feathers and the sentiment to the card base using Instant Dimension Foam tape.
- Embellish the card with Gold Metallic Gemstones.

The end result was exactly what I had envisioned—clean, sophisticated, and impactful. The contrast of black and white kept things sharp, while the gold gave it just the right amount of elegance. This project reminded me that sometimes, less really is more.

Do you enjoy working with metallics in your card designs?
I can envision the Quill and Inkwell Layering Die Set using Brushed Copper Metallic Cardstock and cardstock from the Coffee Break Cardstock Bundle, creating a beautiful vintage-inspired sepia look.
I also think it would look amazing using Brushed Silver Metallic Cardstock and cool blue tones from the Northern Shore Cardstock Bundle.
I would love to know if you have any creative ideas on how you would use the Quill & Inkwell Layering Die Set! Feel free to share in the comments below!
Happy crafting!
SUPPLY LIST