Festive Holiday Inspired Project with Scenes In A Sip
by Nathalie DeSousa July 27, 2026

Key Takeaways
Versatile Stamp & Die Set: The Scenes In A Sip set (featuring cute cup designs, foam art, sentiments, and a spoon die) offers a customizable, festive way to document holiday and coffee-themed family album stories.
Subtle Stamped Backgrounds: Creating a clean, repeating linear background using Stampwheel and soft dye inks (like Marble Dust and Silver Lining) builds texture without cluttering the main design.
Layered Focal Points for Visual Contrast: Highlighting key elements requires combining contrasting ink colors (Coral Bliss, Cherry Sweet, Choco Hazelnut), die-cut cups, and texture accents like translucent vellum branches (Festive Greenery die set) and metallic cardstock berries (Brushed Gold).
3D Depth with Foam Adhesive: Elevating die-cut elements—such as the cups, silver metallic spoons, and stamped sentiments (Obsidian Pigment Ink)—with foam adhesive adds dynamic layers and emphasis to the title page.
Hello crafty friends! It's Nathalie with you to share a new idea on how to create a festive holiday inspired project with Scenes In A Sip that brings texture, color, and the feel of the season. What is not to love about the cute cup design, the foam art details, the sweet sentiments, and that tiny spoon die cut! As a coffee lover especially of the flavored ones that match the season, this new set is just the perfect complement for my stories. Let me show you how I am using this new set to document an outing -that included coffee- in my family album.
Let's take a look at what I have created for today's inspiration post.

Using Scenes In a A Sip For The Background
First, I want to show you how you can get started with your festive holiday inspired project by using Scenes In A Sip to create the background for it. There is so much detail in scenes designs that they can easily help you create the base for your project.

To maximize the details in the foam scenes in the stamp set, I am using them to create the base for the title page in subtle colors and a linear design. This helps with keeping the background simple and uncluttered which serves to highlight the rest of the page.

Here is how I created the background of the title page of this project:
- Trim a 6"x7.5" piece of white cardstock for the base.
- Using Stampwheel and Marble Dust Fresh Dye Ink stamp the base images of the Scene In A Sip on the cardstock alternating the designs to create repetitive rows of them.
- Align the B design of each of the scenes on the stamp set and using Silver Lining Fresh Dye Ink add the image onto each of its respective base impressions.
- Adhere the stamped image to a patterned paper base that measures 7" x 8.5". Set aside to dry
Create Focal Points for Your Festive Holiday Inspired Project

The detailed cup design in the Scenes In A Sip set make bringing a festive holiday inspired project simple and versatile. Imagine how you can personalize the project with different color inks, and some extra added details.
Making A Focal Point of the Holiday Inspired Project

To create the focal point in the festive holiday inspired project, it is necessary to work with contrast and texture. Here is how this was constructed.
- Use the cup design in Scenes In A Sip and using Coral Bliss Fresh Dye Ink and Cherry Sweet Fresh Dye Ink to stamp the imagetwice -one in each color-.
- Use the cup detail design in the stamps set and Cherry Sweet Fresh Dye Ink, and Rhodolite Fresh Dye Ink to add the detail impression to each cup.
- Use Earthy Rose Fresh Dye Ink to stamp the base scene inside each of the cup impressions
- Use Choco Hazelnut Fresh Dye Ink to stamp the detail scene inside each of the cup impressions.
- Using the coordinating die in the Scenes In A Sip cut the cup impressions from the cardstock. Set aside.
- Use Festive Greenery die set to cut the branches from translucent vellum, and the berries from Brushed Gold Metallic Cardstock.

Time to assemble the title page in the festive holiday inspired project and bring the spread all together.
- Start by adhering the vellum branches atop the center of the scene stamped background.
- Using foam adhesive secure the stamped die cut cups and set them on a soft angle on the vellum branches.
- Use the spoon design in Scenes in A Sip Die set to create two die cuts from Brushed Silver Metallic Cardstock.
- Use foam adhesive to secure the small spoon die cuts below the cup die cuts on the page.
- Use Obsidian Pigment Ink and stamped two sentiments from Scenes In A Sip; using the coordinating die separate them from the white cardstock.
- Adhere one of the sentiments as the title for the project by placing it with foam adhesive at the bottom right of the cups.
- Adhere the other sentiment next to the photos.

I love how this festive holiday inspired project using Scenes In A Sip comes together and how it can easily be customized to fit your color choices; I cannot wait to see how this inspires a project of your own
XO!
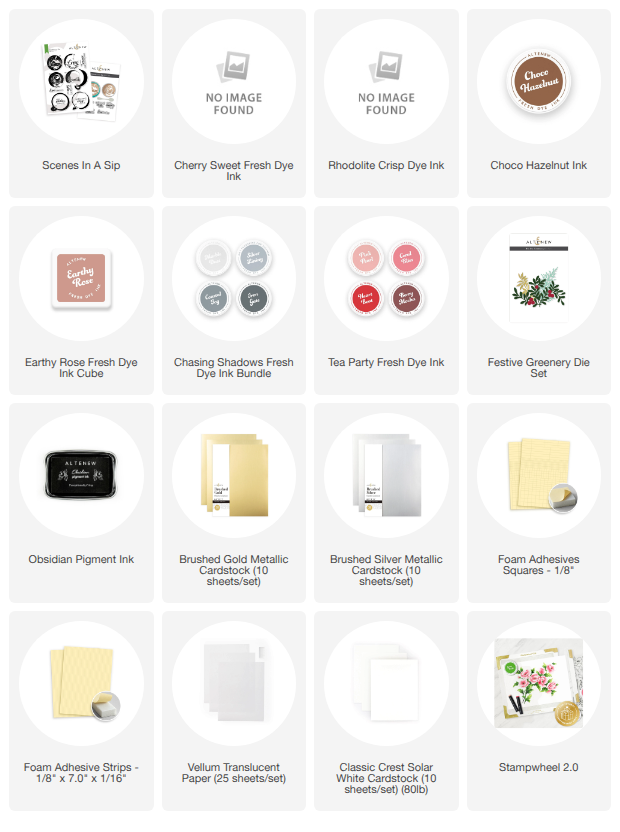
Supply List