Mixed Media Card Tutorial: Stencils, Watercolor & Wax Paper
by Nicki Baxley November 17, 2026

Key Takeaways
High-Contrast Color Palette: Pairing warm red-orange watercolor poppies with a cool ink-smooshed blue background creates an immediate, eye-catching focal point.
Budget-Friendly Texture: Everyday household wax paper can be pressed into wet mediums to create unique, organic impressions alongside traditional clear paste stenciling.
Beginner-Friendly Layers: Techniques like ink smooshing and loose watercoloring rely on organic color variation rather than precision, making them approachable for all skill levels.
Adaptable Design: While this project features poppy die cuts, you can easily substitute any floral die in your stash and experiment with complementary color combinations.
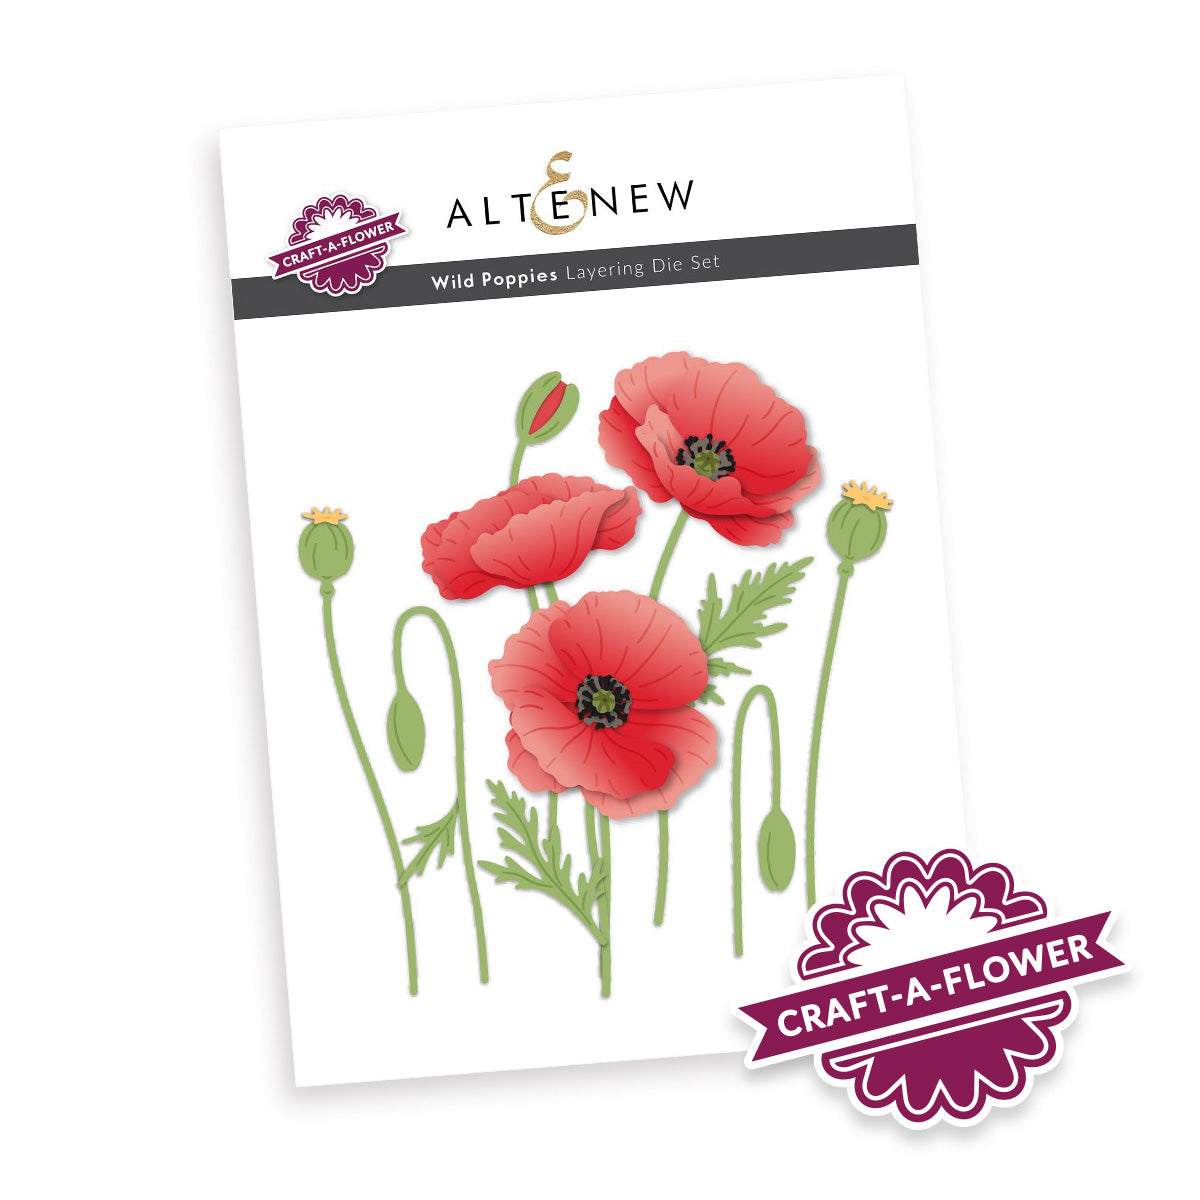
Hi, crafty friends! It’s Nicki from Nicki Hearts Cards, and today I’m sharing a mixed media poppy card filled with color and texture featuring the new Craft-A-Flower: Wild Poppies Layering Die Set. Bright red-orange flowers stand out against a blue background, while layers of ink and clear paste add interest behind the blooms.
We’ll explore stenciling, ink smooshing, watercolor, and an unexpected texture tool: wax paper! Each technique adds something different to the finished card. You can combine them as I did or choose a favorite to try on your next project.

How to Create a Blue Ink-Smooshed Background
Ink smooshing using Altenew Fresh Dye Inks is a fantastic mixed media technique that adds loose, organic color and natural variation to any card background. I love how this method effortlessly creates lighter and darker areas without needing a precise, rigid design. Those subtle shifts in tone give the background panel movement and naturally complement the softness of the watercolor flowers.
Using shades of blue from the Northern Shore Fresh Dye Ink bundle also provides a striking backdrop for the red-orange poppies in Tea Party Fresh Dye Ink. Because blue and orange sit opposite each other on the color wheel, the warm flowers immediately catch your eye, while the cooler background helps define their delicate shapes.
Tips for Ink Smooshing:
Build slowly: Start with a small amount of ink on your craft mat or packaging, spritz with water, and add more layers as needed.
Preserve white space: Leave some lighter areas visible on your cardstock to keep the background panel from looking too heavy or uniform.
Dry between layers: Heat-set or air-dry your panel between ink applications to prevent colors from turning muddy and to create crisp, layered watermarks.

Adding Dimension with Clear Paste and Wax Paper Texture
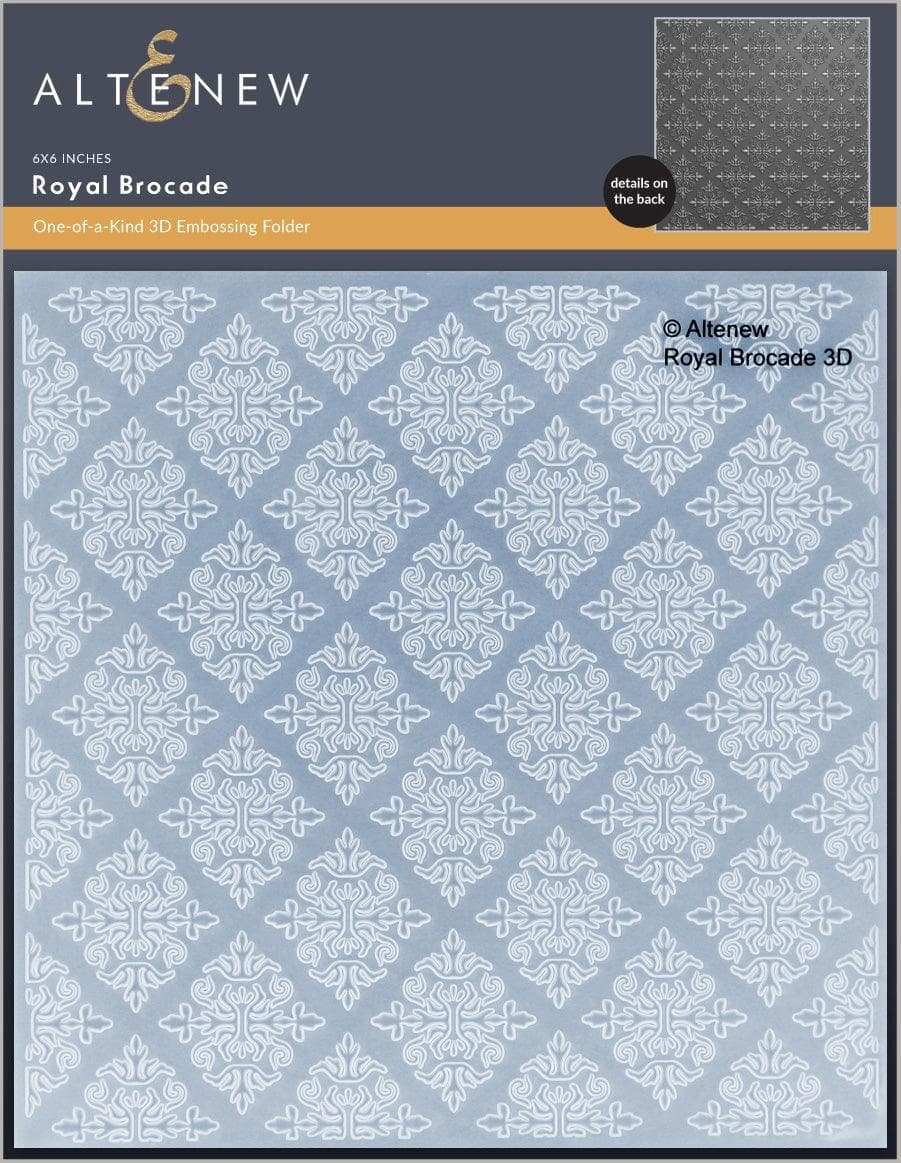
Color is only one part of building a dynamic mixed media background! Stenciling with the Crystal 3D Gel adds raised dimension while allowing the vibrant blue ink underneath to shine through as part of the design.
To take things a step further, wax paper impressions introduce a completely different, tactile texture to the card panel. It’s a fun, budget-friendly way to explore the creative possibilities of an everyday kitchen material alongside your favorite cardmaking supplies. In the video tutorial below, I show exactly where the textured wax paper came from and how I pressed it into the medium to create this pattern.
These layered textures give the background plenty of visual interest without competing with or taking attention away from the focal blooms.
Pro tip: Always allow your clear paste to dry fully before handling the panel or adhering your finished die-cut elements so you don't accidentally flatten your crisp stencil details.
Did You Know?
Wax paper is coated on both sides with a thin layer of paraffin or soybean-based wax, making it moisture-resistant and non-stick. In mixed media art and cardmaking, crafters use it not only as a disposable palette or heat-resistant surface for ironing, but also as a "resist" tool and texturizing stamp. Because wet pastes and inks won't permanently bond to the waxy surface, you can press crumpled or patterned wax paper into wet mediums and peel it cleanly away to leave behind intricate, one-of-a-kind impressions!
Coloring the Poppies with Loose Watercolor
A touch of watercolor instantly brings floral die cuts to life. Using rich red-orange shades creates a bold focal point, while natural variations in pigment concentration give the petals a softer, hand-painted look.
You don’t need every flower or petal to look identical—in fact, imperfections make them look more realistic. Blending lighter and darker areas on each petal adds depth and pairs beautifully with the loose, spontaneous feel of the ink-smooshed background.
This watercoloring approach is also an easy idea to adapt to other floral dies in your craft room. Try pulling out a favorite flower die from your collection and experimenting with a high-contrast color combination—like sunny yellow blooms against a deep purple background, or soft pink petals over teal.

Assembling Your Mixed Media Poppy Card Layers
Once all of your inked, stenciled, and watercolored elements are completely dry, it’s time to arrange the flowers on your card front. Before committing with liquid glue or foam adhesive, move the poppies around on the panel to find a balanced placement that shows off both the blooms and the textured background.
Leaving some of that clear paste and wax paper texture visible around the edges of the flowers helps tie the entire design together. Every layer contributes something essential to the finished mixed media card: the ink smooshing adds fluid color, the paste and wax paper impressions add tactile texture, and the watercolor poppies provide a bold focal point.
Watch the Mixed Media Card Video Tutorial
Ready to see these techniques in action? Watch the video tutorial below to follow along step-by-step as I demonstrate the wax paper texture trick, clear paste stenciling, ink smooshing, loose watercoloring, and final card assembly.
Which of these mixed media techniques would you like to try on your next handmade card? Let me know in the comments below—I’d love to hear what you’re creating!
Thanks so much for stopping by and crafting with me today. Hope to see you over on YouTube for the full tutorial. Have a wonderful day!
Happy Crafting,
Nicki

Save 45% off Ultimate Acrylic Marker Duo from November 16, 2026 at 12:01 AM EST until November 17, 2026 at 11:59 PM EST. Shop here: https://altenew.com/products/ultimate-acrylic-marker-duo
Supply List
|