Elevate Your Art: Adding Details with Acrylic Markers
Hello, everyone! Aga here. Today, I’m excited to share a floral card I created by mixing two different media: ink and acrylic markers.
Altenew now offers two different Acrylic Marker sets, so you can unleash your creativity with their opaque and dazzling colors, from delicate pastels and rich, deep hues to bold, earthy tones. What I love most about them? You can use them on tons of different surfaces! They're highly opaque (perfect for covering dark cardstocks), they dry fast, and you can easily layer colors without any smudging.
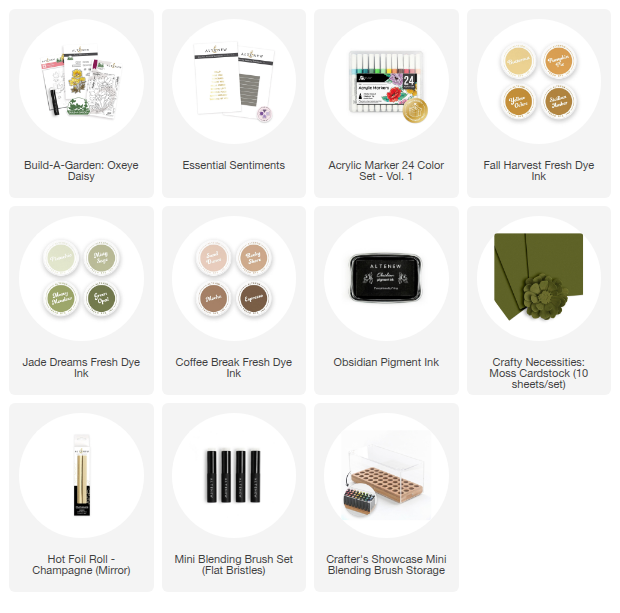
For today's project, I used a few acrylic markers from the Acrylic Marker 24 Color Set – Vol. 1 to add details to the stencilled images from the Build-A-Garden: Oxeye Daisy set.

How to Elevate Your Art by Adding Details with Acrylic Markers
I started by stamping my images with Obsidian Pigment Ink onto white cardstock, then used the coordinating layering stencil set to add color. I chose yellows from the Fall Harvest Fresh Dye Ink bundle, greens from the Jade Dreams Fresh Dye Ink bundle, and brown shades from the Coffee Break Fresh Dye Ink bundle.

My next step was to add more color and detail using the acrylic markers. I love adding touches of white to brighten certain areas and using pink shades to bring in a soft pop of color.

I colored two of these flowers and cut them out with the coordinating die set. Next, I added a panel of Crafty Necessities: Moss Cardstock to my card base, arranged the flowers, and trimmed everything to the desired size.

My final step was to add a simple sentiment from the Essential Sentiments bundle, paired with Hot Foil Roll – Champagne (Mirror) for a touch of shine.

I hope this project has inspired you to experiment with acrylic markers and stamped or stencilled images! Don’t be afraid to mix and match colors and mediums to create your own unique designs. I can’t wait to see what you come up with!
Thank you so much for stopping by today!
~ Supply List ~