Easy Eclipse Technique | Add Interest to Clean & Simple Projects (With Video Tutorial)
Hello there, Michelle here with another edition of Terrific Tags with Michelle. Today I have a tag to share using the eclipse technique. It is one of my favorite techniques for adding interest to clean and simple projects.

Ink Blending
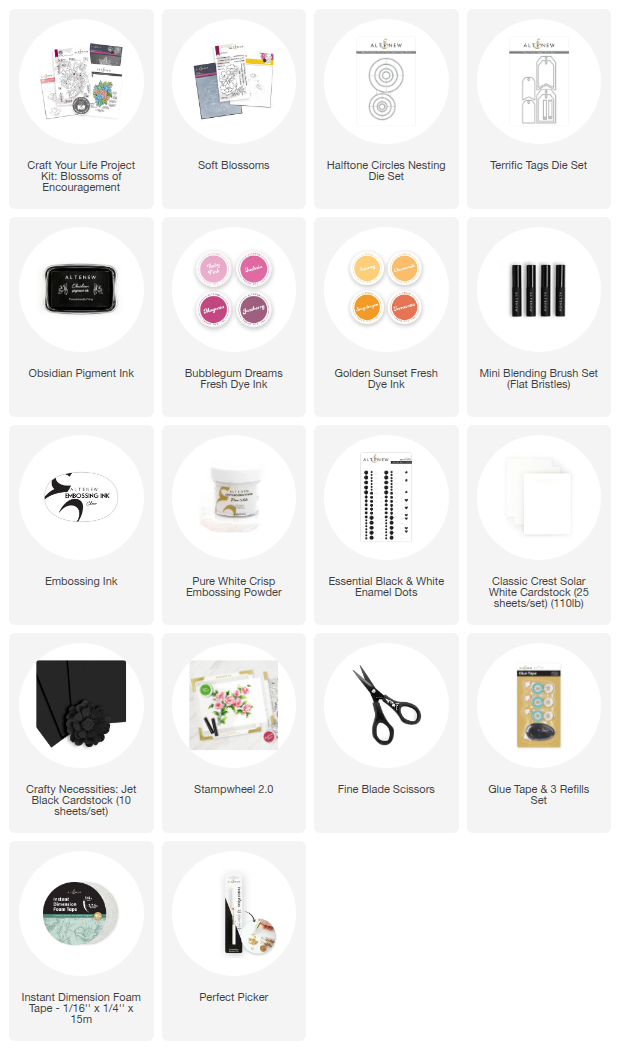
I started off my tag by die cutting one of the largest Terrific Tags Dies from Classic Crest Solar White Cardstock.
I then added ink blending on top using Mini Blending Brushes. I first blended Fuchsia Fresh Ink on the right-hand side of the tag, in somewhat of a semi-circle shape. I then went in with Sunray Fresh Dye Ink, blending the two together to create a slight orange hue.
I went back and forth with the inks to get a soft blend and then added a little Magenta Fresh Dye Ink to the right-hand side to darken it up slightly.

Stamping
I placed the tag into the Stampwheel 2.0 and positioned the beautiful floral image from the Craft Your Life Project Kit: Blossoms of Encouragement Stamp Set onto the right-hand side of the tag. I picked the stamp up with the top flip plate, inked it up with Obsidian Pigment Ink and stamped it down.
I then set the tag aside to dry for a little while I stamped the sentiment. I stamped ‘happy birthday' from Soft Blossoms Stamp Set onto Craft Necessities: Jet Black Cardstock with Embossing Ink.
I applied Pure White Crisp Embossing Powder and heat set until melted. It was then cut into a strip.

Eclipse Technique
Once the ink was dry, I took three of the smaller dies from the Halftone Circles Nesting Die Set and placed them on top of the tag, holding down with low-tack tape. I ran the tag through my die cutting machine and popped the circles out from the tag.
I then cut the circles another five times, each from Classic Crest Solar White Cardstock.
I die cut another tag and adhered it behind the stamped one to create a base layer for the circles to adhere to.

I adhered the white cardstock circles first, one on top of another, and then adhered the inked/stamped ones on top to complete the eclipse look.
I used white cardstock for my layers underneath the stamped ones, but you can use any color of cardstock here, the idea is that you see some of it peeking through the sides (like you would in a solar eclipse) so definitely experiment with different looks and also different dies for the shapes too!
I adhered the sentiment to the tag using Instant Dimension Foam Tape and then threaded twine through the top of the tag and tied in a bow at the front. To finish, embellished with Essential Black & White Enamel Dots (just the black ones).
Video Tutorial: How to Add Interest with the Eclipse Technique
I hope I have inspired you to try the eclipse technique if you haven't already. I feel like it adds just the right amount of interest to clean and simple projects. You can see another example of how I used it for a sentiment HERE.
You can watch the full process video below or on YouTube.

Thank you so much for stopping by today, I really do appreciate it. I hope you have a wonderful day!
Supplies: