Elegant Vintage Roses Background | Craft to the Future!
Welcome to Craft to the Future! In this new blog series, we bridge the past with the future, igniting creativity and innovation along the way! As we celebrate Altenew's remarkable 10th anniversary, we are thrilled to introduce this series of blog posts that promise to breathe new life into your beloved crafting supplies (like the popular Vintage Roses Set!) and share inspiration with our newer products!

Hello crafty friends! Svitlana is here today. Since it’s anniversary month, we are sharing projects featuring both new and old Altenew products. It took me absolutely no time to decide which old product I would be using. Vintage Roses Stamp Set was the immediate answer.
How I fell in love with Altenew
My deep love for Altenew started with this set. I remember hunting it down as it was so popular that was always sold out in all stores (and shortly after that, I went for another hunt to get coordinating dies, which were released later). To this day, I’m absolutely in love with all the images from the set, which features several very realistic roses and a bunch of leaves.
Today, there are a lot of realistic layering sets on the market from many different companies, but at the time Altenew was one of the pioneers of such products.
How about you? How did you fall in love with Altenew and what was your first Altenew product? Comment below!

How to Create an Elegant Vintage Roses Background on a Card
I was immersed in crafting nostalgia as was stamping the one-layer rose pattern background for my card. It was a bit tedious, but definitely a fun crafting session.
All the images of the Vintage Roses Stamp Set are designed in such a way that it's very easy to align them. But they're very forgiving if not aligned perfectly.
I was using paper masks to protect overlapping elements from being stamped upon. To avoid excessive masking, I strategically only overlapped flowers over leaves, this way I only needed to mask off flowers.

Masking and Layering with Vintage Roses
TIP #1: When you plan a one-layer design that involves masking, remember to first stamp elements that you want to have on top (or “closer” to you), mask them off, and then stamp elements that need to be located beneath.
TIP #2: Another trick I use when working with one-layer designs – I only stamp the first layer, mask it off, stamp the next layer elements, remove the mask, and stamp the rest of the layers of the masked-off element at the end. This way, if I screw up and need to start over I’m not devastated much about investing lots of time into stamping all those layers.
Below is the process picture I took for the visual demonstration. Notice the images in the bottom part of the panel only have one layer stamped. Also, notice my very well-loved stamp set – no stones are left unturned, and no stamps are left non-stained.
Do you remember back in the day – the layering guide we needed to download and print out ourselves? Ah… those were the days…
Even though pulling up the Vintage Roses stamp set from the shelf and finding out this printed layering guide brought up all the feelings of nostalgia, it really made me appreciate the quality and thoughtfulness the product packaging evolved to.

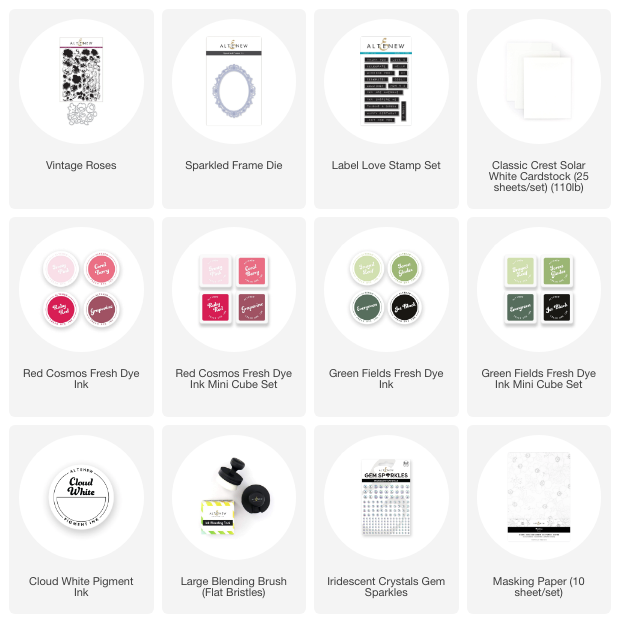
I used the Red Cosmos Fresh Dye Inks to stamp the roses, using the Green Fields Fresh Dye Inks for the leaves.
After stamping the vintage roses background, I added ink blending using the Cloud White Pigment Ink along the edges. It added some coziness to the design and made the center pop.

Next, I used the very new product, released this month – Sparkled Frame Die. I die-cut it 3 times out of white cardstock and stacked them to add thickness to the frame.
The frame was adhered onto the vintage roses background, which in turn was foam mounted onto a white card base.
Creating the sentiment with another well-loved sentiment stamp set
To make the sentiment label, I used another oldie but goodie, one of the first stamp sets released by Altenew – Label Love. This stamp set will come in handy if you want to create a label sentiment that matches perfectly stamping on your card. I used the Forest Glades Fresh Dye Ink to stamp the sentiment, matching it seamlessly with the colors used for the stamped leaves.

After popping up the sentiment label, I added the Iridescent Gem Sparkles into the corresponding debossed circle areas of the frame, which finished off the card.
Do you have the Vintage Roses Set in your crafting stash? When was the last time you used it? I'd love to hear from you so comment below!
~SUPPLY LIST~