Just Because Card Idea with Fun Surprise See-Through Element!
Hello, Altenew friends! Hannelie here, with “Just Because” card idea featuring stripes and flowers. I used a beautiful floral stamp from the Rustic Charm Project Kit, and created the striped background with cardstock strips cut from three colors of the new Crafty Necessities Cardstock Bundle. This just because card idea also features a fun and unexpected see through element!

Just Because Card Idea with Fun Surprise See-Through Element!
I love the combination of flowers and stripes, and after a bit of research about why they make such an eye-catching combination, I learned that it is because they balance each other out beautifully. The softness and organic nature of floral patterns bring a sense of warmth and natural beauty, while stripes add structure and a touch of modernity. Together, they create a dynamic contrast that's visually interesting. Stripes also ground the free-flowing shapes of flowers, making the overall design feel cohesive and harmonious!
Repetition of colors from the flowers, in the background design, also enhance the feeling of harmony, and this is why the new Crafty Necessities Cardstock Bundle make it so easy to achieve that cohesive look.
Let's get started with this see-through just because card!
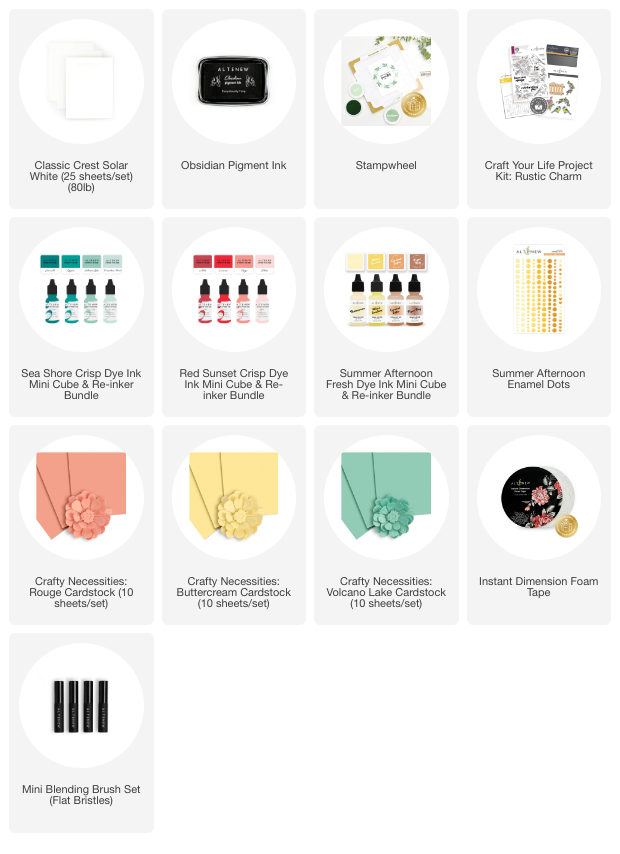
Supplies needed:
- White cardstock
- Volcano Lake, Rouge and Buttercream card stock.
- Volcano Lake, Rouge and Buttercream Crisp Dye Ink or Fresh Dye Ink cubes.
- Circle die.
- Die cutting machine.
- Obsidian black ink.
- Stampwheel.
- Instant Dimension Foam Tape.
- Rustic charm Project Kit.
- Blending tools.
- Summer Afternoon Enamel Dots.
- Adhesive of your choice.
Step-by-step instructions:
- Start off by cutting and folding the card base and an additional piece of cardstock – just a little bit smaller than the card base.
- Use a circle die to cut an aperture in both the card base and the upper panel, ensuring that the two circles align perfectly. **TIP** Die cut the circle of the upper panel first, position the upper panel on the card base and use a pencil to trace the position of the circle onto the card base.

- Cut the cardstock strips and adhere them to the upper panel. **TIP** By using a liquid glue, you can adjust the strips to ensure they are perfectly straight before the glue dries completely.

- Use the Stampwheel to stamp the image with Obsidian Black ink.

- Use the coordinating coloring stencils and blending brushes to color the image.
- Use the coordinating die to cut out the image.

- Stamp the sentiment onto one of the card stock strips using the Stampwheel and Obsidian Black Ink.
- Adhere the upper panel to the card base using Instant Dimension Foam Tape.

- Adhere the floral image to the upper panel, I also used Instant Dimension Foam Tape for extra dimension.
- Embellish the card with enamel dots.

I think the aperture behind the strips of cardstock add a bit of interest, but of course this is a step you can leave out if you wish!

An alternative to achieve a similar look is to use the Watercolor Stripes Stencil or the Classy Stripes Stencil to create a stenciled background, also repeating the colors of the florals in the stenciled stripes version. I hope you feel inspired to explore different background ideas to make your floral focal point shine!
Let me know what you think about my just because card in the comment section below. I would love to hear from you!
Wishing you a wonderful creative day. Thanks for stopping by!
SUPPLY LIST