Ditsy Flowers Wallpaper – 3 unique card ideas from just one beautiful background!
Hello Altenew friends! Hannelie here today with 3 unique card ideas using the amazing new Stencil Art – Ditsy Flowers Wallpaper stencil set!

The seven different stencils in the Ditsy Flowers Wallpaper stencil set come together to create a beautifully layered design, filled with delicate blooms and lush, leafy details. Each layer adds depth and charm, resulting in a rich floral arrangement. By changing up the color palette you will be able to create either something elegant and sophisticated, soft and romantic or whimsical and playful !

Before we dive into the “recipe” for today’s cards, I have a little confession. After finishing the stenciled background, I paused—just sat back and admired the layers of delicate detail. For a moment, I thought, There’s no way I’m cutting this up. It was just too beautiful, and part of me wanted to showcase the entire panel on one card.
But the clean and simple card maker in me took a deep breath… and I reached for my craft knife. With a little hesitation—and a quiet challenge to myself—I carefully cut the panel into three sections, determined to create something beautiful from each piece.
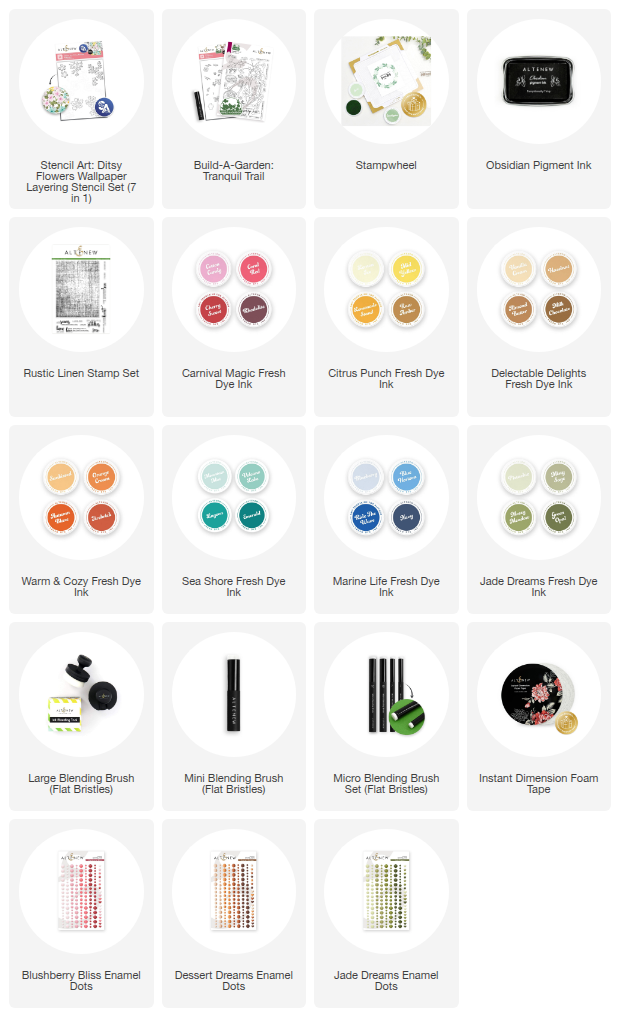
To make today's cards you will need :
- White card stock.
- Stampwheel.
- Black Obsidian ink.
- Craft knife and steel ruler / Paper trimmer.
- Ditsy Flowers Wallpaper stencil set.
- Rustic Linen Stamp Set.
- Build a Garden : Tranquil Trail stamp and die bundle (sentiments).
- Fresh Dye inks : Cotton Candy, Mid Yellow, Vanilla Cream,Almond Butter, Sunkissed, Orange Cream, Mountain Mist, Lagoon, Ride the Wave, Misty Sage, Mossy Meadow, Green Opal.
- Blending brushes : Large, Mini and Micro .
- Instant Dimension Foam Tape.
- Enamel Dots : Blushberry Bliss, Dessert Dreams, Jade Dreams.
Let's start by stenciling the background :
- Trim a piece of white cardstock to measure 4.25″ x 5.5″.
- Secure the cardstock to the sticky mat of the Stampwheel.
- Start with stencil #1, using the appropriate blending brush and your chosen ink color. For the larger areas—such as the leaves and bigger flowers—I used a large blending brush for smooth, even coverage, mini blending brushes for smaller images and micro blending brushes for tiny detail like flower centers. Continue working through the remaining stencils in order, and finish with stencil #7 to complete the full layered design.
- Remove the stenciled card panel from the Stampwheel.
- Use a craft knife or paper trimmer to divide the stenciled panel into three sections. I began by cutting a diagonal strip across the A2 panel, which left me with one angled centerpiece and two triangular side pieces.
Step by step instructions to make the “Have a beautiful day” card :

- Trim and fold a piece of white card stock to create an A2 size card (4.25″ x 5.5″).
- Secure the card base to the sticky mat of the Stampwheel.
- Use a piece of scrap paper to mask off a diagonal area to expose the bottom part of the card base, about two thirds of the card.
- Use a large blending brush and apply a light layer of Mossy Meadow ink to the exposed area.
- Apply Mossy Meadow ink to the Rustic linen stamp and use it to stamp the background.
- Remove the mask.
- Use the coordinating die for your sentiment to cut a matching shape from the top edge of one of the triangular side panels you created earlier. This creates space for the descenders of the sentiment letters, allowing them to sit neatly without disrupting the flow of the design. Use this die-cut piece to help position the sentiment accurately on the card base before stamping.
- Stamp the sentiment in the determined position on the card base using Obsidian black ink.
- Use Instant Dimension Foam Tape to adhere the triangular panel to the card base, aligning the sentiment with the die cut spaces created for the descenders.
- Trim any overhanging pieces on the sides.
- Embellish the card with enamel dots. I used Jade dreams enamel dots.
Take a closer look at the sentiment detail:

Step by step instructions to create the “Just Breathe” card:

- Trim and fold a piece of white card stock to create an A2 size card (4.25″ x 5.5″).
- Secure the card base to the sticky mat of the Stampwheel.
- Use a piece of scrap paper to mask off a diagonal area to expose the lower right-hand side of the card base.
- Use a large blending brush and apply a light layer of Cotton Candy ink to the exposed area.
- Apply Cotton Candy ink to the Rustic linen stamp and use it to stamp the background.
- Remove the mask and the card base from the stampwheel.
- Adhere the second triangular panel you created earlier to the bottom left corner of the card base, aligning it neatly for a balanced finish.
- Stamp the sentiment with Obsidian black ink and use the coordinating die to cut it out.
- Use Instant Dimension Foam Tape to adhere the sentiment to the card base.
- Embellish the card with enamel Dots. I used Blushberry Bliss enamel dots.
Take a closer look at the design detail :

Step by step instructions to create the “Hello” card:

- Trim and fold a piece of white card stock to create an A2 size card (4.25″ x 5.5″).
- Secure the card base to the sticky mat of the Stampwheel.
- Use pieces of scrap paper to mask off the card front, leaving a diagonal section across the card base exposed. This open area should be slightly wider than the angled centerpiece you’ll use as the focal point, creating a subtle frame for the design.
- Use a large blending brush and apply a light layer of Sunkissed ink to the exposed area.
- Apply Sunkissed ink to the Rustic linen stamp and use it to stamp the background.
- Remove the masks.
- Determine the position of the sentiment (the enjoy your day part) and use Obsidian black ink to stamp it.
- Remove the card base from the stampwheel.
- Use Instant Dimension Foam tape to adhere the last piece of your stenciled background to the card base.
- Trim any overhanging pieces on the sides.
- Stamp the “hello” sentiment and use a circle die to cut it out.
- Adhere the sentiment to the card again using Instant Dimension Foam Tape
- Embellish the card with enamel dots. I used Dessert Dream enamel dots.
Take a closer look at the design detail :

And there you have it—three clean and simple cards, each showcasing the beauty of the Ditsy Flowers Wallpaper Layering Stencil set in its own unique way. This project reminded me that even the most detailed patterns can shine in minimal settings, especially when given room to breathe.

Have you ever challenged yourself to cut into a background you loved? I’d love to hear how you’ve turned intricate designs into something simple yet striking—feel free to share your thoughts or tips in the comments below!
Happy crafting!
SUPPLY LIST: