Crafting Luxurious Die-Cuts: The Coral Peony & Bumblebee Card | Perfect Pairings with Jaycee
by Jaycee Gaspar November 9, 2025
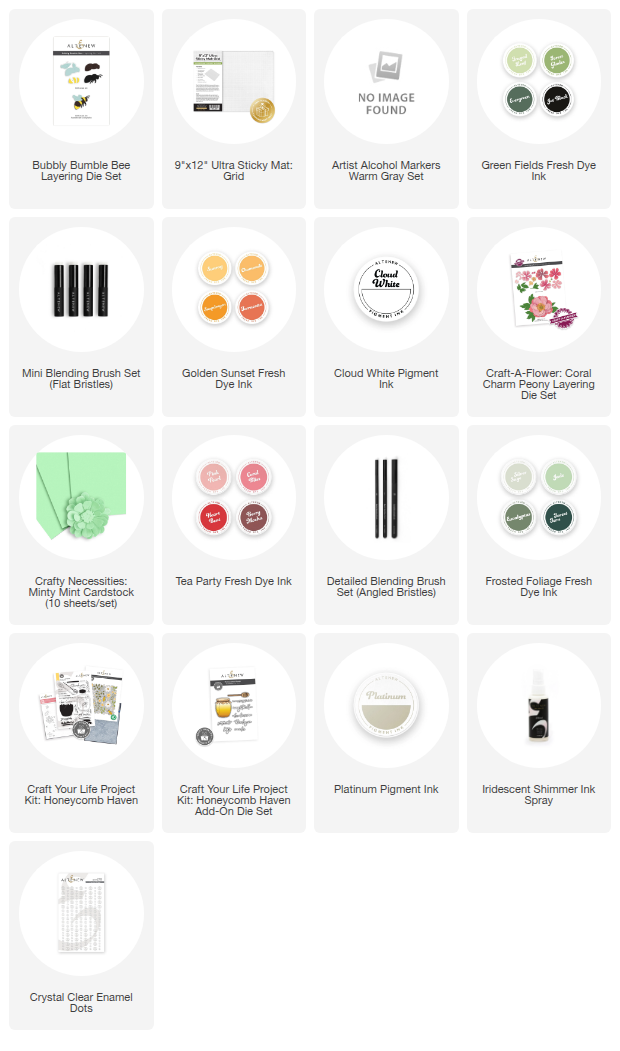
Ready to create a card that feels truly luxurious? We’re pairing the Craft-A-Flower Coral Charm Peony with the Bubbly Bumble Bee die sets, using advanced ink blending on die-cuts for a realistic, shimmering result.

We're diving into the details in this blog, but feel free to take a look at the video over on Altenew's YouTube channel too!
Bubbly Bumblebee: Fuzzy Texture on Die-Cuts

- Achieving a realistic, fuzzy look on the bee die-cuts is all about stippling, not blending the ink.
Die Cutting: Use the layering dies with Vellum for the wings, Jet Black, Dark Chocolate, and Buttercup cardstocks.
-
Coloring:
Wings: Add a light wash of Warm Gray Artist Markers to the vellum for a subtle gray cast.
Body: Stipple Jet Black ink onto the dark segments. Stipple Chamomile and Snapdragon onto the yellow segments to create a natural gradient and depth.
Final Touch: Stipple Cloud White Pigment Ink around the edges to act as a bright highlight and enhance the fuzzy texture.
Assembly: Glue all layers together, using Glossy Accents for the vellum wings.
Coral Charm Peony: Realistic Depth & Shimmer
The peony’s realism comes from layered ink blending and a final touch of metallic shimmer.
Die Cutting: Cut all petal layers from white cardstock (two sets were used for this project). Cut foliage from Minty Mint cardstock.
-
Petal Blending: Use the Tea Party Fresh Dye Ink family (lightest to darkest: Pink Pearl, Coral Bliss, Heartbeat, Berry Mocha).
Gradient: Blend the colors, concentrating the dark shades in the flower center and preserving a white highlight at the petal tips.
Detail: Use a #5 Detail Blending Brush and Heartbeat/Coral Bliss inks to paint subtle veining and ruffles on the petals for added texture and movement.
-
Foliage & Centers:
Ink the yellow stamens with Sunray, Snapdragon, and Terracotta (Golden Sunset family).
Shade the Minty Mint foliage with Eucalyptus and Forest Fern (Frosted Foliage set), and stipple a touch of Heartbeat on the tips to mimic natural coloring.
The Luxury Shimmer: The secret to the realistic "velvet" petal look is applying Platinum Pigment Ink very sparingly to the petal tips and gently diffusing it with your thumb. This adds a beautiful, subtle metallic sheen when the light catches it.
Assembly: Assemble the full layered peony, then set it aside to dry.

Final Card Composition
Sentiment: Use a stacked, offset die-cut sentiment (like the "You Are So Sweet" used here) and mount it on double-thick foam tape for height.
Arrangement: Foam-mount the two assembled peonies and tuck the inked foliage around them for a lush, full arrangement. Place the bee near the sentiment.
Splatter: Finish with an all-over splatter of Iridescent Shimmer Ink Spray and adhere Crystal Clear Enamel Dots to the petals and background for extra dimension and shine.

Need a bit of extra inspo for your next cardmaking project? Get these FREE & Printable Card Layouts to help you conceptualize and construct your next creation. Use it as a template or simply as inspiration to get those creative juices flowing. Download them HERE!