Stencil Art: Flourishing Vines in focus

No Need for Green Thumbs with Stencil Art Flourishing Vines
Hi Altenew friends and fans! I hope you are all enjoying the cooler weather and have all your warm knits and cozy things out.
With summer long gone and the chill setting in, I always feel myself longing for spring and greens. There is something about plants and living things that bring a wonderful energy to a home, but not all of us are blessed with green thumbs. Until very recently I had a terrible reputation for being a vicious plant killer. The only thing that thrived were cacti, and that's mostly because I forgot about them... A friend of mine decided that I was not a lost cause, things could be turned around. I was very skeptical, but figured I'd start small. So, we did, and while it's taken some getting used to, lots of reading, googling and trial and error, I think I can actually say with some confidence that my plant killing days are almost over. Let's ignore the part where I realized, just today, that I have actually killed another cactus from too much love and attention... You win some, you lose some.
You might be wondering why I am prattling on about plants and plant care on a crafting blog, and there is a reason, I promise! In the November release, there is a new layering stencil set called Stencil Art: Flourishing Vines and it's perfect for anyone who is feeling a bit wary of embracing the Crazy Plant Lady vibe. You can easily create lush plants without needing to worry about things like 'the death gap' (a real thing!) soil pH, watering do's and don'ts etc.
I'm so excited about this stencil set, as it features big leaves like Monsteras. One of my fave plants! I have several and have even successfully propagated some from my Mama Monstera called Mona. Yes, Mona Monstera. I had to.

Let's Get Stenciling!
As with all the Stencil Art sets, this has six different layers. You do not have to use every single stencil; you can skip one or two for different looks. Go wild with the ink choices, use some Shimmer Relief Paste with one stencil layer. Go ham, is what I'm saying. Honestly, stencils are one of the BEST tools in your crafting arsenal. They are affordable, take up very little space, they are versatile and did I mention FUN?
I'm only going to do two cards for today's post, but please know that I practically had to put these stencils away to stop myself from creating a jungle!
First off we are going to go green and lush, because why not?
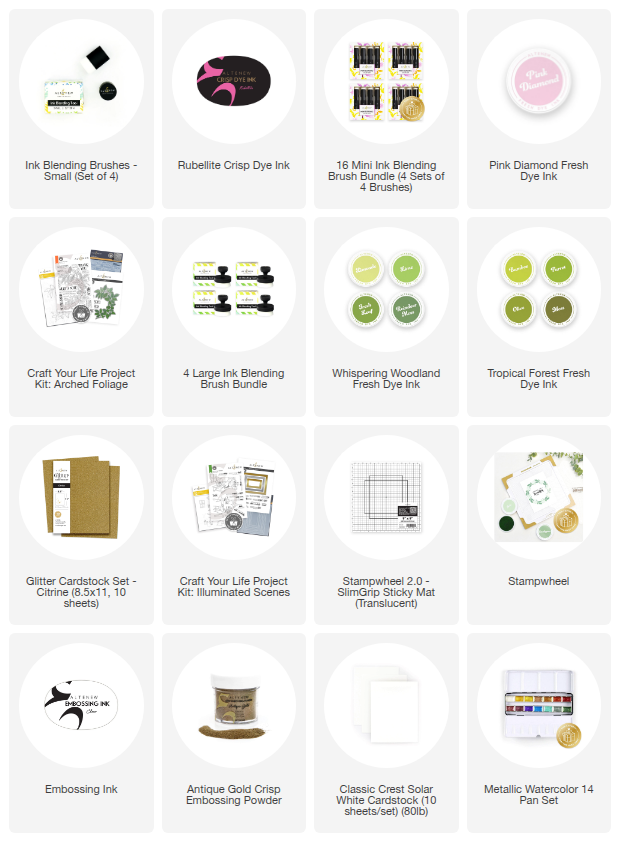
Even though there are new Fresh Dye Ink bundles available now, I went with one of my favorite green families: Whispering Woodlands Fresh Dye Ink Bundle. It's the perfect shades of green for greenery. There is also a little bit of Parrot and Moss from the Tropical Forest Fresh Dye Ink Bundle.
For the second card I thought we'd go a little more colourful and add in some pinks. With the pinks I added those first to avoid mudding the greens. It's easy enough to do with the stencils and you can always go back in once you have done all the layers, if you feel it needs more in certain places. That's another upside of stencils, if you ask me.
With two panels done, and several more planned out in my head, because these stencils inspire! It was time to think about how to finish these off and I wanted to keep them relatively simple, and let the stencilled background be the star of the show. Sometimes less is more, right?
Stenciled Backgrounds Two Ways

If you get a chance to watch the YouTube video, you will only see the green background being stenciled. The video is mostly real-time ink blending so I thought I'd save you some time and stenciled the pink and green panel off camera. I'm wishing I had filmed it thought, as it turned out so cool!

You will also hear me musing about how to bling these up, and how I settled on which background I would splatter some gold watercolor on. I used the highly complex technique of 'eenie, meenie, miney, moo'.

There are several gorgeous colours to choose from in the Metallic Watercolor 14 pan set, but I settled on Enchanted Gold. I love splattering metallic watercolours on backgrounds, it's such a simple way to elevate a look. I left the green and pink background as it was, no matter how tempting it was to splatter some pink metallic watercolour on it.
Finishing Touches for the Stenciled Backgrounds

I love heat embossing sentiments, and also images, and then die cutting them out. It looks so fabulous and adds an elegant touch. Stacking your die cut sentiments is another great way to elevate (like literally) your designs. I went to a Craft Your Life Project Kits, this one from April 2025, called Arched Foliage, for the sentiments. The font in this set is gorgeous.

I wanted to go for a bit of a window look for these cards. Like you are looking in through a window, seeing the fabulous plants on the windowsills. I went to another Craft Your Life Project Kits, this one from October 2025, called Illuminated Scenes. In the coordinating die cut set there is a rectangular die cut that cuts out no less than SIX pieces. Please note that only four are shown in the photo.

I don't know if the window look worked out, apart from the green stencil background, as it had a big frame around it.
Close ups

In the video I said I will use the 'hugs' sentiment on this card, but I ended up adding the 'just a note' sentiment during the actual glueing down process. I also placed the sentiment slightly over the frame in the bottom left corner, which I thought looked pretty.

In the video you will see how I have a little bit of a brain fritz and snip-snip session with some scissors on the frames I picked out for this Stencil Art Flourishing Vines card. I think the skinny frame on this card was the right choice, leaving much of the pink and green stenciled background visible. I'm so sorry I didn't film the process for this ink blending, because it turned out rather fabulous, if I may say so myself.
Finished cards

I hope you have enjoyed this post and that you get a chance to watch the YouTube video, for real time ink blending using these fabulous stencils. Please do let me know which one of these you like the most!
Until next time, big crafty hugs from your Crazy Plant and Crafting Lady, also known as Erica.
Before you go creating your own crafty jungle, we have a fantastic offer just for you!

Get FREE "The Glue" (worth $8.99!) on all orders over $79.
When: Starting today, November 11, 2025 at 12:01 AM EST, through November 12, 2025 at 11:59 PM EST.
What better way to hold your new stenciled masterpieces together? 😉
Shop HERE to claim your free glue!
Leave a Reply