Revisiting the Shabby Chic Style with a Modern Twist
Hello friends!
Svitlana here, sharing an unusual card for me today — one that features a shabby chic style. It’s been a long time since I made anything in this soft and romantic direction, but I thought it would be fun to revisit it with a bit of a modern twist.

A Touch of Shabby Chic
When I first started cardmaking many years ago, there was one style that I absolutely adored — shabby chic. I admired every project I saw in this soft, romantic style and dreamed of becoming a shabby chic queen someday. But that never really happened. I usually gravitate toward bolder designs, and over time my style evolved into something more clean and simple, with stamping and crisp color combinations taking center stage.

Lately, though, I’ve noticed a bit of a comeback of older trends — things like embossing folders, dimensional cards, enamel dots, pearls, gems, etc. These elements were huge years ago, went out of fashion for a while, and now they’re returning in a modern way. That inspired me to revisit the shabby chic look that once fascinated me and blend it with my current, cleaner aesthetic.
Building the Shabby Chic Focal Point
For the focal point of my shabby chic card, I used the Build-A-Garden: Climbing Clematis Bundle. I went with purple flowers and brown leaves, using the Moonlit Twilight and Earth Tones Fresh Dye Ink Bundles for my coloring.
After stenciling the design onto white cardstock, I added a white heat-embossed outline around it. This step softened the overall look and gave it that dreamy, weathered feeling that’s so characteristic of shabby chic.

Since the floral design was quite long and didn’t fit my layout, I trimmed one of the flowers and repositioned it elsewhere in the cluster. This is a simple but effective trick if you ever want to tweak the shape or balance of a floral arrangement without needing a completely different stamp or die.
Creating the Background
For the background, I ink-blended a white panel using the two lightest shades from the Sage Garden Fresh Dye Ink Bundle — Silver Sprout and Sagestone.
Then I embossed the panel with the Crisscross Blooms 3D Embossing Folder. To bring out the texture, I lightly swiped Cloud White Pigment Ink over the raised areas, giving the background a slightly distressed, shabby chic feel.

Next, I distressed the edges with a paper distresser and added Pure White Ink Spray splatters for extra softness and texture.
And because no shabby chic design is complete without lace, I finally pulled out the lace trim from my massive lace stash, which I bought nearly a decade ago when I still dreamed of becoming that shabby chic queen! I layered two strips of lace across the top third of my panel before adhering the floral element.
Finishing Touches
Coordinating Sentiment Strips
I mounted the panel onto a white card base and added a sentiment from the same Climbing Clematis set. The sentiment was white-embossed on cardstock that I tinted with Sagestone Fresh Dye Ink — one of my favorite tricks for creating custom-colored sentiment strips that perfectly match the rest of the card.

Wax Seals and Shabby Chic Accents
For embellishments, I made two wax seals using the Baroque Embrace Wax Seal Stamp and Pearl White and Shimmer Gold Wax Beads.
One seal was done entirely in pearl white, and the other combined the two colors for a two-tone effect. I trimmed off the classic wax border to leave just the ornate Baroque frame, then arranged the seals below my sentiment.
To finish the shabby chic card, I added several Ivory Pearl Dots — another small nod to the traditional style — and called it done.
Bringing Back the Shabby Chic Charm
Revisiting shabby chic reminded me how timeless it really is. Even though my personal style has shifted toward cleaner lines, there’s something so satisfying about adding soft layers, texture, and nostalgic details. If you’ve been missing this charming look, maybe it’s time to dig into your old stash — lace trims, pearls, and all — and bring a bit of shabby chic magic back to your craft table.
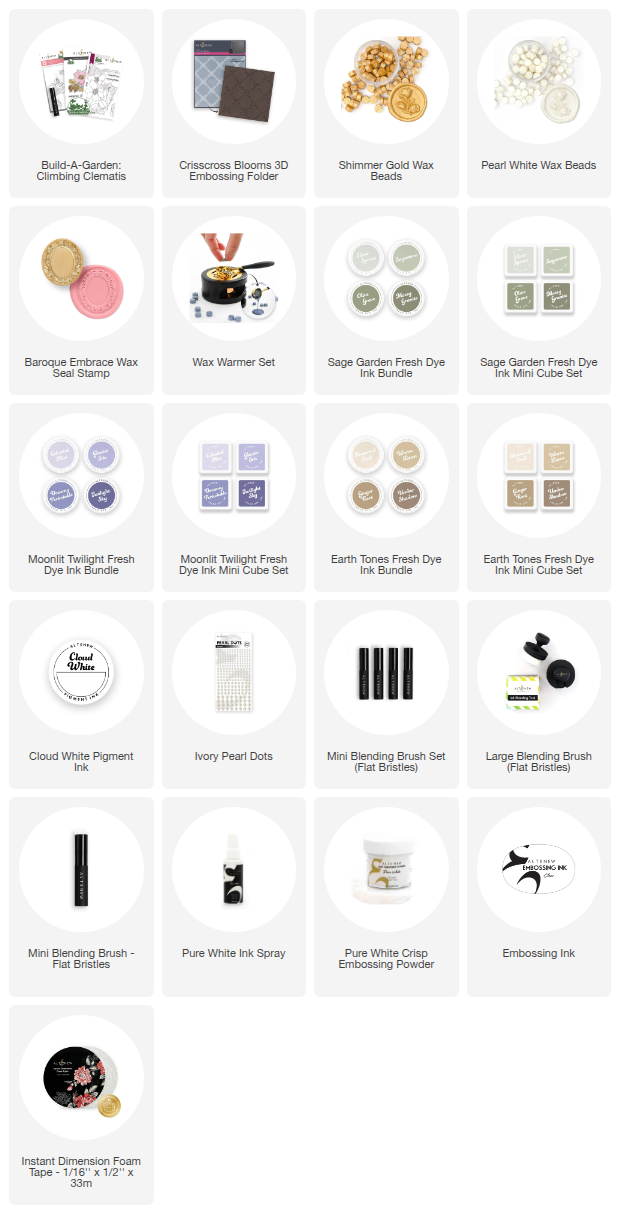
SUPPLY LIST