Transforming Plain Paper into Stunning Memory Keeping With Ink Blending Brushes + Video Tutorial!
Hello crafty friends! It's Nathalie with you today with an idea on transforming plain paper into memory keeping using Altenew's Ink Blending Brushes. These amazing tools are the means to customize your layouts as they help you create backgrounds, color images, add details, and enhance dimension. Each of the different sizes of ink blending brushes is sure to help you bring your crafty ideas alive. Let's take a look at what I have created.

My project started with a 12×8.5″ piece of heavy cardstock, some ink, and all the ink blending brushes Altenew has to offer. I'll walk you through how each of the different Ink Blending Brush sizes helped me customize my layout.
Creating A Background

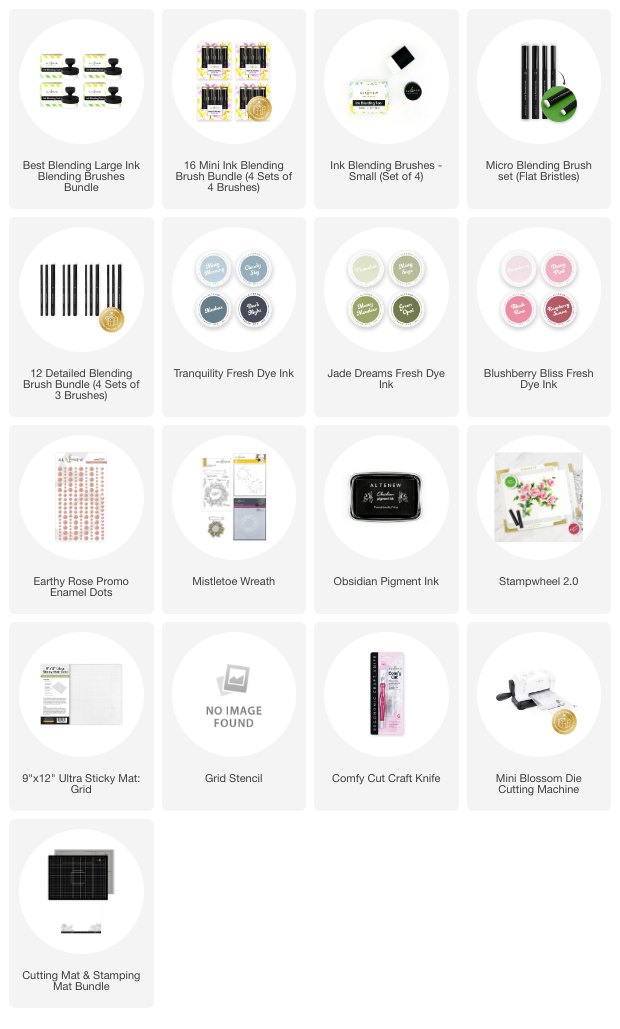
The Large Blending Brush is the ideal tool when it comes to adding color to a large area, thus transforming plain paper into memory keeping. The large flat surface of the brush covers a larger space with small effort. The soft bristles of the brush help to carry the ink around the paper without leaving streaks of color which helps when creating a seamless ombre effect on your paper. I am using inks from the Tranquility Fresh Dye Ink set to create the background, focusing on the three lighter colors of the set for this.

The Small Ink Blending Tools are the perfect size to help you bring details to larger areas. In my project, I am using one of these brushes to create the subtle pattern in the background. I am using Dark Night Fresh Dye Ink and the Grid Stencil to bring some interest to the background.
I kept my ink application light so that there is a soft contrast between the background and the grid details. I also added a few drops of water -after the ink application- to the background as a way to bring a bit of distress to the background.
Customize Your Embellishments

When it comes to customizing images to create embellishments for your projects and transforming plain paper into memory keeping, the smaller ink blending brushes are your best option. The Mistletoe Wreath ensemble is my choice to bring a Holiday feel to the page.
I am using the stamp set to create my wreaths with the help of the Stampwheel 2.0 and Obsidian Pigment ink. The smaller size brush in the Micro Blending Brush set is the perfect size to bring color (Blushberry Bliss Fresh Dye Inks). These brushes are small and compact which helps to cover small areas completely with an even distribution of ink.

The Detailed Blending Brushes (Angled Bristles) are always my choice when it comes to adding color to small and hard to reach areas. The branch in the Mistletoe Wreath stencil is small and detailed, the small angled bristles of the smallest brush reach into the smallest of the crevices thus adding color to even the smallest of details in it.
Since the leaves fan out in the images, by best choice to bring color and detail are the Mini Ink Blending Brushes. This size of brushes is small enough to cover a wider area ( not as detailed) in an image while still helping to bring detail to it. It is probably one of my most used size of brushes as it is perfect to bring detail to larger areas, too -but you are going to need to take your time working the ink into the image-.
Process Video
I have created a video showcasing how I went about transforming plain paper into memory keeping with the help of the brushes. You can watch the video here, or in HD on Altenew YouTube channel:

I hope you enjoy the video, and it shows you how each brush works efficiently on constructing this spread.

I cannot wait to see how you are going to use your Ink Blending Brushes and some of these ideas on your next crafty project. Remember to share with us your projects, too!
XO
———– SUPPLY LIST ————-