Simple Handmade Easter Decor Project to Celebrate the Season
Hello, everyone! Aga here, and I’m thrilled to share something a little different with you today. I have to admit, I can't stop using the Craft-A-Flower: Cherry Blossom Branch Layering Die Set for my projects! Bringing the delicate beauty of cherry blossoms into my paper crafting makes me feel incredibly inspired and joyful. Every time I use the set, it feels like Spring has blossomed right onto my crafting table.
This time I used it to create a simple handmade Easter decoration.

How to Create a Simple Handmade Easter Decor Project with Craft-A-Flower: Cherry Blossom Branch
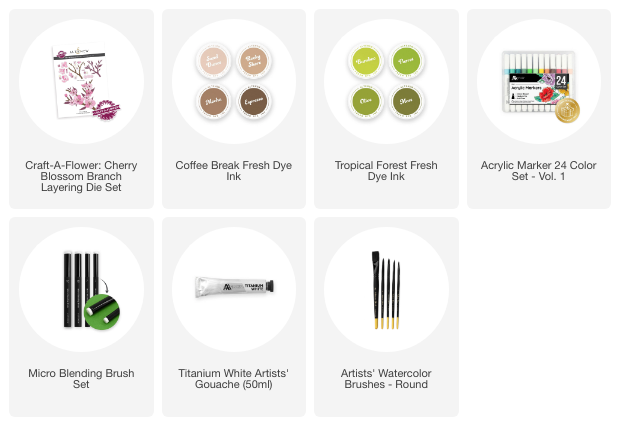
I started with a ceramic egg, but wasn't quite happy with its grey color, so I decided to paint it white using Titanium White Artists' Gouache. Once it was dry, I added some splatters of Espresso Fresh Dye Ink to give it a bit of texture.

Next, I created my blossoms by die-cutting small flowers from the set using white cardstock. To add color, I used Bamboo, Olive, and Moss from the Tropical Forest Fresh Dye Ink Set. For a pop of brightness, I added yellow details with a Fresh Lemon Acrylic Marker from Acrylic Marker 24 Color Set – Vol. 1 and finished the flowers off with tiny black dots using a black fine liner.

I gathered all the elements needed to create my decor: a fiber plant pot (but you could easily use a traditional fiber egg box as well), a paper raffia ribbon and some small sprigs cut fresh from the garden.

I filled the pot with paper, placed the painted egg inside, and arranged all the elements. For the final step, I added the paper flowers and leaves, securing them with a strong glue to make sure everything stayed in place.

I love how this handmade Easter decoration turned out! The combination of the painted egg, natural elements, and delicate cherry blossoms brings such a fresh, springtime feel. I hope it inspires you to create your own spring-inspired home decorations!
Thank you for stopping by today!
~ Supply List ~