Rainbow Ombre Leaves | Creative Coloring with Erum
by Erum Tasneem August 5, 2024

Hello, everyone! It's Erum here, back with a rainbow ombre leaves card and a VIDEO for the Creative Coloring with Erum video series.
I did not intend to turn this into a project. I simply wanted to explore how blended, ombre rainbow leaves would look, and they ended up looking really good. I decided to share it with all of you and turned it into a simple card.

Rainbow Ombre Leaves
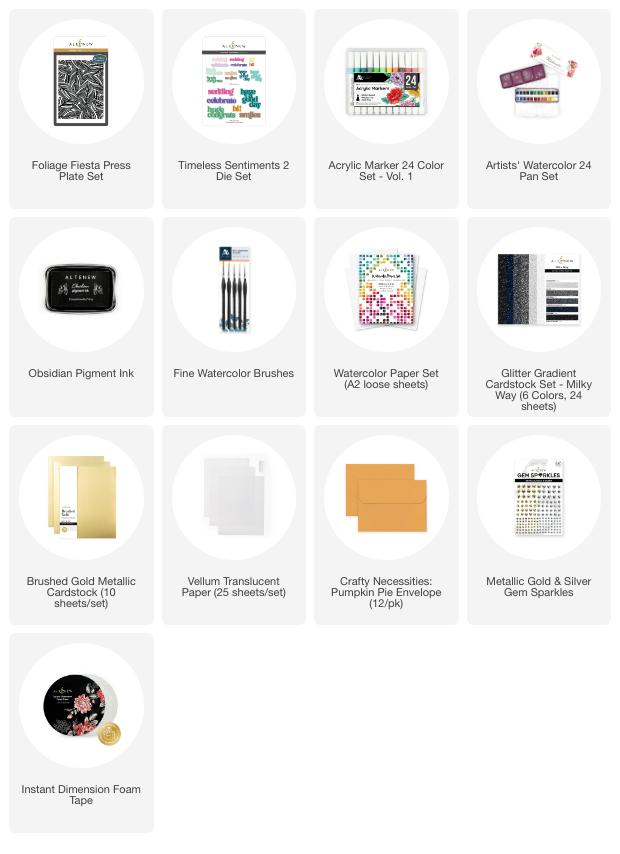
- Start by applying Obsidian Pigment Ink to the Foliage Fiesta Press Plate. Then place an A2 Watercolor Panel and run it through the die cutting machine to achieve a letterpress look.
- Use various colors from the Artists' Watercolor 24 Pan Set to color the panel. I chose various colors that I thought would complement each other well.
- Start by adding one color and then blend another color. Each leaf has two or more colors or shades of the same color to create interest and show a gradient. I added the colors randomly to achieve this effect. I find that using multiple shades can add depth and dimension to each leaf, making them look more vibrant and dynamic.
- Blend colors carefully to ensure a smooth transition between shades.

- When applying the pigment, ensure it isn't very watery so it won't overflow into the neighboring areas.
- Once you've done this, let the panel dry before using the Jet Black Acrylic Marker to outline the leaves. This will add an instant pop to the panel.
- Use “Have a Good Day” from the Timeless Sentiments 2 Die Set and cut it out of Black Diamond Cardstock (Milky Way) and Brushed Gold Metallic Cardstock. Adhere the gold die-cut behind the black glitter one, slightly offset.
- Cut the shadow/backing die out of the vellum and adhere the sentiment to it with liquid adhesive.
- Next, adhere the sentiment to the card front with Instant Dimension Foam Tape. Make sure to add the tape in small pieces and place it on areas so it doesn't show through the vellum.
- To finish, adhere Metallic Gold & Silver Gem Sparkles and pair the card with a Pumpkin Pie Envelope.

Video: Relaxing Rainbow Ombre Watercolor Leaves
To watch the process video, click on the photo below or visit YouTube by clicking THIS LINK.

I hope you enjoyed following along with this relaxing and creative process of making rainbow ombre leaves using a press plate. This project was all about unwinding and being present in the moment, and I encourage you to do the same when you try it out. Remember, it's not just about the end result but also about enjoying the journey of creating.
If you decide to make your own version, I'd love to see it! Share your creations and tag me on social media. Don’t forget to check out the supply list below to get all the materials I used.
Thank you so much for reading and joining me in this creative endeavor. Stay tuned for more tutorials, tips, and inspiration in the upcoming posts. Happy coloring!
~SUPPLY LIST~