Create a Unique Pumpkin Card with Blue and Gold Accents
Hello friends!
Svitlana here today, excited to share a bold fall pumpkin card featuring several newly released autumn-themed products from Altenew. This project combines rich autumn colors with an unexpected twist, making it perfect for fall crafting inspiration. If you’re a fan of fall cards and looking to mix things up, this design might be just the inspiration you need!
For my card, I decided to go with a color palette that’s a little unconventional for fall—the focal point of the card is a deep blue pumpkin, which stands out beautifully against a warm, bold orange background. While blue might not be a typical fall color, I love how it adds a modern and striking element to the overall design. It creates an unexpected contrast that really makes the card pop!
Creating the Blue Pumpkin
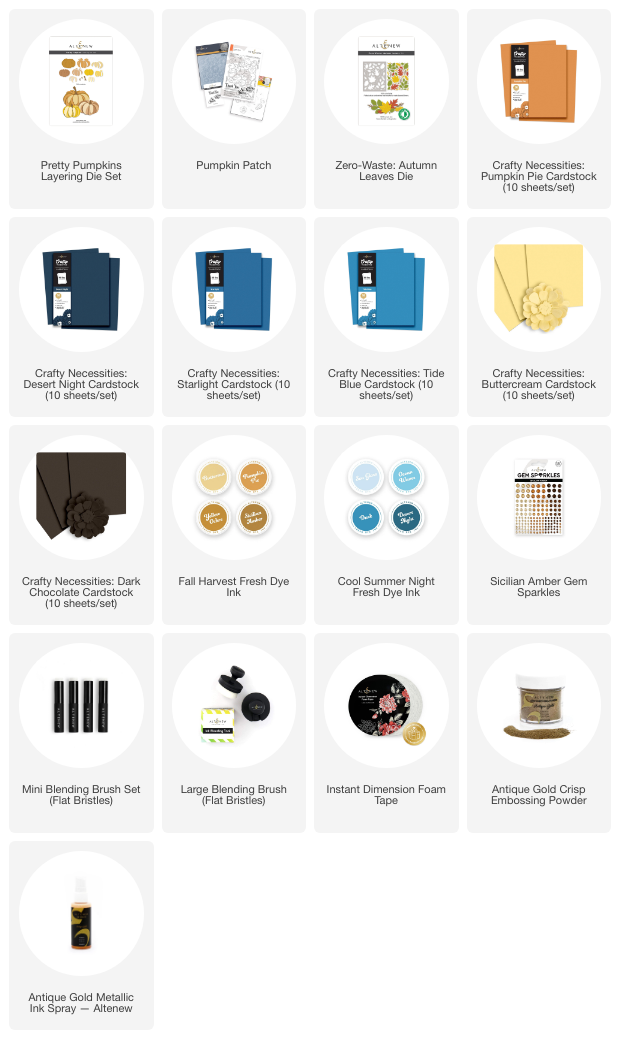
To create the blue pumpkin, I used several shades of cardstock from the Crafty Necessities line—Dessert Night, Starlight, Tide Blue, and Dark Chocolate. These rich tones allowed me to create depth and dimension in the pumpkin design. I die-cut the various pumpkin layers using the dies from the Pretty Pumpkins Die Set.
Before assembling the pumpkin, I wanted to add even more dimension and interest to the top two layers. To do this, I applied Dessert Night and Dusk Fresh Dye Inks. This subtle ink blending really enhanced the layers and made it appear more dynamic.
Creating the Background
The background for this card was all about embracing traditional fall colors while giving them a bit of shine. I began by using the Pumpkin Patch Bundle to stamp a pumpkin background onto Crafty Necessities: Pumpkin Pie Cardstock.
For an extra touch of elegance, I heat-embossed the design with Antique Gold Embossing Powder. The gold embossing adds a luxurious shimmer, which contrasts beautifully with the bold orange of the cardstock.

Once the embossing was complete, I colored the background using Fall Harvest Fresh Dye Inks. The warm tones of the ink helped bring out the autumnal feel of the card while providing a vibrant backdrop for the blue focal point element.
Creating the Leaves
No fall card is complete without some beautiful autumn leaves, right? For the leaves, I die-cut them using the Zero-Waste: Autumn Leaves Die. I love this die because it’s not only versatile, but it also ensures that there’s no waste of our precious cardstock.

I used Buttercream Cardstock as the base for the leaves and then added a touch of Pumpkin Pie Fresh Dye Ink to give them a bit of shading. This simple step really helped the leaves stand out and added dimension and interest to the design.
Assembling the Card
With all the elements ready, it was time to bring everything together! I foam-mounted the background panel onto a white card base using Instant Dimension Foam Tape. I then centered the blue die-cut pumpkin on the background and adhered it with dimensional foam for added depth.
To finish off the design, I arranged the die-cut leaves around the pumpkin. The contrast between the blue pumpkin and the orange-hued leaves is one of my favorite aspects of this card—it’s bold, striking, and perfect for the season!

Adding the Final Touches
To add an extra touch of magic to the card, I splattered the background with the Antique Gold Metallic Ink Spray. These gold splatters tie in with the embossed background and add a whimsical, enchanted feel to the design.
For the sentiment, I used a stamp and die from the Pumpkin Patch Bundle. I stamped the sentiment onto a coordinating cardstock strip and popped it up using black adhesive foam squares. The black foam adds a nice contrast and makes the sentiment stand out.
Lastly, I added a few Sicilian Amber Gem Sparkles for a bit of shine and texture. The sparkle gems bring a fun and glamorous touch to the card, making it feel complete and polished.
Final Thoughts
I hope this card inspires you to experiment with bold colors and unexpected combinations in your fall crafting projects. Blue pumpkins may not be traditional, but they offer a fresh, modern take on autumn designs. I had so much fun creating this card, and I hope you’ll give something similar a try in your own crafting journey.
~SUPPLY LIST~