Whimsical Pearl Dots Card Embellishments: A Sweet Nostalgic Design
Pearl dots card embellishments are making a stylish comeback in the crafting world! Over a decade ago, I couldn’t get enough of them, stocking up whenever I found a good deal and using them on almost every project. But as trends shifted to sequins, enamel dots, and crystals, these classic embellishments slowly fell out of favor.
Now, thanks to Altenew's new Pearl Dots, my love for these timeless accents has been rekindled. Today, I’m sharing a candy-shop-inspired card that celebrates the versatility of pearl dots card embellishments and pairs them with fun, new products.
There’s something uniquely elegant about pearl dots. They add a touch of sophistication to any design, whether it’s vintage, modern, or whimsical. For this project, I wanted to capture the playfulness of a whimsical candy shop while showcasing the beauty of pearl dots as the star embellishment.

Creating the Candy Background
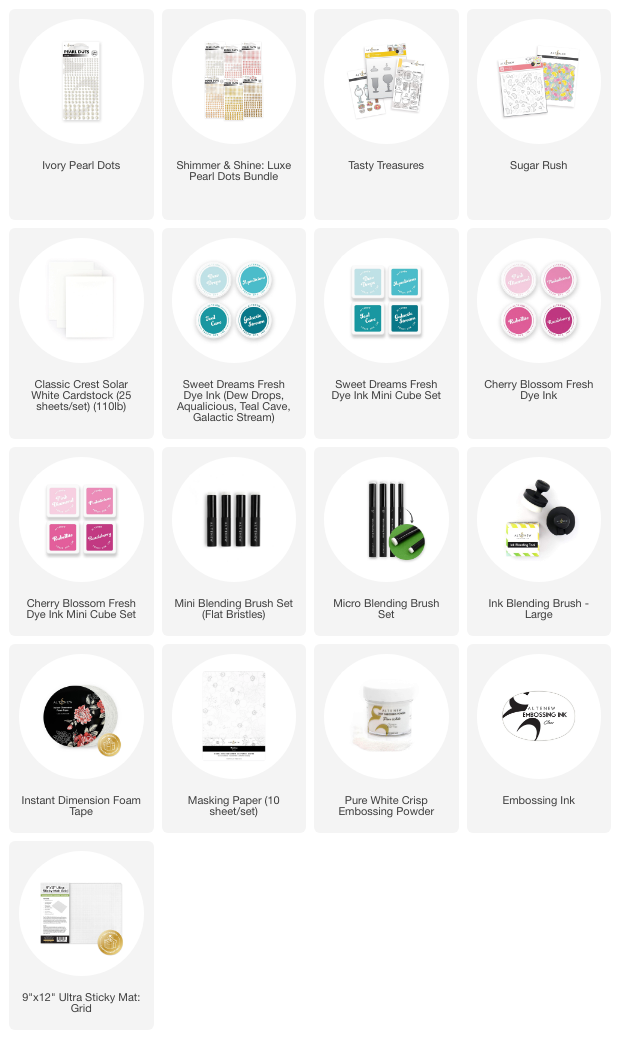
I began with a teal candy-themed background created using the Sugar Rush Layering Stencil Set and Sweet Dreams Fresh Dye Inks. First, I stenciled the candy design onto a white panel, ensuring the colors were vibrant but not overpowering.

Next, I softened the look by ink-blending Dew Drops Fresh Dye Ink over the entire panel and adding Aqualicious Fresh Dye Ink around the edges.
To create depth and interest, I added splatters of Aqualicious Fresh Dye Ink followed by diluted white acrylic paint splatters. These subtle layers made the background visually engaging without stealing focus from the focal elements.
Creating the Candy Jars
The focal point of the card is a trio of candy jars, made using the Tasty Treasures Bundle. I began by white embossing the jar images onto white cardstock, then die-cutting them using the Tasty Treasures Die Set.

Using the Tasty Treasures Simple Coloring Stencil, I colored the jars with shades from the Cherry Blossom Fresh Dye Ink Bundle.
Highlighting Pearl Dots as Embellishments
As I was creating the jars I made the centerpiece one filled with round candies, which I transformed into a cluster of pearl dots card embellishments. Using the Ivory Pearl Dots, I layered the pearls over the embossed candies, alternating sizes to match the shapes underneath.
This small detail made the candy jar look both realistic and tactile, giving the card an interactive element that draws the eye immediately.
Adding the Sentiment and Final Details
For the sentiment, I used Galactic Stream Fresh Dye Ink to stamp onto a white cardstock strip. This strip was popped-up near the bottom of the panel as a grounding element for the candy jars.

The candy jars were arranged above the sentiment, with two adhered flat and the centerpiece jar popped up using foam adhesive for dimension.
To keep the focus on the pearl dots embellishments, I refrained from scattering additional accents around the card. Instead, the cluster of pearl dots in the centerpiece jar became the hero of the design.
Finally, I mounted the completed panel onto a white card base, allowing the teal and pink color tones to stand out beautifully.
Why You Should Try Pearl Dots Card Embellishments
This card is proof that pearl dots are far from outdated. Whether you’re drawn to their nostalgic charm or their versatility, they can elevate any project with ease. From vintage elegance to whimsical designs, pearl dots card embellishments bring a unique flair that’s hard to replicate with other accents.
If you’re looking for a way to make your cards stand out, give pearl dots a try. They’re perfect for adding texture, dimension, and a touch of sophistication to your projects whether you like making cards, scrapbooks, or anything else!
~SUPPLY LIST~