Quick Tricks for Beautiful Cards Using Pre-Selected Colors
by Erum Tasneem January 20, 2025


Hi there, crafty friends! Erum here. Welcome to Creative Coloring with Erum. Today, I'm excited to share two stunning card designs created using the same color palette and stamp set. I will use the Decorative Motifs Stamp Set and Cottage Garden Artist Alcohol Marker Set to create my cards.

Welcome to Creativity Unlocked, where we highlight a new product from each month's collection or a fan favorite from past collections!
The cards I will share today prove how small layout changes and clever coloring techniques can make a world of difference. Let’s dive in!

Diagonal Panel Card Instructions

Cut the Panel:
- Cut a Classic Crest Solar White A2 panel diagonally. The resulting piece will measure about 4″ on the longer left side and 3 ¼” on the shorter right-hand side.
Stamp the Images:
- Arrange the stamps from the Decorative Motifs Stamp Set to cover the entire diagonal panel like pattern paper.
- Stamp using Obsidian Pigment Ink for a crisp look.
- Go over any missed lines with the Fine Liner Pen Set (size 02).
Color the Leaves:
- Start with the darkest green along the midrib and veins, from the Cottage Garden Artist Markers blending outward with progressively lighter shades.
- Fill blank areas with the lightest color, avoiding overworking the strokes.
Color the Florals:
- Color from dark to light, blending slightly between shades. Don’t worry about perfect blending; the small areas make subtle transitions unnoticeable.
- Use pink color for the flowers and color the details in yellow.

Color the Background:
- Apply yellow to the background. First, apply a darker tone around the image, then blend it out with a medium color marker.
Create Striped Accent Piece:
- Use medium and dark marker tones to create a colorful striped strip.
- Cut a thin strip of Bronzite Glitter Cardstock and adhere it beneath the diagonal panel, then adhere the striped strip as well.
Prepare the Base Cardstock:
- Use Milk Chocolate Cardstock for the base.
- Stamp the Hazlenut Fresh Dye Ink for texture.
- Ink the edges of the cardstock with Milk Chocolate Fresh Dye Ink to add dimension and balance.
Assemble the Card:
- Adhere the diagonal panel with the glitter and striped accents to the Milk Chocolate Cardstock using Instant Dimension Foam Tape.
- Stamp the sentiment in Obsidian Pigment Ink.
Watercolor Background Card Instructions

Prepare the Panel:
- Cut the 5×7 Hot Pressed Watercolor Cardstock into half. We will only need one panel
- Place the panel in the Stampwheel 2.0 and stamp both images from the Decorative Motifs Stamp Set using Obsidian Pigment Ink.
Create the Watercolor Background:
- Lightly apply water to the panel.
- Smoosh Sea Forest Ink onto a nonporous surface (e.g., stamp packaging) and spread it across the panel with a paintbrush.
- Add Blush Rose and Golden Honeycomb inks, keeping the colors light for flexibility.
Trim the Panel:
- Cut the panel to one inch smaller than the A2 size to create a border.

Color the Images:
- Use yellow tones from the Cottage Garden Artist Markers for the florals to create a warm, distinct look from the diagonal panel card.
- Color the images from dark to light, blending slightly between shades.
Add Splatter Accents:
- Use Jet Black Ink Spray to add fine splatters.
Stamp the Sentiment:
- Stamp the sentiment in Obsidian Pigment Ink.
Assemble the Card:
- Adhere the watercolor panel onto Mountain Pine Cardstock using Instant Dimension Foam Tape.

Video: Simplify Your Cards with Ready-to-Go Color Schemes
You can watch the process video for both cards by clicking THIS LINK or the photo below:

These warm, cottage-inspired colors are perfect for any season. Despite using the same stamps and color palette, subtle layout changes and layering techniques make each card distinct.
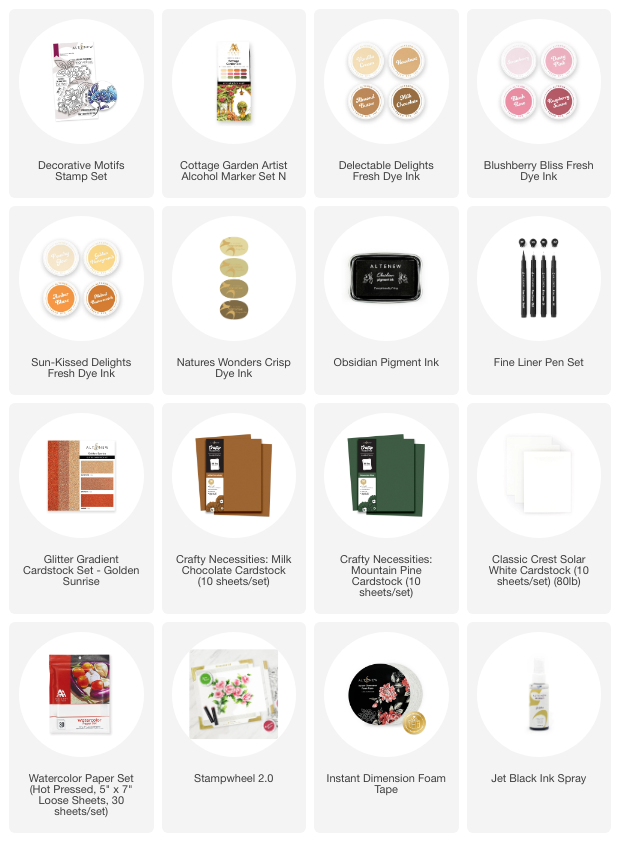
~SUPPLIES~