Light & Airy Painterly Perfection with Layered Stamps, Soft Ink Blending & Dimensional Sentiments
by Lea Lawson August 31, 2026

Key Takeaways
- Layered stamps — Build painterly florals by starting with the lightest ink shade and gradually adding depth with darker layers.
Stampwheel precision — Using the Stampwheel keeps each layer aligned and makes re‑stamping effortless.
Light & airy blending — Blend greens, blues, and a touch of yellow into a soft gradient that highlights the water and sky.
Stacked die‑cut sentiments — Layer glitter cardstock with white die‑cuts for a sturdy, dimensional focal sentiment.
Thoughtful assembly — Add foam tape for lift and finish with Iridescent Crystal Gem Sparkles for a polished shine.
Hello, crafty friends! Lea here today, and I’m thrilled to share a bright, breezy, light‑and‑airy card featuring the Craft Your Life Project Kit: Painterly Perfection. This kit is overflowing with gorgeous painterly florals, coordinating stamps, intricate dies, and beautifully designed stencils — everything you need to build a lush, expressive scene full of color and movement. For today’s project, I used every component of the kit except the 3D embossing folder, leaning into layered stamps, soft gradients, and dimensional die‑cutting to create a card that feels both artistic and serene.
The Painterly Perfection kit is designed to celebrate expressive brushwork and organic detail, so this project embraces that painterly feel from start to finish. Whether you’re new to layered stamps or you’ve been crafting with them for years, this kit makes it easy to build beautiful florals with depth, softness, and personality. Pairing those florals with a lightly blended background and a stacked sentiment creates a scene that feels heartfelt, uplifting, and perfect for sending a little extra love.
Let’s walk through each step of the process — from layered stamps, to stenciled ink blending, to die‑cut sentiments, to assembly — so you can recreate this card with confidence and joy.

Stamping the Painterly Floral Cluster with Layered Stamps & the Stampwheel
The floral cluster in the Painterly Perfection kit is the star of this project, and the layered stamps make it incredibly easy to build color, depth, and painterly movement. To get the cleanest impressions and the most consistent alignment, I used the Stampwheel, which is one of my favorite tools for layered stamps. The rotating platform lets you place each layer precisely, and if you need to re‑stamp any portion for deeper color, it keeps everything perfectly aligned.
I began by stamping the base layers of the florals using the lightest shade in each ink family. Starting light gives you room to build depth gradually, and it keeps the overall feel soft and airy — perfect for this painterly style. As I moved through the additional layers, I added darker shades depending on how many layers each bloom required. This gradual shift from light to dark creates natural shading and helps the florals feel dimensional without becoming heavy.
One of the best parts of this kit is that the florals are intentionally painterly. That means your layers don’t need to be perfectly aligned. If a petal shifts slightly or a shadow lands a little off center, it only adds to the expressive, brush‑stroke feel of the design. These stamps are meant to look artistic, organic, and full of movement — so embrace the imperfections. They make the final cluster feel more alive.
Once all the layers were stamped, I used the coordinating die to cut out the floral cluster. The die leaves a clean, even border around the image, making it easy to pop up later during assembly.

Ink Blending a Light & Airy Background with Stencils & Soft Gradients
The background of this card is created with the Painterly Perfection stencils, and they make it incredibly easy to build a scenic, light‑and‑airy blend behind your florals. I chose three shades of green, three shades of blue, and one yellow for the sun — all from my favorite Altenew ink families:
Using the Painterly Perfections stencils, I blended a soft gradient across the background, starting with darker tones on each side and fading toward lighter tones in the center. This creates the perception of a natural highlight across the water, giving the scene depth without overwhelming the florals. The painterly nature of the stamps pairs beautifully with this soft, scenic blend — everything feels cohesive, airy, and full of gentle movement.
When blending with stencils, I like to use a combination of larger and smaller brushes. Larger brushes help sweep color across the sky and water, while smaller detail brushes let you tuck deeper tones into the corners or around the edges of the stencil shapes. This gives you more control over your gradients and helps you maintain that soft, glowing highlight in the center.
Because the florals are stamped with layered stamps, the background doesn’t need to be overly detailed. The stencils do the heavy lifting, and the gradient keeps everything feeling fresh and open. This is a wonderful way to build a scenic backdrop that supports your focal point without competing with it.

Die‑Cutting a Dimensional Sentiment with Glitter & Stacked Layers
The Painterly Perfection die set includes a beautiful, thin script sentiment — and because it’s so delicate, I wanted to give it extra stability and presence. To do that, I die‑cut one layer from Moonstone glitter cardstock, then cut two additional layers from white cardstock. Stacking these layers together creates a thicker, more rigid sentiment that’s much easier to adhere during assembly. It also helps the sentiment stand out against the ink‑blended background without losing that light‑and‑airy feel.
For the secondary sentiment, I used the coordinating stamps from the kit. I stamped the phrase in Obsidian ink onto white cardstock, then trimmed it into a thin strip. This crisp black‑and‑white strip adds contrast and helps anchor the main sentiment without overpowering the florals or the scene.
Layered stamps, stacked die‑cutting, and glitter cardstock work beautifully together here — the combination of texture, shine, and painterly detail makes the sentiment feel intentional and expressive.

Assembly: Foam Tape, Sparkle, and Finishing Touches
With all the elements ready — the layered stamps, the stenciled background, the stacked sentiment, and the secondary strip — it’s time to assemble the card.
I adhered the background panel to my card base, then used Instant Dimension Foam Tape to pop up the floral cluster. This gives the florals a little lift and helps them stand out against the blended scene. If you prefer a flatter card for mailing, you can absolutely skip the foam tape and adhere everything directly — the design will still look beautiful.
Next, I added the stacked sentiment, placing it where it complements the florals without covering too much of the painterly detail. The secondary sentiment strip tucks in neatly beneath it, adding balance and grounding the composition.
To finish the card, I added Gem Sparkles in Iridescent Crystal. These tiny embellishments catch the light beautifully and echo the soft shine of the glitter sentiment. They’re the perfect finishing touch for a card that’s meant to feel airy, uplifting, and full of gentle movement.

For the background, I used Industrial Diamond cardstock — a darker grey that really lets texture shine. After running it through the Crisscross Blooms 3D embossing folder, every line and intersection popped. This folder adds such a lovely woven feel, and the deeper tone helps highlight all that dimension. It’s a great reminder that “light & airy” doesn’t mean avoiding dark colors… it just means balancing them thoughtfully.
Embossing folders like Crisscross Blooms are wonderful for adding instant depth without overwhelming the rest of the design. The raised pattern catches the light in such a pretty way, especially when paired with a darker cardstock that highlights every detail. It’s a great reminder that texture can be just as impactful as color when you’re trying to create a specific mood or atmosphere in your project.
Check Out The Full Ink Blended Florals Tutorial Here!

This project is a celebration of painterly detail, layered stamps, soft gradients, and thoughtful dimension. The Craft Your Life Project Kit: Painterly Perfection makes it easy to build expressive florals, scenic backgrounds, and meaningful sentiments — all with a cohesive, artistic feel. Whether you’re creating a card for someone you miss, someone who needs encouragement, or someone who simply loves florals, this design offers a beautiful way to send warmth and creativity.
Layered stamps give your florals depth. Stencils give your background softness. Stacked die‑cutting gives your sentiment presence. And together, they create a card that feels heartfelt, painterly, and full of light.

Buy More Get More!
Buy 1 Stencil Set (any) and get the 2nd set at 40% off from August 31, 2026 at 12:01 AM EDT until September 1, 2026 at 11:59 PM EDT. Shop here: https://altenew.com/collections/stencils
Disclaimer: Add any 2 stencil sets to your cart, and the discount will automatically apply to the lower-priced item.
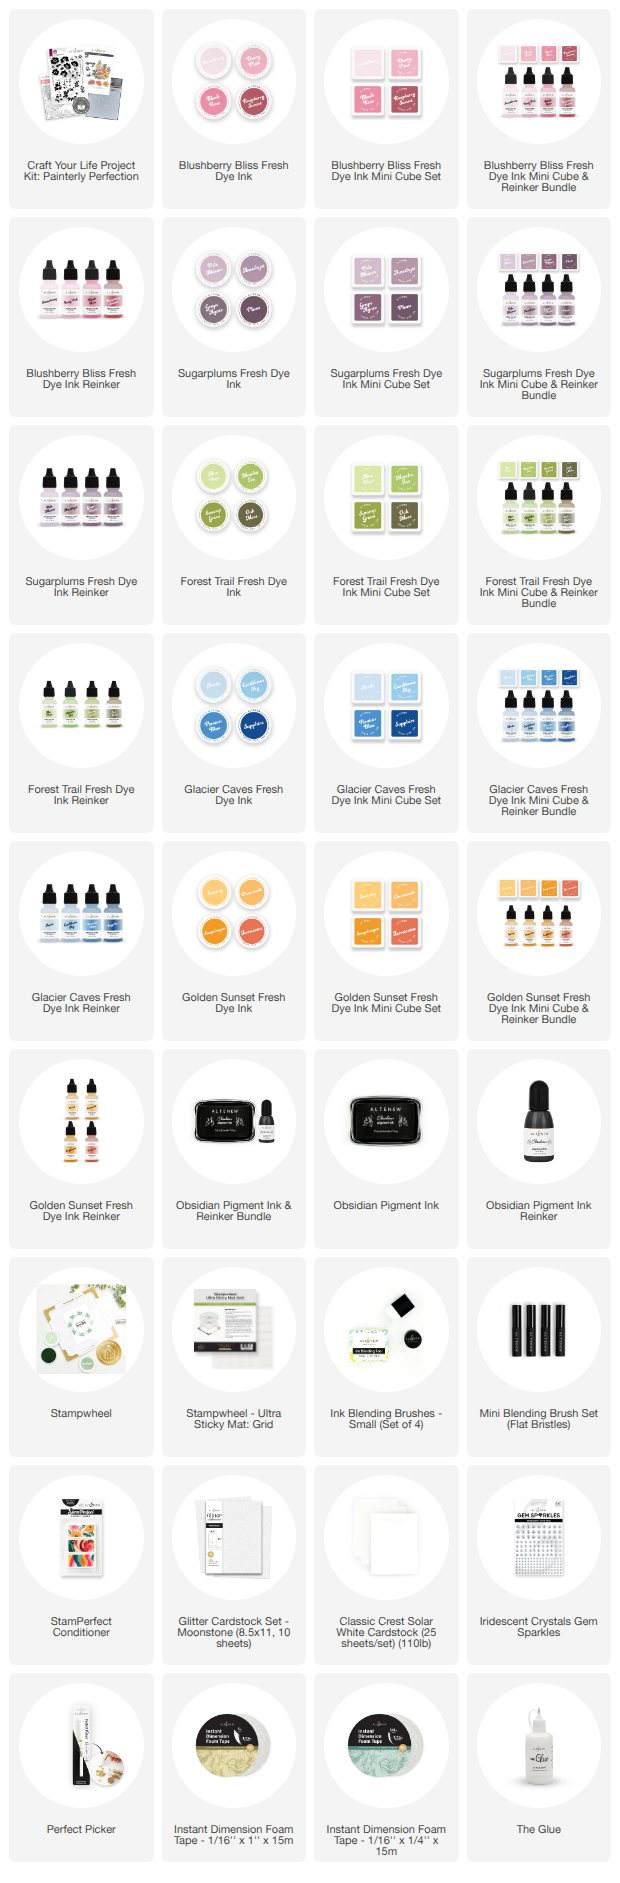
Painterly Perfection Stamp Layering Card Supplies